

This guide uses the classic JavaScript SDK. If you're starting a new project, consider using TalkJS Chat UI components, which are more customizable.
Softr is a no-code platform that allows you to build custom apps for your business, fast—from client portals to internal tools. With TalkJS, you can add delightful one-on-one conversations, group chat, or an AI chatbot directly into your Softr app.
This guide will help you integrate TalkJS chat into your Softr app. By the end of this guide you will have a working example of TalkJS chat in Softr.
Prerequisites
To integrate TalkJS chat into Softr, you’ll need:
- A TalkJS account. You can try TalkJS for free.
- A Softr app to which you would like to add TalkJS chat.
Note: To integrate TalkJS into Softr, you’ll use Softr’s custom code block feature. To use custom code blocks in Softr, you need to be on the Basic plan or higher.
Step 1: Load TalkJS into your Softr app
Begin by loading TalkJS into your Softr app:
- Login to Softr.
- From the Applications overview, select the app to which you’d like to add TalkJS chat. Then from the Pages overview, select the page to which you want to add the chat.
- Select the Add block button directly on your page, or in the top right of the Softr studio, to add a new block to your page.
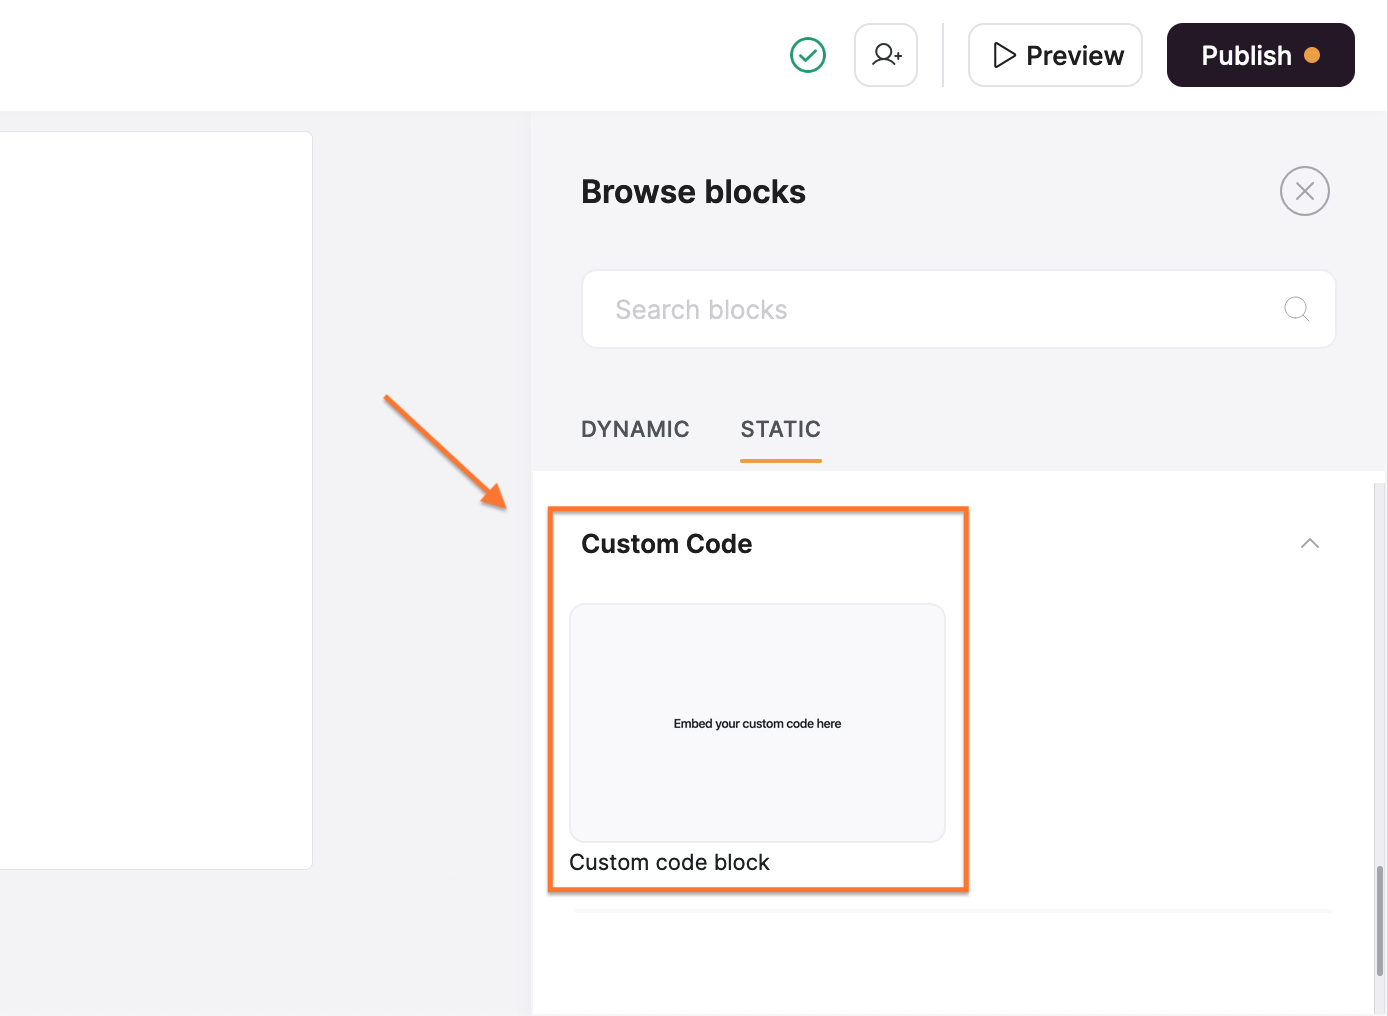
- From the Browse blocks overview that opens, in the Static tab under the section Custom Code, select the Custom code block. The custom code block is placed onto your page.
- Select your custom code block, if it isn’t already selected. In the sidebar details view that opens, in the Features tab, add the following code snippet to the code area:
<!-- minified snippet to load TalkJS without delaying your page -->
<script>
(function(t,a,l,k,j,s){
s=a.createElement('script');s.async=1;s.src="https://cdn.talkjs.com/talk.js";a.head.appendChild(s)
;k=t.Promise;t.Talk={v:3,ready:{then:function(f){if(k)return new k(function(r,e){l.push([f,r,e])});l
.push([f])},catch:function(){return k&&new k()},c:l}};})(window,document,[]);
</script>
It doesn’t show up in the on-page preview, but you’re now loading TalkJS onto your page in your Softr app.
For more on using custom code blocks, see: Custom Code in the Softr documentation.
Step 2: Add a container element to display your chat
Next, add a container to display the TalkJS chat in your Softr app.
- In a Custom code block, add the following code snippet:
<!-- container element in which TalkJS will display a chat UI -->
<div id="talkjs-container" style="width: 90%; margin: 30px; height: 500px">
<i>Loading chat...</i>
</div>
You now have a container to display TalkJS chat in your Softr app. If you select Preview in the top navigation menu, the preview should show a ‘Loading chat…’ placeholder text.
Step 3: Initialize a chat session
Initialize a TalkJS chat session in your app.
- In a Custom code block, add the following code snippet:
<!-- initialize TalkJS -->
<script>
  Talk.ready.then(() => {
  const me = new Talk.User({
    id: 'sophie',
    name: 'Sophie',
    email: 'sophie@example.com',
    photoUrl: 'https://talkjs.com/images/avatar-1.jpg',
    welcomeMessage: 'Hey there! How are you? :-)',
  });

  window.talkSession = new Talk.Session({
    appId: 'APP_ID',
    me: me,
  });

  const other = new Talk.User({
    id: 'efe',
    name: 'Efe',
    email: 'efe@example.com',
    photoUrl: 'https://talkjs.com/images/avatar-7.jpg',
    welcomeMessage: 'Hey, how can I help?',
  });

  const conversation = talkSession.getOrCreateConversation(
    Talk.oneOnOneId(me, other)
  );
  conversation.setParticipant(me);
  conversation.setParticipant(other);

  const chatbox = talkSession.createChatbox();
  chatbox.select(conversation);

  chatbox.mount(document.getElementById('talkjs-container'));
  });
</script>- In this code snippet, replace
APP_IDwith your own app ID. You can find your app ID on the Settings page of your TalkJS dashboard.
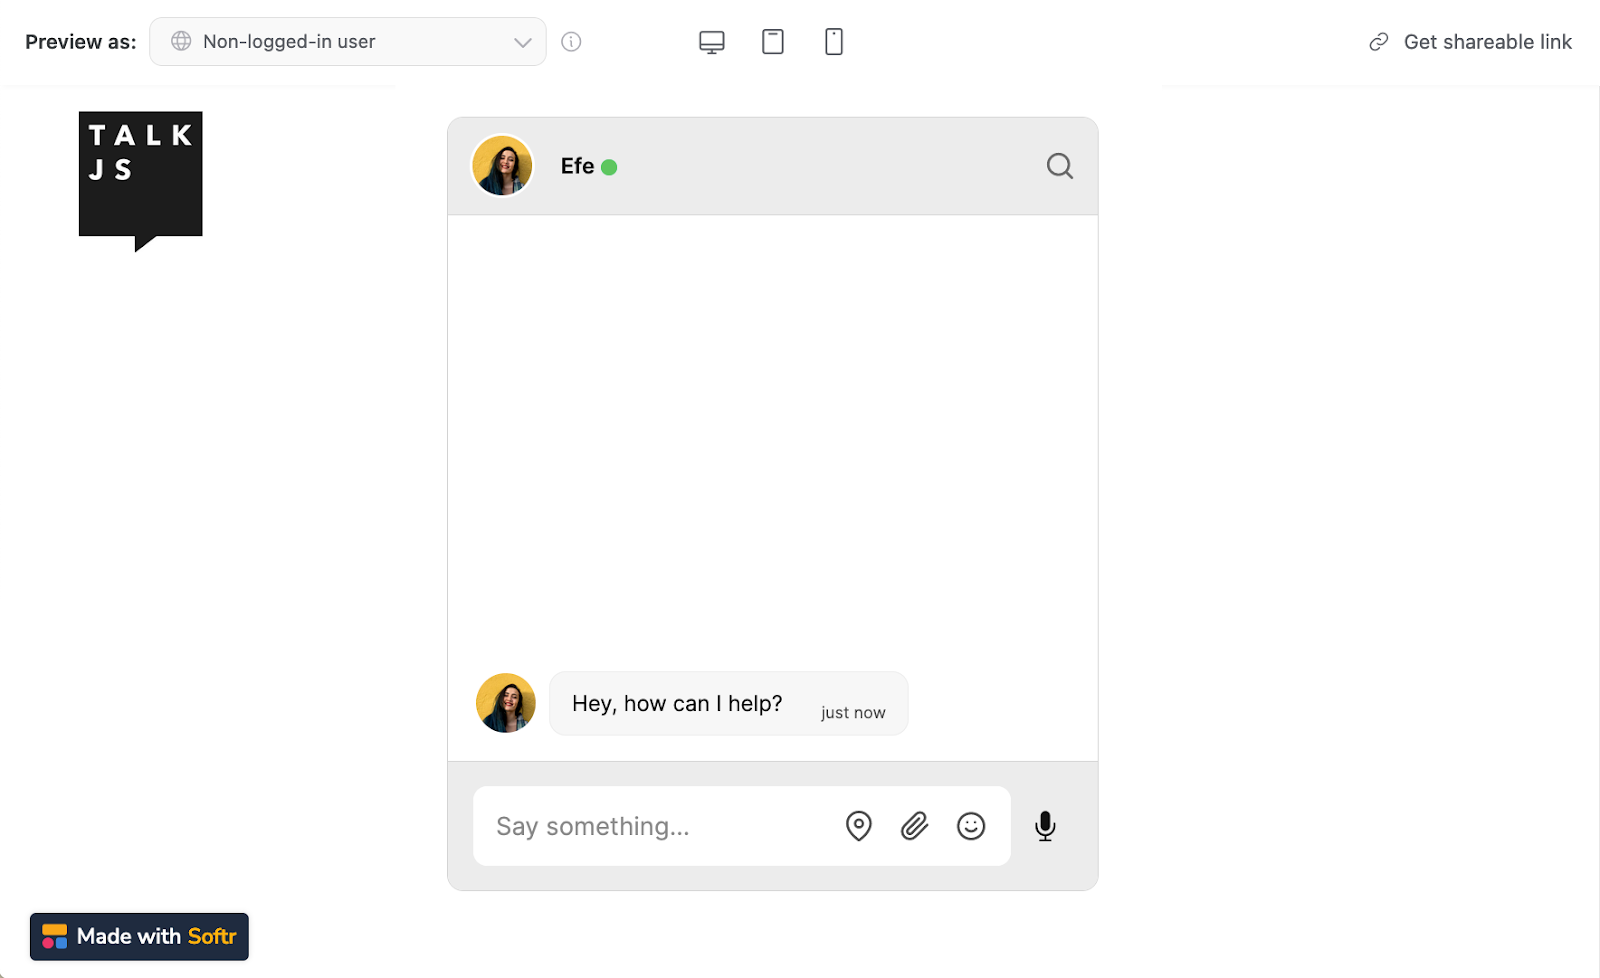
You now have a working TalkJS chat on your page of your Softr app. To try out your chat interactively, select the Preview button in the top navigation menu. The preview shows you a working chat in which you can send messages.
The current code creates a chat box UI. If you’d like to have a different chat UI, you can choose from a range of pre-built chat UIs, including an inbox with a list of conversations, and a pop-up widget.
In addition to one-on-one chats, you can also create group chats.
The current example of a TalkJS chat in your Softr app works with hard-coded dummy data for both users and the conversation. To replace these hard-coded values with your own user data, you can use the Users database of your Softr app.
Step 4: Add users to your Softr app
User data in Softr
Every Softr app comes with a Users database. You can create and manage your users database in the Users section, which you can find in the sidebar navigation of the Softr studio.
Initially your Users database is still empty, but you can add users to your Softr app in several ways. For example, you can let users sign up with a public signup form, add users manually, bulk import user data, create users with a Zapier integration, or use the Softr API.
A user record in Softr has the following fixed set of fields:
- Name
- Created Date
- User Groups
- Last seen date
- Magic link
In Softr you can’t add additional fields to a user in the Users database directly. If you require a user to have additional fields, as TalkJS chat does, then you can instead create and manage additional user fields by syncing user data with an external data source.
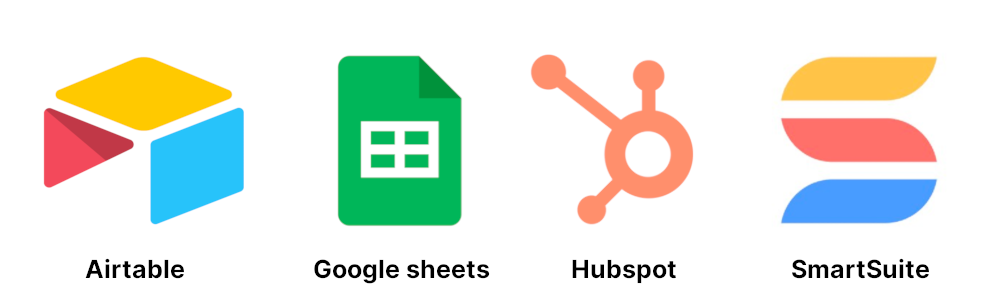
Softr currently allows you to sync user data with Airtable, Google Sheets, HubSpot, and SmartSuite (the latter two are both in beta).
This guide covers how to sync user data between Softr and Airtable, but you can choose any available external data source that best fits your own setup.
Sync user data with an external data source (Airtable example)
To prepare for syncing user data between Softr and Airtable, first make sure that in Airtable you have a table with your user data that has the fields that are required for both Softr and TalkJS to operate.
A TalkJS User has the following properties:
id*name*email*phonephotoUrllocalewelcomeMessagerolecustom
Items marked with an asterisk (*) are required to integrate TalkJS into Softr: Softr requires each user to have an email address, while TalkJS needs a user to have both an id and a name for the chat to function. All other user properties listed here are optional. You can also add fields for any additional properties that you may want to associate with your user.
For more information on how to create a table and add records in Airtable, see:
Once you have your user table with the right fields in Airtable, you can sync your user data with Softr, as follows:
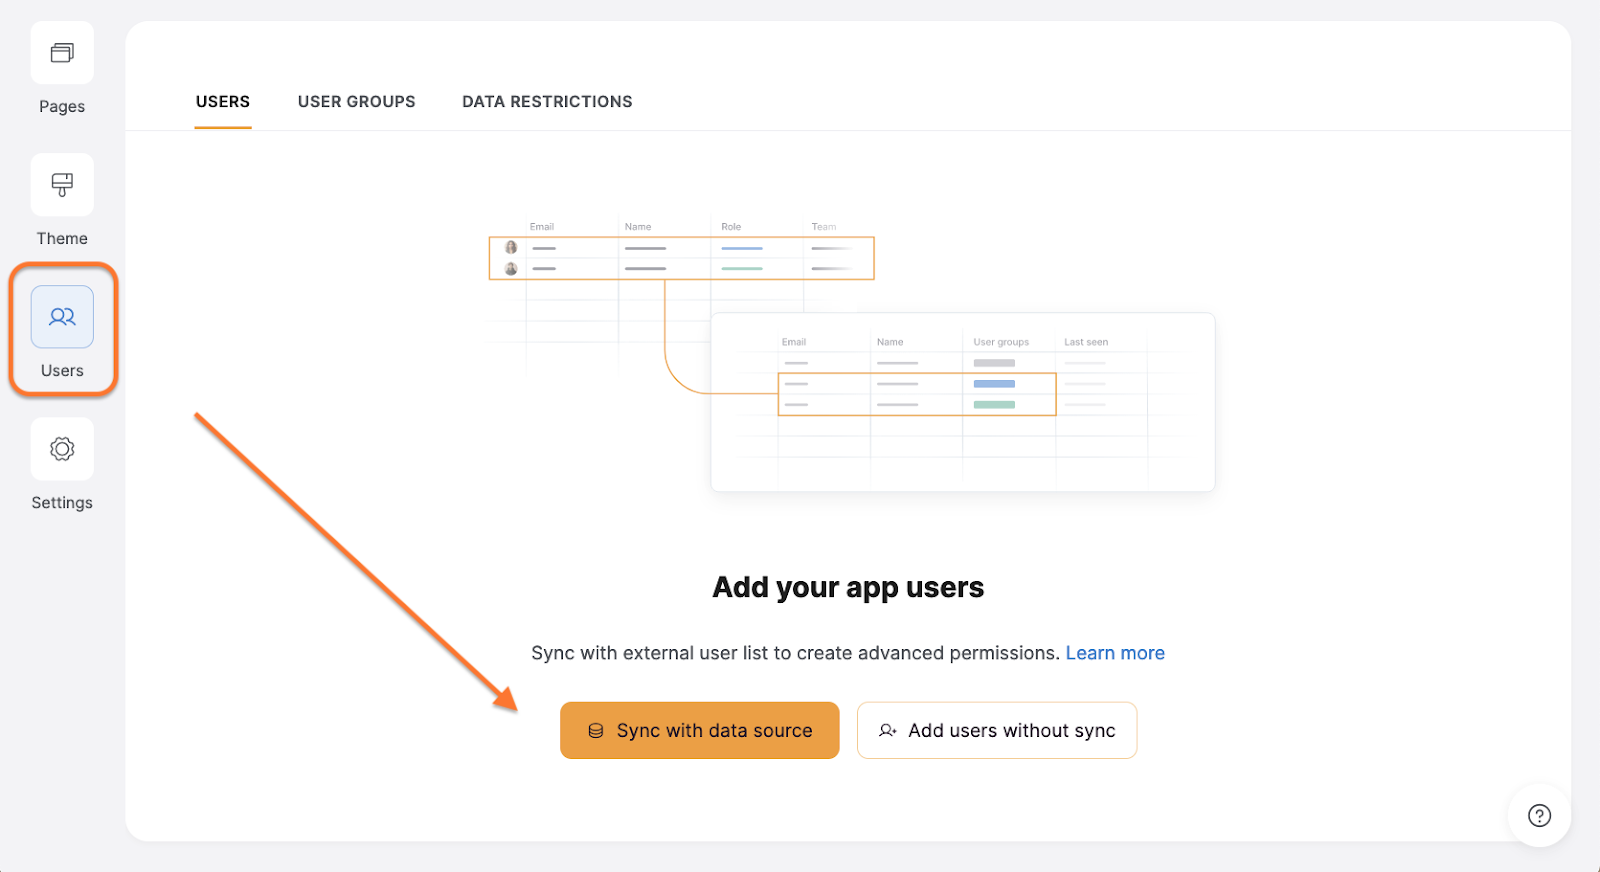
- In your Softr studio, go to the Users section in the sidebar navigation, and select Sync with data source.
- From the listed options of external data sources, choose Airtable and select Continue.
- Select the workspace and base that you want to grant Softr access to. Softr recommends granting access to all current and future bases in all current and future workspaces, but you can also select a single base to grant Softr access to. Select Grant access.
Next, map the fields in your Airtable table to the user data fields in Softr:
- In the pop-up menu that appears, select the Source, Base and Table for your table with user data in Airtable.
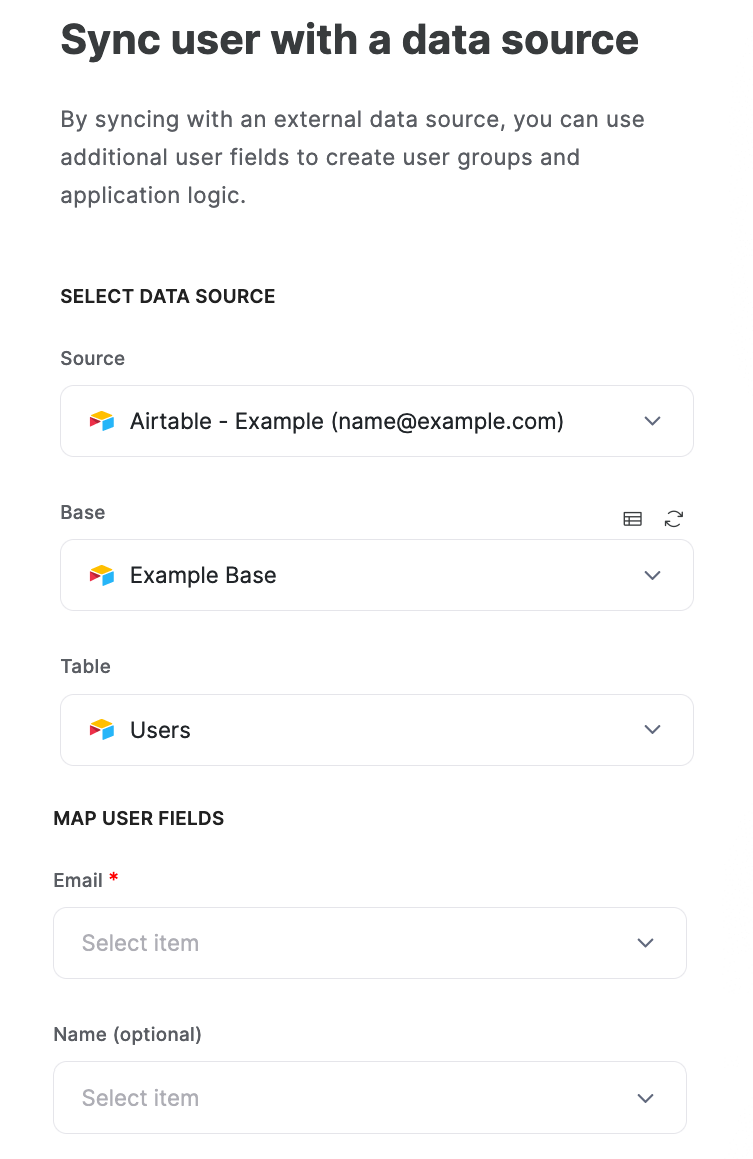
- Map the Email and Name fields to respectively the
emailandnamefields in your Airtable table. You can also map the other Softr user fields to fields in your Airtable table, or leave them open if you aren’t using these fields in Airtable. - Choose a default authentication method.
- Select Save and sync to complete the data mapping process.
If your users don’t automatically show up in your Users section, select Refresh table to complete the sync.
Your Softr user data is now synced with your user data table in Airtable. You can now dynamically access and load user data throughout your Softr app, including in your custom code.
Step 5: Load user data dynamically in your chat
The code you added in Step 3 of this guide to initialize a TalkJS chat session contains hard-coded dummy data for users.
Once you have synced your user data with an external source that contains all the required fields for Softr and TalkJS to function, you can dynamically load user data for your chat, using your custom code.
For example, you could set the details for the currently logged-in user in the chat, by checking for the logged-in user, and then creating the me participant in the chat based on those logged-in user data. To do so, in your custom code block, replace the code you added in Step 3 with the following code:
<script>
window.addEventListener("DOMContentLoaded", () => {
  if (window.logged_in_user) {
    Talk.ready.then(() => {
      const me = new Talk.User(window.logged_in_user);

      window.talkSession = new Talk.Session({
      appId: 'APP_ID',
      me: me,
      });

      const other = new Talk.User({
      id: 'efe',
      name: 'Efe',
      email: 'efe@example.com',
      photoUrl: 'https://talkjs.com/images/avatar-7.jpg',
      welcomeMessage: 'Hey, how can I help?',
      });

      const conversation = talkSession.getOrCreateConversation(
      Talk.oneOnOneId(me, other)
      );
      conversation.setParticipant(me);
      conversation.setParticipant(other);

      const chatbox = talkSession.createChatbox();
      chatbox.select(conversation);

       chatbox.mount(document.getElementById('talkjs-container'));
    });
  }
});
</script>
Make sure to replace APP_ID with your own app ID.
You are now dynamically loading data from the logged-in user into your chat.
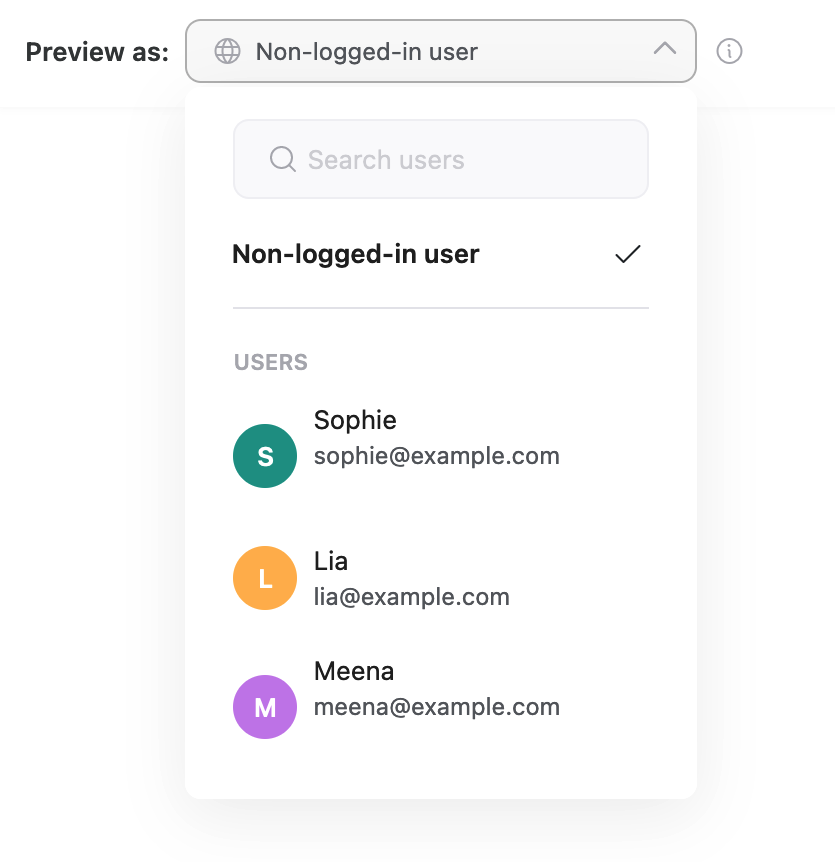
To try things out, go to your Softr app preview. From the Preview as dropdown menu, select the user that you’d like to preview the chat as. The details of the logged-in user you selected should show up in the chat when you send a message.
This is one example of how you can access custom user data in the custom code block for your chat. For more information on working with custom code blocks in Softr, see:
You now have a working example of a chat integrated into your Softr app with TalkJS.
Do you have questions about integrating TalkJS into Softr? We’re happy to help. Get in touch.


