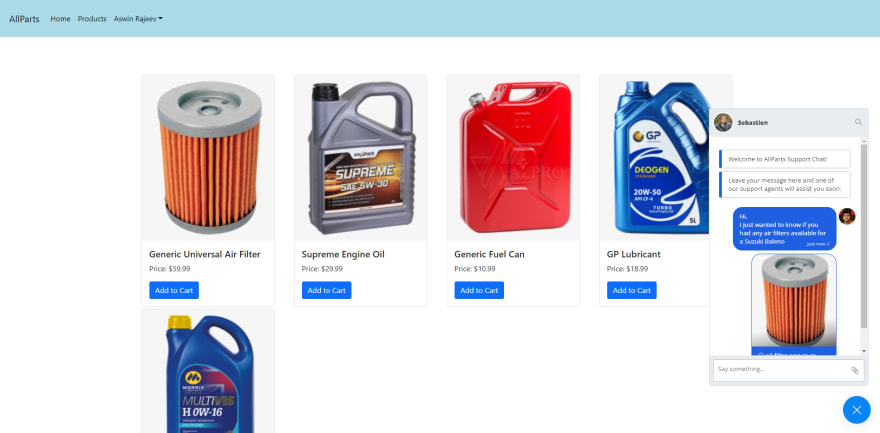
This guide uses the classic JavaScript SDK. If you're starting a new project, consider using TalkJS Chat UI components, which are more customizable.
This guide covers how to use TalkJS' classic JavaScript SDK to add chat to an existing Angular application.
Let's use an example. AllParts is an imaginary e-commerce website that specializes in automobile spare parts and accessories. It has an Angular application that is integrated with Firebase. It allows users to authenticate themselves using Google and then purchase spare parts and essentials for automobiles.
With TalkJS, AllParts have implemented a buyer-seller chat that the customers can use to resolve queries, get recommendations or ask general questions. It is not a full-fledged application, but goes well with this tutorial. You can set up your project from GitHub before getting started and if you’ve already done that, let’s get going.

Adding TalkJS to an Angular application
To add TalkJS to your Angular application, use the following command:
npm install talkjs –save
This adds the TalkJS dependency to your current project. Next, adds a component and a service to the project. A service in Angular is used to separate out the component code from functions that are commonly used, and also to keep the code modular and scalable. To create a new service, use the following command:
ng generate service talk
This will create a new service called TalkService. Once that is created, also create a component for your buyer-seller chat. To create a new component, use the following command:
ng generate component talkjs
Once these prerequisite steps are out of the way, you can get started with the actual integration.
Application walkthrough
Before you integrate TalkJS into your application, let’s take a look at the existing application itself. It is intended to be an e-commerce website specializing in automobile spare parts and accessories. Customers can sign in with Google and view and purchase products from different manufacturers. The application has a home page with a simple banner and also the products page which only logged-in users can access.
Using TalkJS to add a buyer-seller chat
Your service code looks as follows right now:
@Injectable({providedIn: 'root'})
export class TalkService {
  private currentUser: Talk.User;
  constructor() {}
}
You have a variable for the current user which is of the TalkJS User type. You can now create four methods inside it. They are given below.
Create the async createUser(applicatonUser: any) method
The code for the method is given below:
async createUser(applicationUser: any) {
    await Talk.ready;
    console.log(this.user$);
    return new Talk.User({
      id: applicationUser.id,
      name: applicationUser.username,
      photoUrl: applicationUser.photoUrl,
      role: applicationUser.role
    });
  }
This method is used to map the users in the application to a TalkJS User object. This allows TalkJS to identify the users in the system. It also allows keeping track of their conversations. In this case, the user who logged in through Google will be mapped to this object, so that their name and photo appear inside the chatbox.
Create the async createCurrentSession() method
This method is used to initialize the user’s current active session and to authenticate TalkJS. Each account in TalkJS has an appId that authenticates it. To find your app ID, simply login to your TalkJS dashboard and you can find it on the Settings tab. You have a different app ID for your test environment and your live environment.
  async createCurrentSession() {
    await Talk.ready;
    const user = {
      id: this.user$.uid,
      username: this.user$.displayName,
      email: this.user$.email,
      photoUrl: this.user$.photoURL,
      role: 'default'
    };
    this.currentUser = await this.createUser(user);
    const session = new Talk.Session({
         appId: 'YOUR_APP_ID_HERE',
         me: this.currentUser
    });
    return session;
  }
This is also where you initialize your currently logged-in user. In the code above, you can notice that it retrieves the current user using this.user$, and that the attributes from it match the one returned from Google after successfully signing in.
Create the async getOrCreateConversation(session: Talk.Session, otherApplicationUser: any) method
This function creates the conversation between the current user and the other user, and links that conversation up with the previously created session. This is where you set the participants for the conversation. System messages in TalkJS can also be set up here by adding the conversation.setAttributes() method and setting an array of strings to a property called welcomeMessages.
  private async getOrCreateConversation(session: Talk.Session, otherApplicationUser: any) {
    const otherUser = await this.createUser(otherApplicationUser);
    const conversation = session.getOrCreateConversation(Talk.oneOnOneId(this.currentUser, otherUser));
    conversation.setParticipant(this.currentUser);
    conversation.setParticipant(otherUser);
    conversation.setAttributes({
      welcomeMessages: ["Welcome to AllParts Support Chat!", "Leave your message here and one of our support agents will assist you soon."]
  })
    return conversation;
  }
Create the async createPopup(session: Talk.Session) method
The last method is to create a popup chat, which shows up in the bottom right corner of the user's screen. The popup UI is provided by TalkJS out-of-the-box, and is really handy in scenarios like this. If you require a full-fledged chatbox or an inbox, they are also provided within TalkJS. Here is the code:
  async createPopup(session: Talk.Session) {
    const supportUser = {
      id: 5,
      username: 'Sebastien',
      email: 'sebastian@allparts.com',
      photoUrl: 'https://randomuser.me/api/portraits/men/71.jpg',
      role: 'default'
    };

    const conversation = await this.getOrCreateConversation(session, supportUser);
    return session.createPopup(conversation, { keepOpen: false });
 }
In the code above, the support user is hardcoded, but when you have your live application, you can use the credentials of actual people that the users can talk to.
TalkJS component walkthrough
You've now completed writing up all your helper methods. Now you just need to set up your TalkJS component that contains the popup chatbox. The TalkjsComponent consists of just a single line that has a div with an ID of talkjsContainer. It also has the *ngIf directive that checks if the user is logged in or not. For unauthenticated users, the chatbox doesn't appear.
<div *ngIf = "auth.user$ | async" #talkjsContainer style="height: 500px"></div>
Inside the TypeScript file for the component, you have the following code:
export class TalkjsComponent implements OnInit {
  private popup: Talk.Popup;
  private session: Talk.Session;
  @ViewChild('talkjsContainer') talkjsContainer!: ElementRef;
  constructor(private talkService: TalkService, public auth: AuthService) {
  }
  ngOnInit(): void {
    this.createPopup();
  }
  private async createPopup() {
    const session = await this.talkService.createCurrentSession();
    this.popup = await this.talkService.createPopup(session);
    this.popup.mount(this.talkjsContainer.nativeElement);
  }
}
You can use the @ViewChild decorator to access the HTML element from the component code to mount your chatbox. You have the AuthService, which is used for authenticating the user. The component implements the OnInit interface, which provides the lifecycle hook of ngOnInit(). This gets triggered after component initialization, and this is where you call the createPopup() method to create the chatbox and mount it to your component.
Full demo
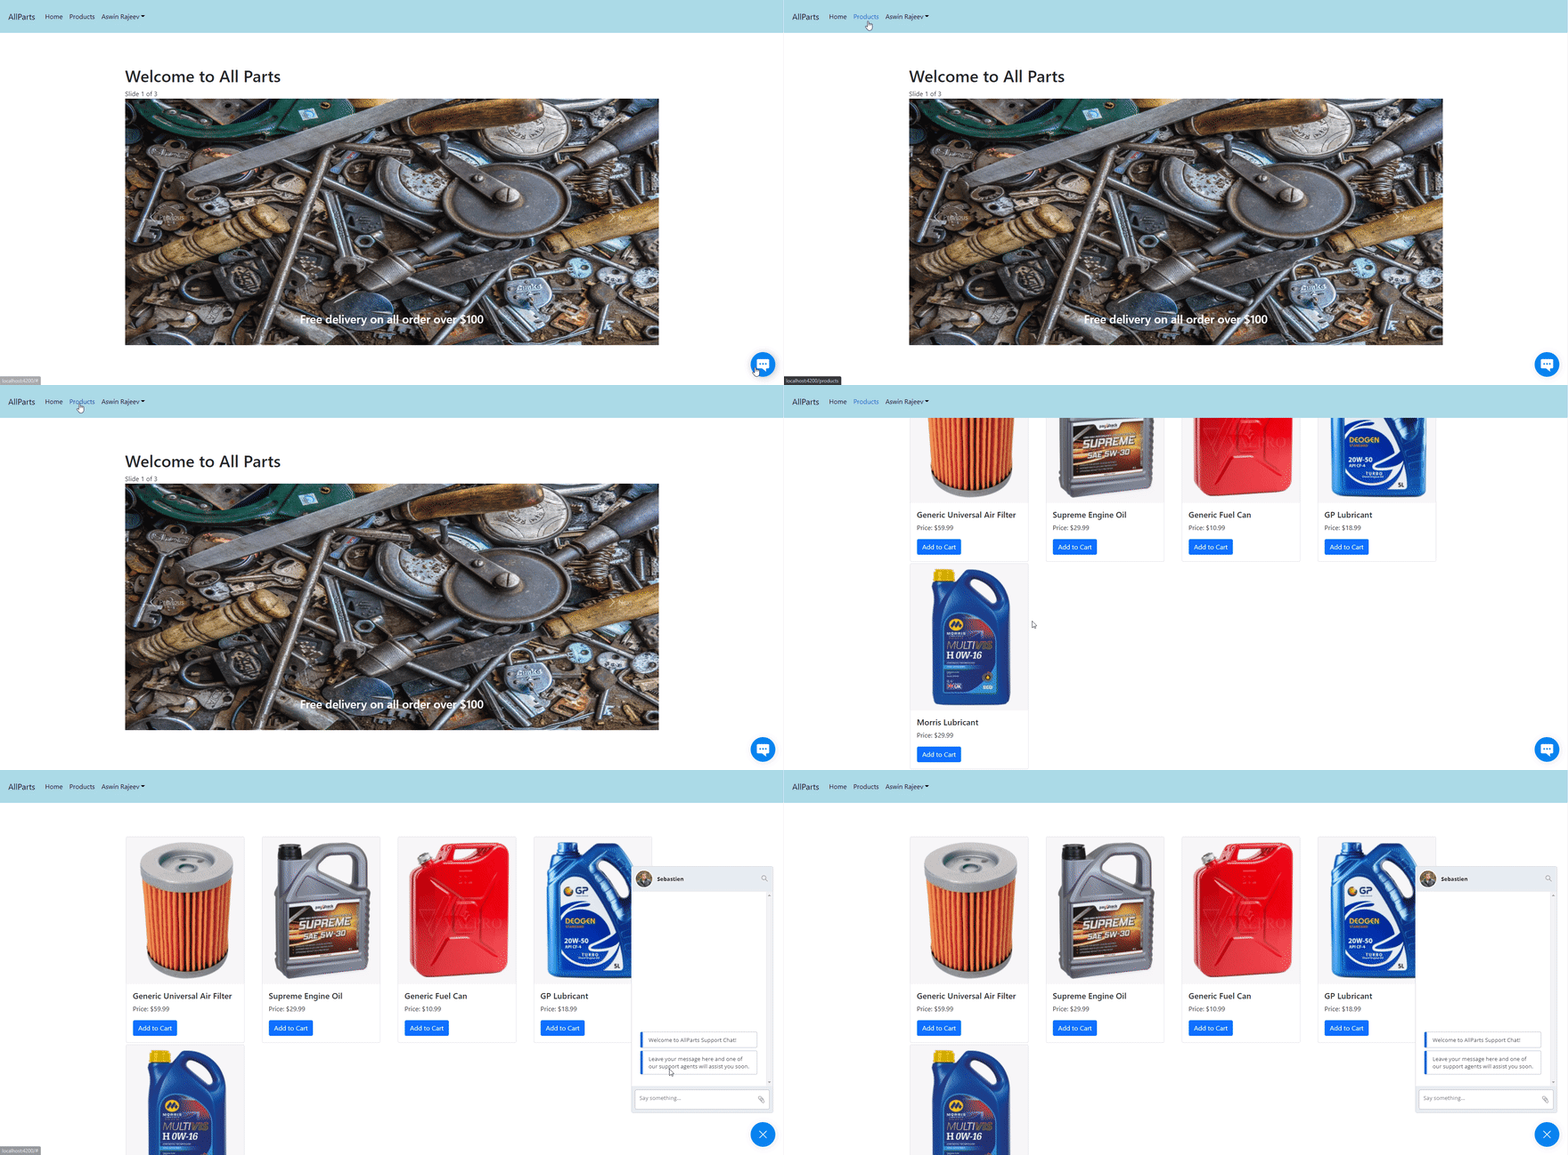
Below is a full demo of the application. The user is logged in and their username is displayed at the top. For authenticated users, the chatbox option is available at the bottom right corner, and they can also view the products.

Wrapping up
You have successfully integrated TalkJS to an existing Angular application called AllParts. This tutorial assumes that you have some basic knowledge of Angular, so didn’t go over the Angular code much in-depth. The entire code is available on GitHub. Make sure you create a Firebase project on Firebase Console and use the credentials provided there to authenticate your application with Firebase.


