
This guide uses the classic JavaScript SDK. If you're starting a new project, consider using TalkJS Chat UI components, which are more customizable.
Django is a popular Python framework that provides all the tools you need to develop web applications, such as data models, authentication and routing. This tutorial will show you how to use TalkJS's classic JavaScript SDK to add chat to your Django application:
To follow along with the tutorial, you'll need:
- A TalkJS account. TalkJS provides a ready-to-use chat client for your application. Your account gives you access to TalkJS's free development environment.
- A Python installation.
You may also already have a Django project that you want to add TalkJS to. If not, we'll walk you through how to install Django and set up a new project in the next section.
All the code for this example can be found in our GitHub repo.
Install and set up Django
We'll start by installing Django. For this tutorial we'll install it in a virtual environment specific to the project. First, create a new directory for your project, called for example django_talkjs. Inside the directory, run:
python -m venv venv
source venv/bin/activate  # On Windows, use: venv\Scripts\activate
pip install django
Next, run Django's startproject command to set up your project:
`django-admin startproject django_talkjs`
This should create the directory structure you need for your project. To check that
`python manage.py runserver`
This should start a development server at http://127.0.0.1:8000/.
Within your Django project, create a new talkjs app with the startapp command:
python manage.py startapp talkjs
We'll add all our chat-related code in this app.
Add the talkjs app to the INSTALLED_APPS list in settings.py:
INSTALLED_APPS = [
    'talkjs.apps.TalkjsConfig',
    'django.contrib.admin',
    'django.contrib.auth',
    'django.contrib.contenttypes',
    'django.contrib.sessions',
    'django.contrib.messages',
    'django.contrib.staticfiles',
]
Django will need this later to create database migrations for the app.
Add your user data
Next, we'll create some user data. For the purposes of this tutorial, we'll store it in a SQLite database. SQLite is included with Python, so this means we can get started without installing anything else. If you want to use a different database in your project, you can configure it in settings.py.
Create a new TalkJSUser model in talkjs/models.py for your user data:
from django.db import models
from django.contrib.auth.models import User

class TalkJSUser(models.Model):
    user = models.OneToOneField(User, on_delete=models.CASCADE)
    photo_url = models.CharField(max_length=200, blank=True)
    welcome_message = models.CharField(max_length=200, blank=True, null=True)
    phone = models.CharField(max_length=200, blank=True, null=True)
    locale = models.CharField(max_length=200, blank=True, null=True)
    availability_text = models.CharField(max_length=200, blank=True, null=True)
    role = models.CharField(max_length=200, blank=True, null=True)
    custom= models.CharField(max_length=200, blank=True, null=True)

    def __str__(self):
        return f'TalkJSUser: {self.user.username}'
Here we've linked our TalkJSUser model to Django's built-in User model so that we can use its existing user fields like names and email addresses. This way, we only need to add the user fields that are specific to TalkJS.
To create the migration file for this model, run the makemigrations command:
python manage.py makemigrations talkjs
This will create a SQL migration file in /talkjs/migrations. You can then run migrate to create the table in the database:
python manage.py migrate
You can create new TalkJS users through Django's admin interface or by calling the database API. To make it easier to test the app out, the example code for this tutorial includes a seed_users.py script in talkjs/management/commands that calls the database API to delete any existing TalkJS users in the database and create some new example users. You can run this with the following command:
python manage.py seed_users
Make sure to only run this on a test database where you're happy to delete your existing data!
Add your chat view
Now we have some user data, we can create views for it. Our main view will be a chat view which shows a chat between the current user and another user. To do this, we'll need to pass the data for both users to our views file in talkjs/views.py:
def chat(request, me_username, other_username):
    me_user = get_object_or_404(User, username=me_username)
    me_talkjs_user = get_object_or_404(TalkJSUser, user=me_user)
    other_user = get_object_or_404(User, username=other_username)
    other_talkjs_user = get_object_or_404(TalkJSUser, user=other_user)
    context = {
        'me': me_talkjs_user,
        'other': other_talkjs_user
    }
    return render(request, 'talkjs/chat.html', context)
We'll create the template file in talkjs/chat.html below.
We'll display the chat on a page with a relative path of chat/<current_username>/<other_username>. For example, if the current user has a username of alice, she'll view a chat with sebastianat chat/alice/sebastian.
To do this, add the following pattern to your talkjs/urls.py file:
urlpatterns = [
    # ... other patterns ...

    # ex: /chat/alice/sebastian
    path('<str:me_username>/<str:other_username>', views.chat, name='chat'),
]
You'll also need to configure the top-level urls.py so that it includes the URLs in talkjs/urls.py:
urlpatterns = [
    # other paths ...
    path("chat/", include("talkjs.urls")),
]
Next we'll create the chat.html template for the view in talkjs/templates/talkjs. As a first test, we'll just print the names of the two users:
<!DOCTYPE html>
<html lang="en">
  <head>
    <meta charset="UTF-8" />
    <meta name="viewport" content="width=device-width, initial-scale=1.0" />
    <title>TalkJS and Django example</title>
  </head>
  <body>
    <main>
      <p>
        This is a chat between {{ me.user.first_name }} and {{
        other.user.first_name }}.
      </p>
    </main>
  </body>
</html>
If you go to chat/alice/sebastian you should see "This is a chat between Alice and Sebastian.".
Include TalkJS
Now we'll update the chat template to do something more interesting. TalkJS provides pre-built chat UIs that allow you to quickly add chat to your application. In this tutorial, we'll use the Chatbox UI.
We'll use TalkJS's classic JavaScript SDK to add the chatbox. Add the following code to the head element of your HTML template:
<script>
  (function(t,a,l,k,j,s){
s=a.createElement('script');s.async=1;s.src="https://cdn.talkjs.com/talk.js";a.head.appendChild(s)
;k=t.Promise;t.Talk={v:2,ready:{then:function(f){if(k)return new k(function(r,e){l.push([f,r,e])});l
.push([f])},catch:function(){return k&&new k()},c:l}};})(window,document,[]);
</script>
Alternatively, if you already use NPM or yarn to manage your JavaScript packages, you can install TalkJS with:
npm install talkjs
or
yarn add talkjs
Then add the following code to another script element in your template:
Talk.ready.then(function () {
  var me = new Talk.User({
    id: "{{ me.user.username }}",
    name: "{{ me.user.first_name }}",
    email: "{{ me.user.email }}",
    photoUrl: "{{ me.photo_url }}",
    welcomeMessage: "{{ me.welcome_message }}",
    role: "{{ me.role }}",
  });

  window.talkSession = new Talk.Session({
    appId: "<APP_ID>", // replace with your TalkJS app ID
    me: me,
  });

  var other = new Talk.User({
    id: "{{ other.user.username }}",
    name: "{{ other.user.first_name }}",
    email: "{{ other.user.email }}",
    photoUrl: "{{ other.photo_url }}",
    welcomeMessage: "{{ other.welcome_message }}",
    role: "{{ other.role }}",
  });

  var conversation = talkSession.getOrCreateConversation(
    Talk.oneOnOneId(me, other)
  );
  conversation.setParticipant(me);
  conversation.setParticipant(other);

  var chatbox = talkSession.createChatbox();
  chatbox.mount(document.getElementById("talkjs-container"));
  chatbox.select(conversation);
});
This code sets up a conversation between the current user and the other user, with user data provided by the chat view. For more explanation of the TalkJS code, see our getting started guide.
You'll need to replace <APP_ID> with your app ID, which you can find on the Settings tab of your TalkJS dashboard.
For convenience, in the example project we've also created a second selectchat template that lets you select which chat you want to join. For example, if you go to /chat/alice you'll see links to chats with Nina and Sebastian. We won't go through this template and its corresponding view in detail as they work in a similar way to the chat ones, but you can view them in the repo.
In the chat template, we'll add a button to get back to the selectchat screen:
<button class="chat-button">
  <a onclick="location.href='/chat/{{ me.user.username }}'" type="button">
    <!-- SVG left arrow icon -->
    <svg
      xmlns="http://www.w3.org/2000/svg"
      width="16"
      height="16"
      viewBox="0 0 24 24"
      fill="none"
      stroke="currentColor"
      stroke-linecap="round"
      stroke-linejoin="round"
      stroke-width="2"
    >
      <path d="m15 18-6-6 6-6" fill="none" />
    </svg>
    {{ me.user.first_name }}'s chats
  </a>
</button>
We now have a chatbox with au unstyled button:
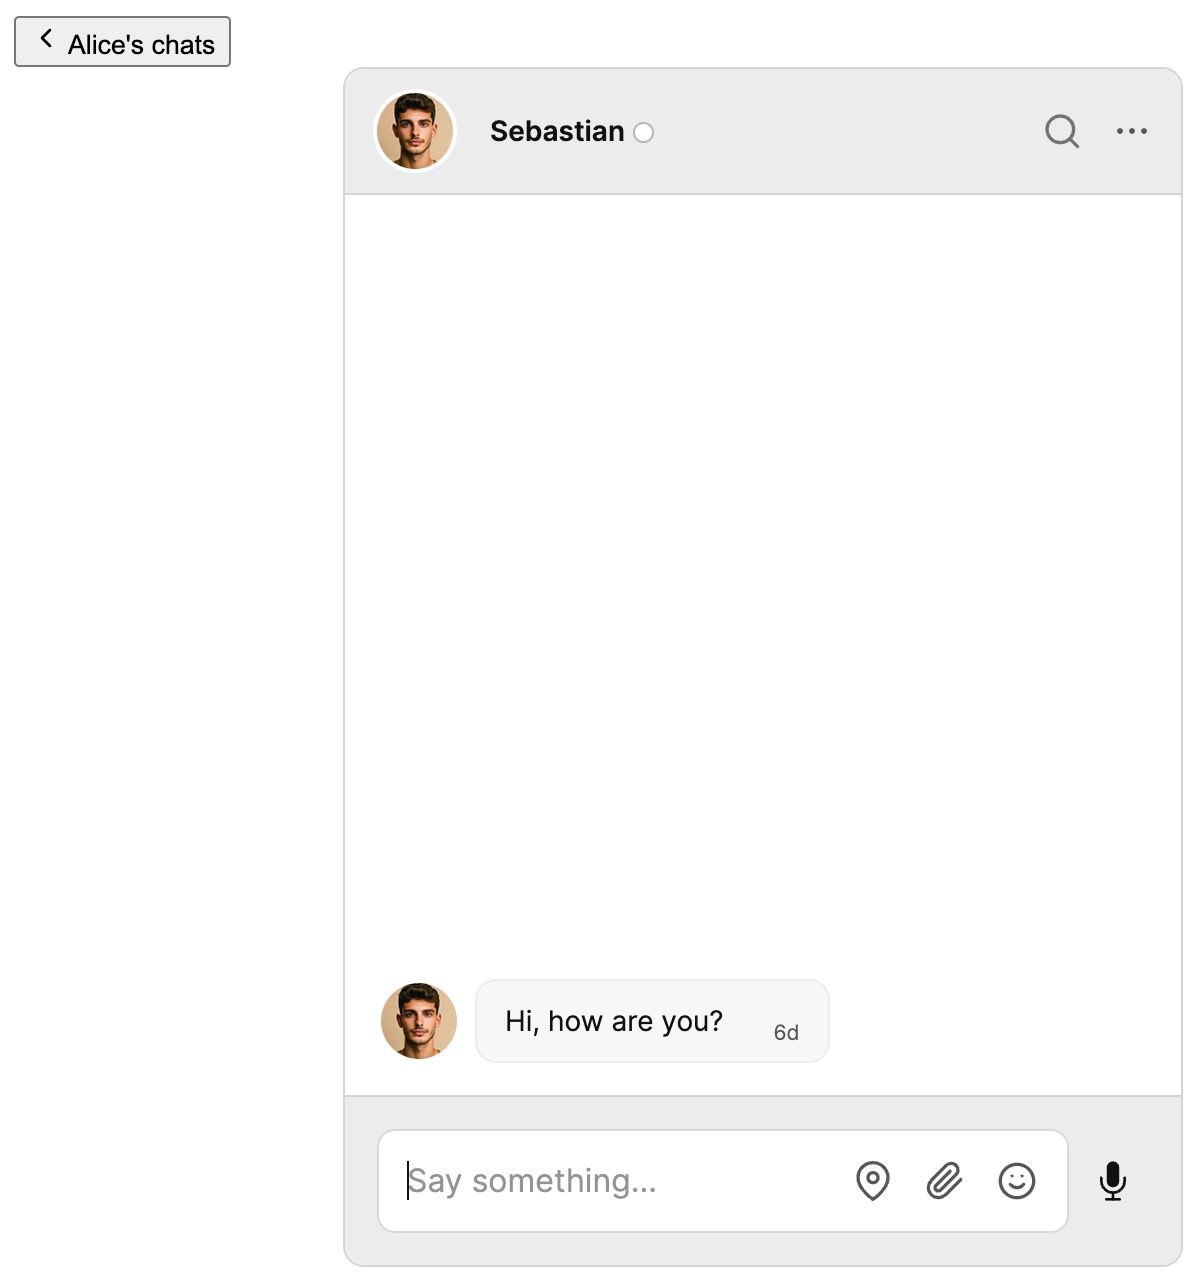
We'll use CSS to style the button and align it with the chatbox in the next section.
Style the chat
In Django, CSS files need to be added to a static files directory. We'll create a new talkjs/static/talkjs directory for our styles.css file and then update settings.py to tell Django where to look for it:
# Static files (CSS, JavaScript, Images)
# https://docs.djangoproject.com/en/5.0/howto/static-files/

STATIC_URL = '/static/'

STATICFILES_DIRS = [
    os.path.join(BASE_DIR, "talkjs", "static"),
]
Now we can link it from our template files. Load the static template tag at the top of your chat.html and select.html files, and then include the link to the stylesheet:
{% load static %}
<!DOCTYPE html>
 <html lang="en">
  <head>
    <meta charset="UTF-8" />
    <meta name="viewport" content="width=device-width, initial-scale=1.0" />
    <title>TalkJS and Django example</title>
    <link rel="stylesheet" href="{% static 'talkjs/styles.css' %}" />
    <!-- ... -->
  </html>
  <!-- ... -->
</html>
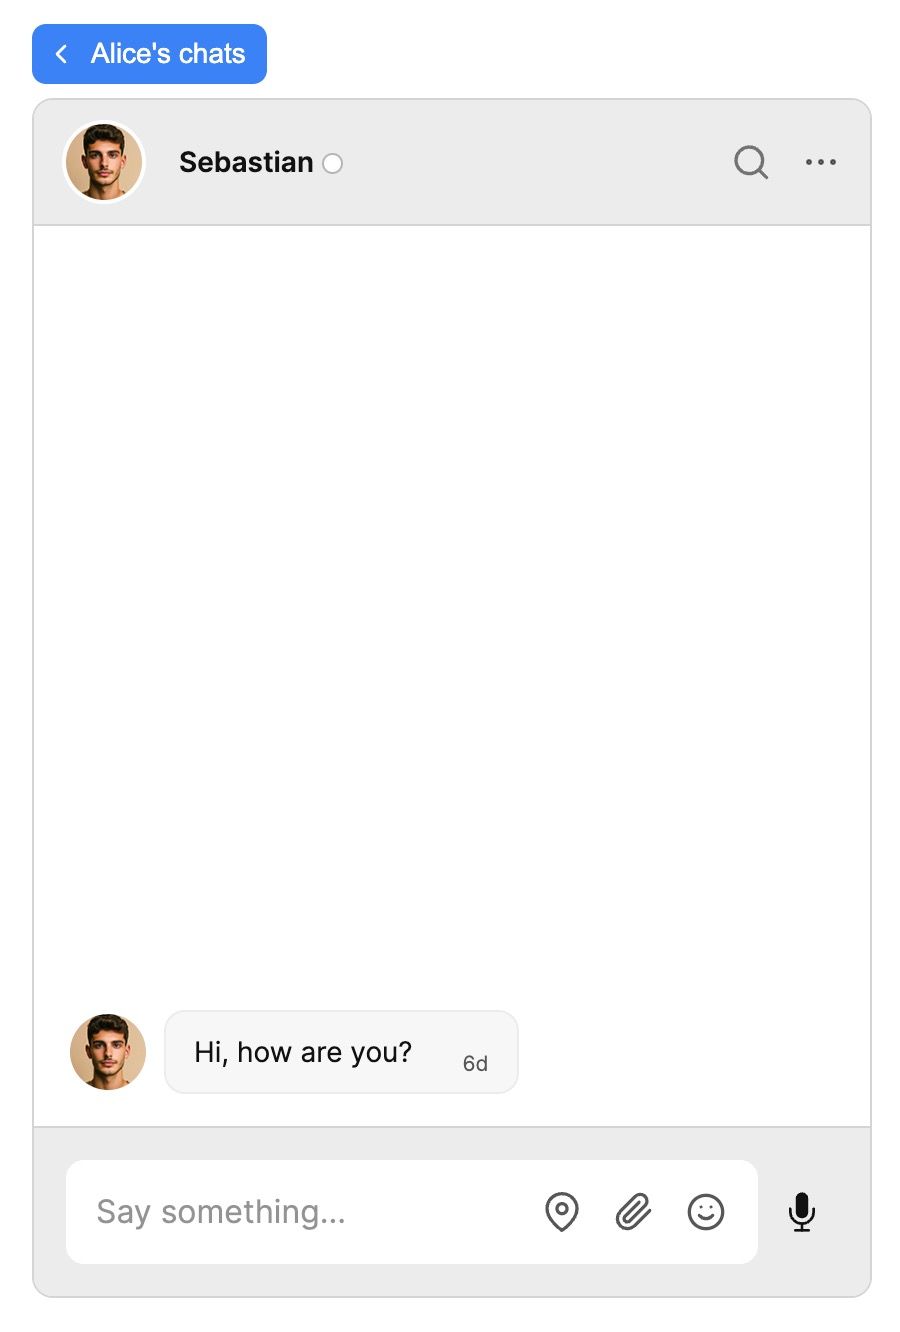
You can view the styles we're using for our example in the GitHub repo. After applying these styles your chat should look something like this:
Summary
You now have a working demonstration of how to integrate TalkJS with Django! To recap, in this tutorial we have:
- Created some TalkJS user data and stored it in a SQLite database
- Passed our user data to a view and template
- Added a chatbox to the template with TalkJS's JavaScript SDK
- Styled the template
For the full example code for this tutorial, see our Github repo.
If you want to learn more about TalkJS, here are some good places to start:
- The TalkJS Docs help you get started with TalkJS.
- TalkJS tutorials provide how-to guides for many common TalkJS use cases.
- The talkjs-examples Github repo has larger complete examples that demonstrate how to integrate with other libraries and frameworks.


