
This guide uses the classic JavaScript SDK. If you're starting a new project, consider using TalkJS Chat UI components, which are more customizable.
TalkJS provides an intuitive API for adding chat to our web or mobile app. However, there may be custom features we’d like our components to have. Fortunately, TalkJS is highly-customizable in addition to its plug-and-play nature. Here, we’ll explore that customizability by adding the ability to pin a message in our app.
To follow this tutorial, we will need to have a couple of things prepared already: an app and TalkJS integrated into it. If you haven’t done the latter, a host of guides and tutorials are available to help you along. We will also need to be able to write server-side code for our app.
The starting point
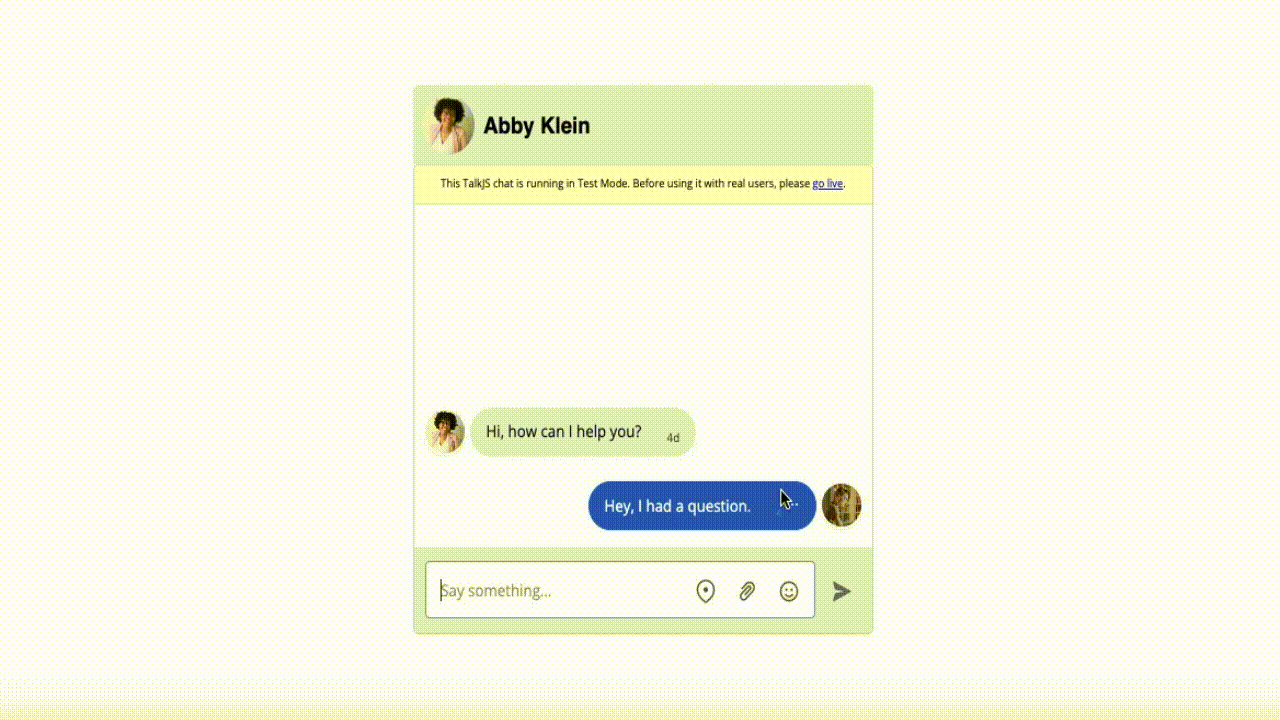
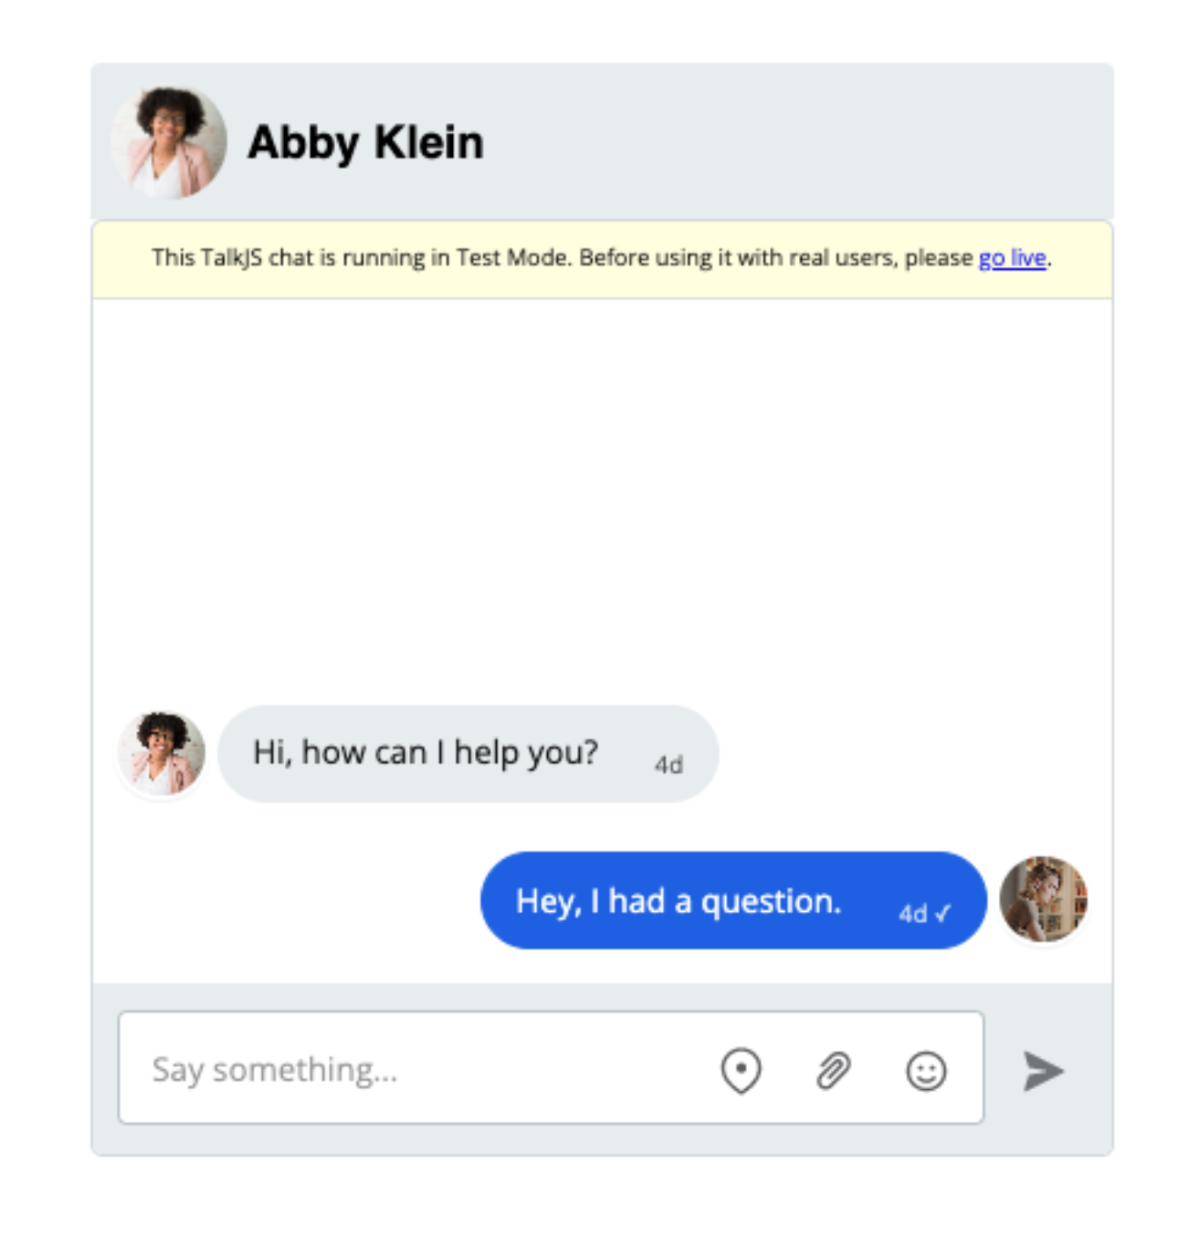
The app used for this guide is a bare-bones Express.js server serving the following frontend code. Code not directly relevant to the tutorial—such as CSS—has been omitted.
// HTML
<main>
<section id=”chatbox”></section>
</main>

// JS
const chatboxEl = // ...
function buildChatbox() {
Talk.ready.then(() => {

const currentUser = // ...

const session = // ...

const otherUser = // ...

const conversation = // ...

const chatbox = // ...
});
}

window.addEventListener(‘load’, buildChatbox);
This code is functionally similar to the official guide on integrating TalkJS using the classic Javascript SDK.
Editing a role
Before we can build our app any further, we will need to be able to listen to events within the TalkJS UI. The UI will also need to display an element for the user to interact with. Custom message actions allow us to do just that.
Navigate to Roles in your TalkJS dashboard and choose—or create—a role. Then scroll down to Custom actions and add a new action.
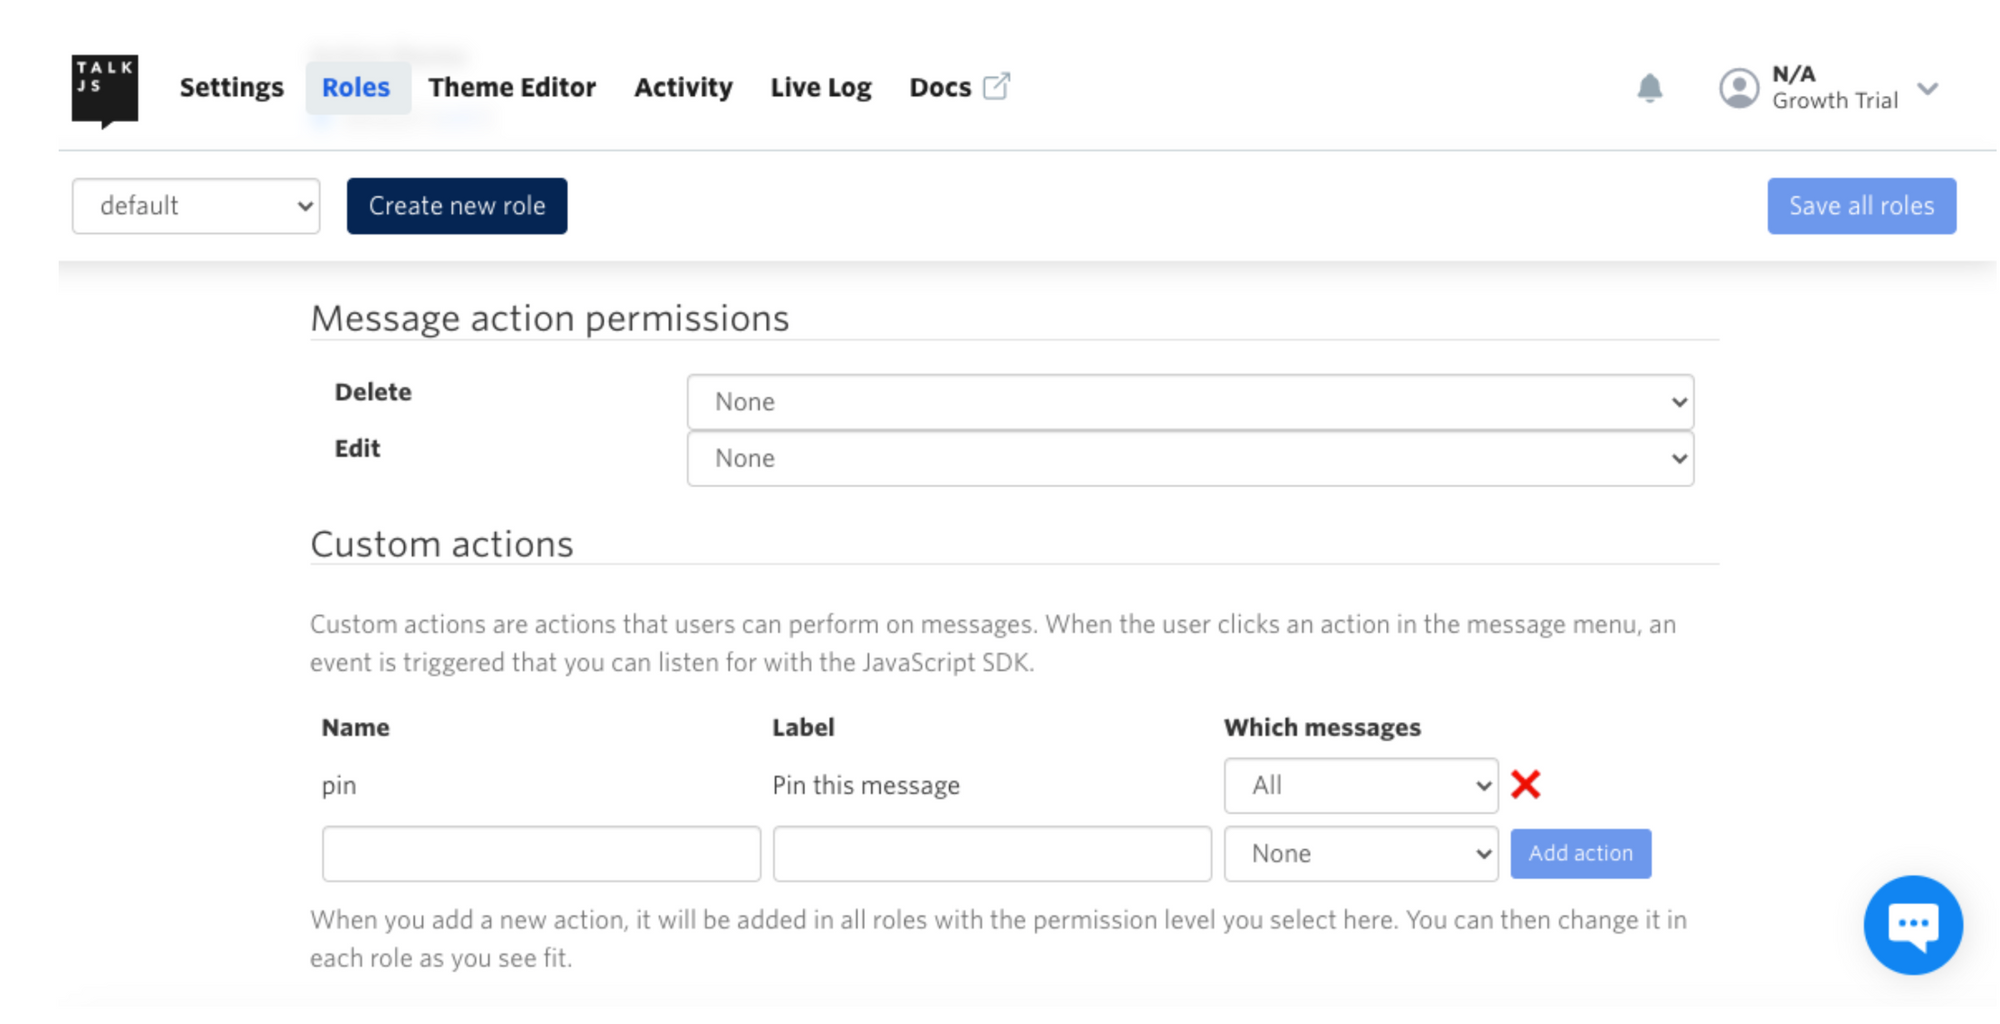
The name of the new action will be used to select it from within our app, while its label is what is shown in the UI. Finally, you can select which messages the user can perform that action on, their own or those sent by anyone.
After you save all roles and check back on your app, you will notice a new element in your UI.
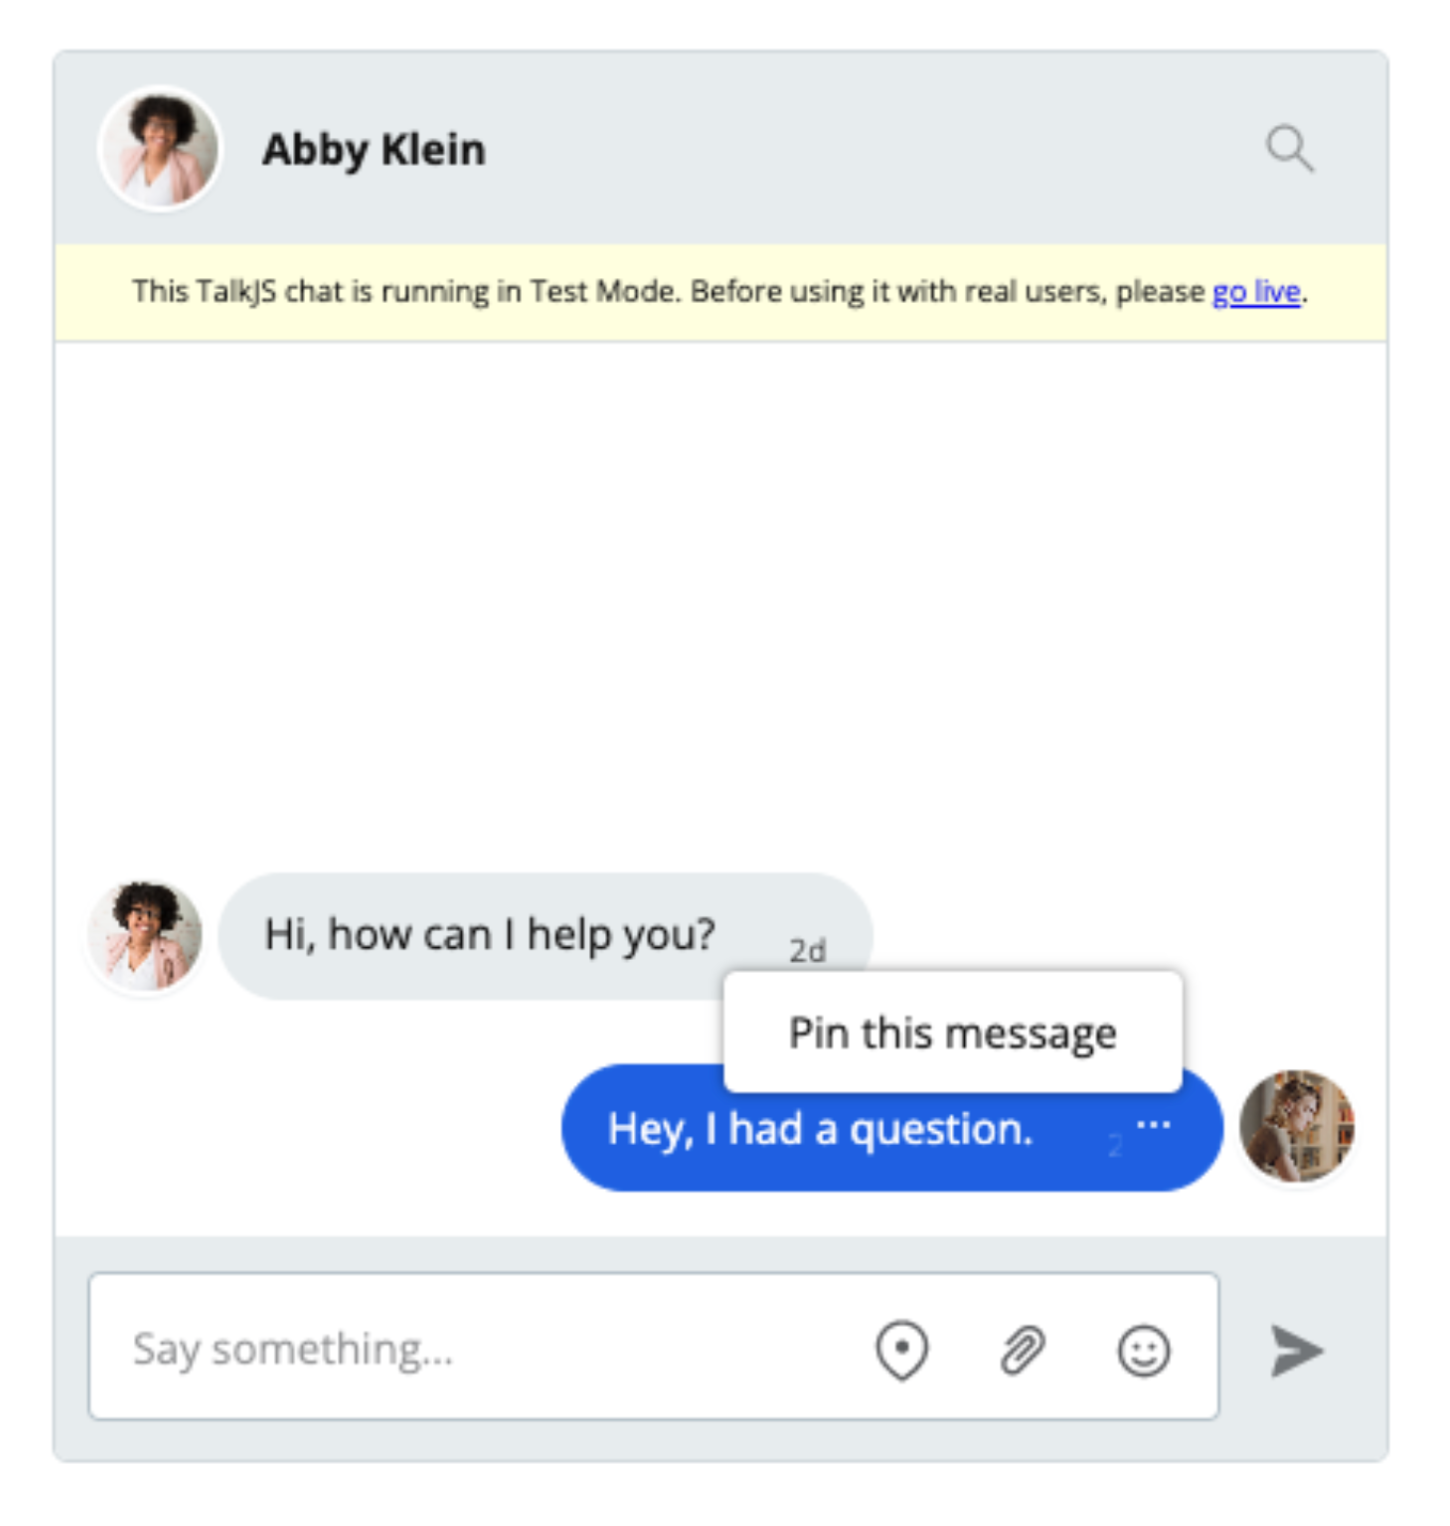
Using custom actions
To use our newly-created message action, we can use the chatbox’s onCustomMessageAction method.
function buildChatbox() {
	// ...
	chatbox.onCustomMessageAction(‘pin’, ({ message }) => {
		// ...
	});
}
This method takes the name of the action we set up above as the first argument and a handler function as the second. The handler, in turn, provides us with an object containing data about the message the user clicked.
The TalkJS REST API
To ’pin’ a message to our conversation we will:
- store the message in the conversation’s metadata;
- display it in the UI.
Amending a conversation’s data requires us to use the TalkJS REST API. To ensure security, it’s important to make calls to it from the server-side.
Let’s create a new route in our app’s backend to act as a middleware between our frontend and the REST API. We will be using the axios library to call the API here, but the process will be the same for the HTTP client of your choice.
app.post('/api/pin', async (req, res) => {
  const { conversationId, messageId, body } = req.body;

  const response = await axios({
    method: 'PUT',
    url: `https://api.talkjs.com/v1/YOUR_APP_ID/conversations/${conversationId}`,
    headers: {
      'Content-Type': 'application/json',
      'Authorization': 'Bearer YOUR_SECRET_KEY',
    },
    data: {
      "custom": {
        "pinned": JSON.stringify({
          "id": messageId,
          "body": body,
        })
      },
    },
  })
    .then(() => 'message pinned')
    .catch((err) => `error: ${err}`);

  res.json(response);
});
There is a lot of new code to get through, we will go over it step-by-step.
- Our frontend will POST the conversationId, messageId, and message body to /api/pin.
- Our server will then PUT the messageId and message body in the conversation’s custom metadata property.
- It’s crucial to include the Content-type and Authorization headers. YOUR_SECRET_KEY can be found in your dashboard.
- The call will be made to the endpoint for a single conversation which needs YOUR_APP_ID and the conversationId. The former can be found in your dashboard.
- Finally, our server will return whether the call was successful or not.
We can now build the frontend function that will interact with this route.
function buildChatbox() {
  // ...
  chatbox.onCustomMessageAction(‘pin’, async ({ message }) => {
    const { id, conversation, body } = message;

    await fetch('/api/pin', {
      method: 'POST',
      headers: {
        'Content-Type': 'application/json',
      },
      body: JSON.stringify({
        conversationId: conversation.id,
        messageId: id,
        body: body,
      }),
    })
      .then((result) => console.log(result))
      .catch((err) => console.log(err));
  });
}
The handler we had passed to onCustomMessageAction will now:
- process the code asynchronously;
- obtain the message id and body, and conversation.id;
- POST this data to /api/pin.
Our server-side code will, in turn, use this data to update our conversation on TalkJS.
Custom chat headers
All that’s left now is to update the UI to show the pinned message. The easiest way to do this would be to create a custom header for our chatbox.
First, let’s hide the default header that comes with the Chatbox UI. This can be passed as an option while first initializing the chatbox.
function buildChatbox() {
  // ...
  const chatbox = session.createChatbox({
    showChatHeader: false,
  });
}
Looking at the app in the browser, our UI now appears ‘headless’. There are several options available to further customize your UI.
Now, we can add a new chatbox-header just above the element the chatbox mounts to.
<main>
  <header class=”chatbox-header”>
    // ...
    <p id=”pinned”></p>
  </header>
  <section id=”chatbox”></section>
</main>
We have also created an element within the <header> which will display the pinned message.
To update our new <header>, we will need to add a new line of code to the onCustomMessageAction handler.
// ...
const pinnedEl = document.getElementById(‘pinned’);

function buildChatbox() {
  // ...
  chatbox.onCustomMessageAction(‘pin’, async({ message }) => {
    const { // ... body } = message;
    await fetch(‘/api/pin’, {
      // ...
    })
      .then((result) => {
        // ...
        pinnedEl.innerText = body;
      })
    // ...
  });
}
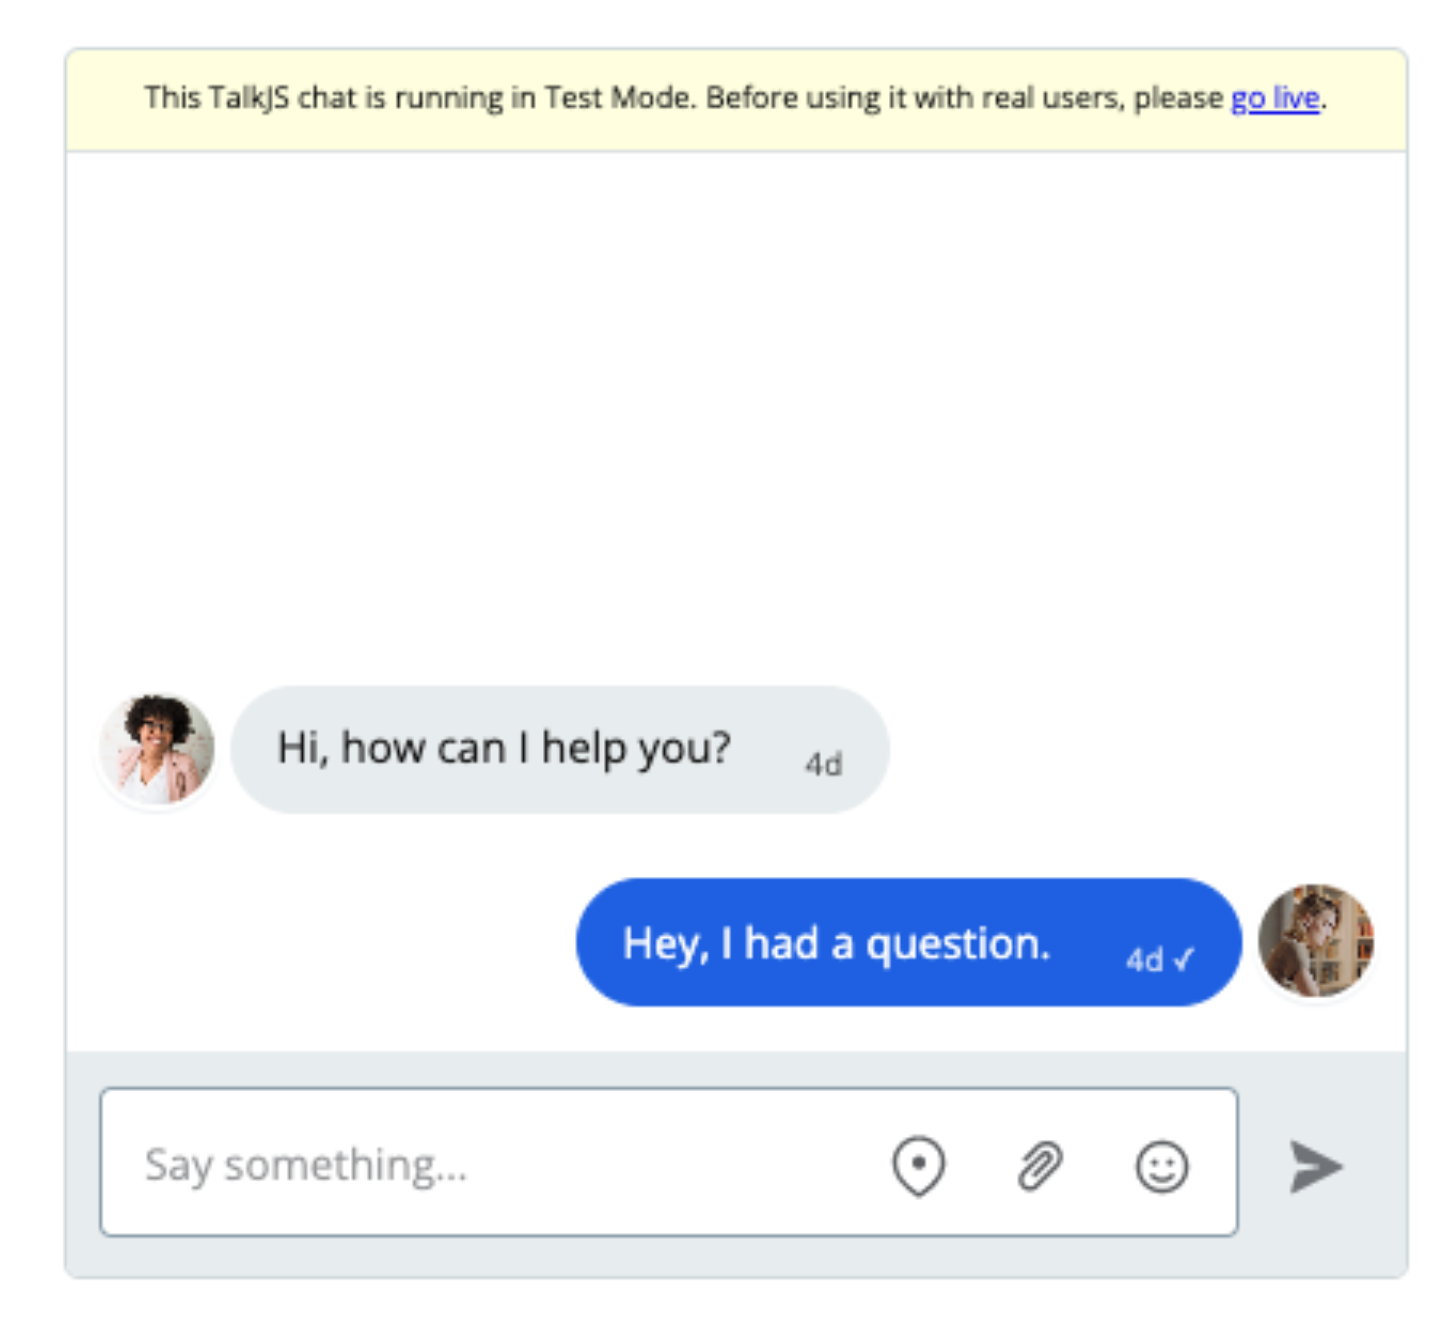
When you now pin a message, not only will the conversation be updated in the TalkJS database but it will also set the innerText of pinnedEl to the message’s body.
Final remarks
In a sense, what we’ve built is a rudimentary ‘pin’ action; it has introduced us to several powerful features TalkJS offers. Roles allow you to have fine-grained control over what specific users have access to, and custom message actions enable you to use that programmatically. The REST API gives you greater control over the data that’s stored at TalkJS. The options available when creating your UI let you customize the look and feel of your app, such as building an entirely custom header. With these tools under your belt, you can now create much more elaborate actions and features for your app.


