
This guide uses the classic JavaScript SDK. If you're starting a new project, consider using TalkJS Chat UI components, which are more customizable.
TalkJS is a chat API with a pre-built UI. It makes it easy to add chat functionality to your website or app. In this tutorial, you will learn how to build a custom header for the TalkJS Chatbox and add functional buttons.
Setting up a simple TalkJS chat
We have a quick guide that you can use to get TalkJS up and running with the classic JavaScript SDK. Additionally, you may like to customise the chat UI a bit by changing the photoUrl(s) for all users to give them an actual profile picture, as we did in this tutorial.
Since we’re working with the TalkJS Chatbox, we should change the sample code by replacing createInbox() with createChatbox().
this.inbox = window.talkSession.createInbox({
                   selected: conversation
               });
this.inbox.mount(this.container);
The new code should look something like this.
this.chatbox = window.talkSession.createChatbox(conversation);
this.chatbox.mount(this.container);
Run the application using npm start, and the output should look like this:
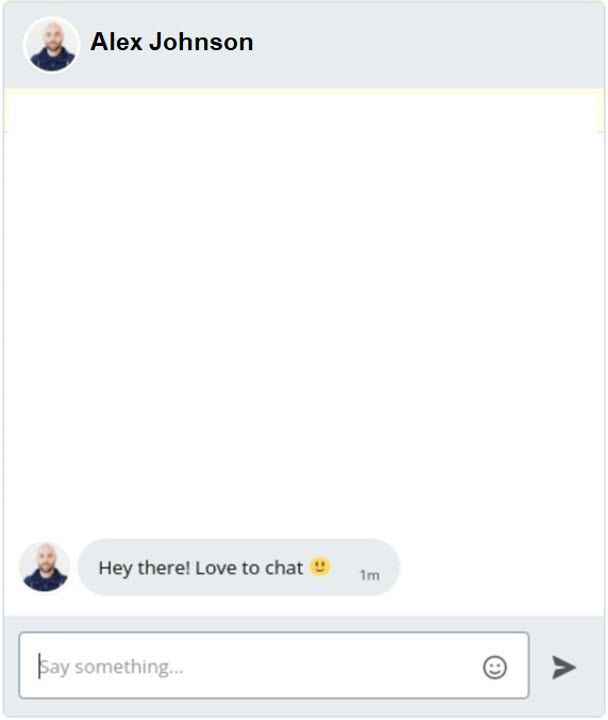
Once npm loads the chat, you can see the default UI that you can further customize and style by using TalkJS Themes. But that’s up to you. Now, let’s learn how to create a custom chatbox header before we start adding functional buttons.
Removing the default header
To add buttons to the chatbox header, we must remove the default chat header component and create a custom one. By reading our docs you can learn more about creating custom chat headers.
To remove it, we will first add another argument to the createChatbox() function.
this.chatbox = window.talkSession.createChatbox(
conversation,
{showChatHeader: false});
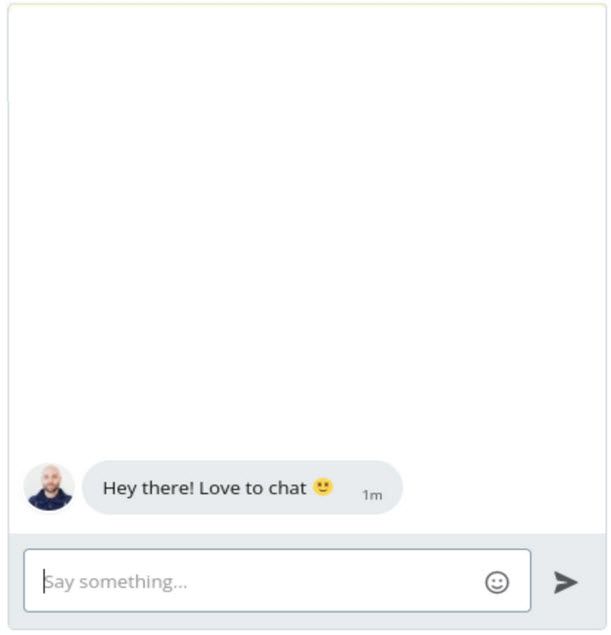
this.chatbox.mount(this.container);Once you execute the code, the header disappears and the chatbox looks like this.
Creating the new header and adding buttons
Here we will create a new component that will be available within the TalkJS custom header and the container that mounts the actual chatbox. The component will be a button that is designed to start a video call. We will have separate divs for the other user’s username and avatar inside the new chatbox container.
<div className='chatbox-container'>
{/* Custom chatbox header */}
<div id="chatbox-header" className='chatbox-header'>
<div id="header-bg">
<div>
<div>
<image className='user-avatar' src={this.otherUserImgUrl}></image>
<p style={{ alignSelf: "center" }} id="header-subject"><span id="header-username"> {this.otherusername}</span></p>
</div>
<div className="button-container">
<input className="videocall" type="image" name="videoCallButton" id="videocall" src="https://img.icons8.com/material-sharp/24/ffffff/video-call--v1.png" alt='Loading Image' onClick={(e) => { e.preventDefault(); console.log("vid button"); window.open("https://talkjs.com/resources/how-to-add-audio-and-video-calls-to-a-talkjs-chat-by-using-the-daily-api/") }} />
</div>
<input className="backbutton" type="image" name="backButton" id="back" src="https://img.icons8.com/material-sharp/24/ffffff/back.png" alt='Loading Image' onClick={(e) => { e.preventDefault(); console.log("back button"); window.open("https://talkjs.com/") }} />
</div>
</div>
</div>
{/* Container that mounts displays the chat box */}
<div style={{ height: '500px' }} ref={c => this.container = c}>Loading...</div>
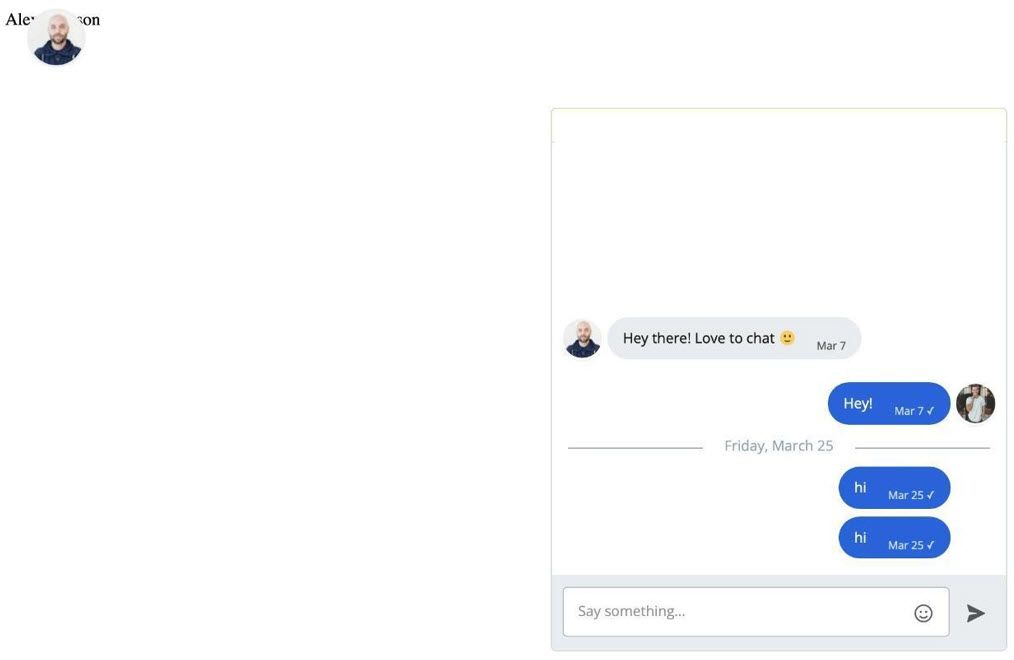
</div>Below is the image of how the header looks after removing the default header and adding the new header div containing the user name and icons. However, the header doesn't look great because we didn't do any styling.
Styling the custom header
Now we will style the divs to make them look nice. The custom CSS class chatbox-container will also require styling. Here is the updated CSS, which includes the required classes for proper styling of the application divs:
These CSS classes define the required fields' alignment, padding, sizing, and colors. Here are the details of the changes applied.
- The background-color in “.chatbox-header” defines the specific color for the header div
- The top and margin tags in “.user-avatar” help in aligning the avatar into the correct position
- The font-size, top, and margin tags in “#header-subject” help in styling the text in header div.
- Similarly, the CSS uses specific elements for buttons and not the actual button HTML tags for visualization.
- The video call and the back button are the icons for these functions. Therefore, the classes “.button-container”, “.button-container p”, “.videocall”, and “.backbutton” use tags like bottom, top, left, right, float, and margin for proper styling and provide the readers with visual effects for these buttons.
.chatbox-container {
   width: 420px;
   max-width: 100%;
   margin: auto;
}
/* Custom header for the chatbox*/
.chatbox-header {
   width: 100%;
   height: 70px;
   background-color: rgb(29, 96, 225);
   border-radius: 10px 10px 0 0;
}

#header-bg {
 top: 0;
 left: 0;
 width: 100%;
 height: 100%;
 opacity: 0.6;
}
.user-avatar {
 position: absolute;
 height: 50px;
 width: 50px;
 background-size: cover;
 background-repeat: no-repeat;
 background-position: center;
 border-radius: 50%;
 border: 2px solid #eee;
 margin-left: 20px;
 top: 15px;
 }
#chatbox-header p {
 font-family: "Helvetica", sans-serif;
 color: #eee;
 margin-right: 0px;
 margin-top: 5px;
}

#header-subject {
 position: absolute;
 font-size: 18px;
 margin-top: 20px;
 margin-bottom: 20px;
 margin-left: 85px;
 top: 30px;
}

/* Notification toggle */
.button-container {
   text-align: right;
   bottom: 100px;
   right: 10px;
   left: 20px;
   top: 100px;
   margin-right: 10px;
 }
.button-container p {
   display: inline;
   font-size: 10px;
   padding-right: 10px;
   vertical-align: middle;
   left: 50px;
   top: 100px;
}
.videocall{
 float: right;
 margin-right: 0px;
 top: 50px;
 margin-top: 20px;
 }
.backbutton{
 float: left;
 margin-left: 0px;
 top: 50px;
 margin-top: 20px;
}
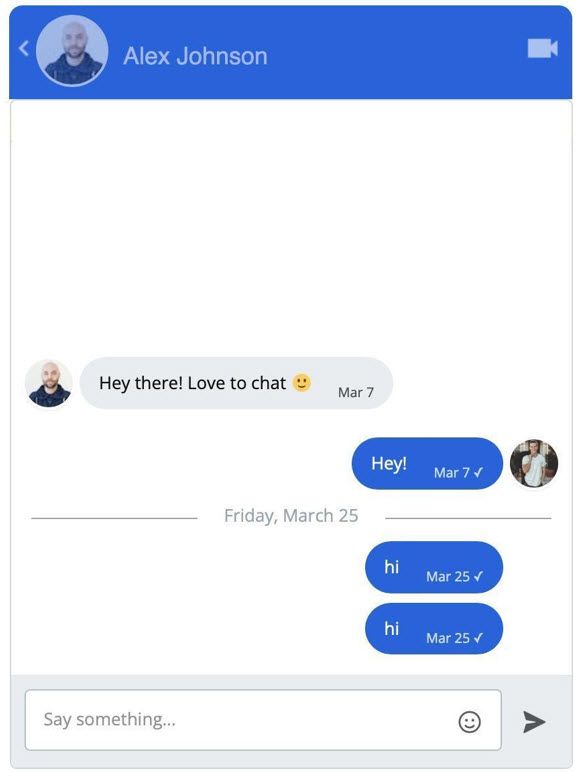
Once the script is successfully compiled, the chatbox will have a back button and a video call button with a user avatar which is also an actionable button.
Setting the button to open User’s profile
For the profile picture to function as a button, we must create a click listener or an onClick handler and attach it to the user-avatar component. You can even add just a href with the profile link.
<image onClick={e => { e.preventDefault(); console.log("image"); window.open(this.otherUserProfileURL) }} className='user-avatar' src={this.otherUserImgUrl}></image>
Now, clicking on the avatar will take you to the user’s profile. The redirect URL can be set to anything and passed to the window.open() function.
Adding a video call button
We need to add the action listeners to the video call button we mentioned before. Below is the sample code to add the basic action listener that links, just for example purposes, to one of the TalkJS tutorials about video calls. You can add any relevant script to the code instead of the link.
<input className="videocall" type="image" name="videoCallButton" id="videocall" src="https://img.icons8.com/material-sharp/24/ffffff/video-call--v1.png" alt='Loading Image' onClick={(e) => { e.preventDefault(); console.log("vid button");

window.open("https://talkjs.com/resources/how-to-add-audio-and-video-calls-to-a-talkjs-chat-by-using-the-daily-api/") }} />
More extensive functionalities such as voice and video chat calls can also be added by using the Daily API.


