

This guide uses the classic JavaScript SDK. If you're starting a new project, consider using TalkJS Chat UI components, which are more customizable.
Of all the features you might want to add to an app, building a high-quality livestream experience with integrated chat is one of the most complicated. Thankfully, you don't have to build it.
This how-to guide shows how you can create a professional livestream experience for your users in minutes, not months, all thanks to a recent partnership between TalkJS and Mux.
To follow along, you will need:
- A free TalkJS account, which handles chat, providing a pre-made chat client
- A free Mux account, which handles the stream and its player
- Live Streaming software, such as OBS Studio
- About 10 minutes
Then, it's as simple as creating a livestream in Mux, adding it to your website next to the TalkJS chat client, and starting your livestream!

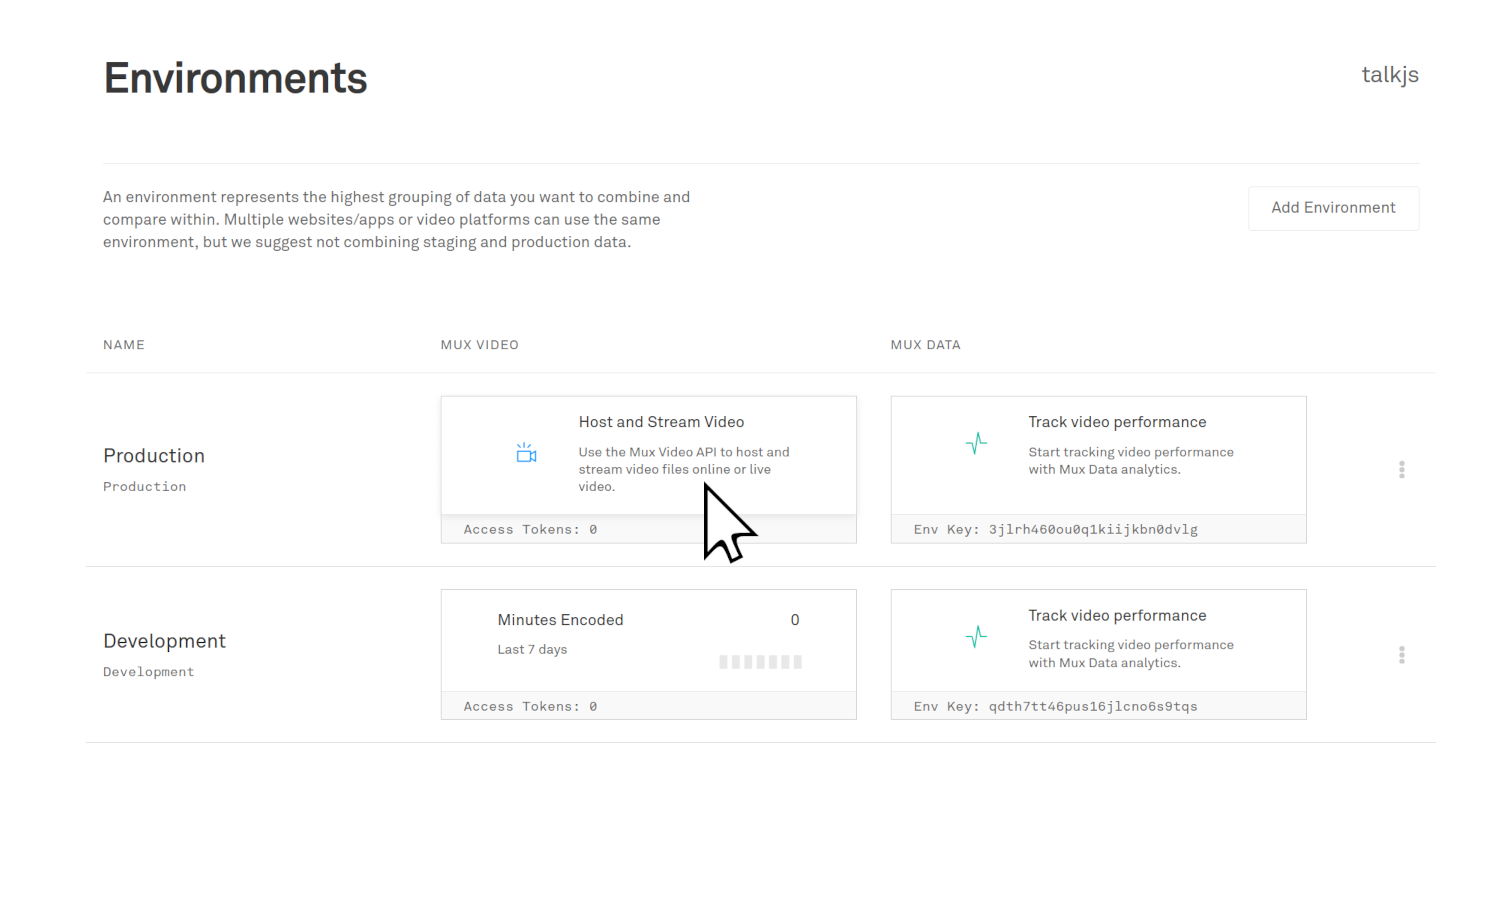
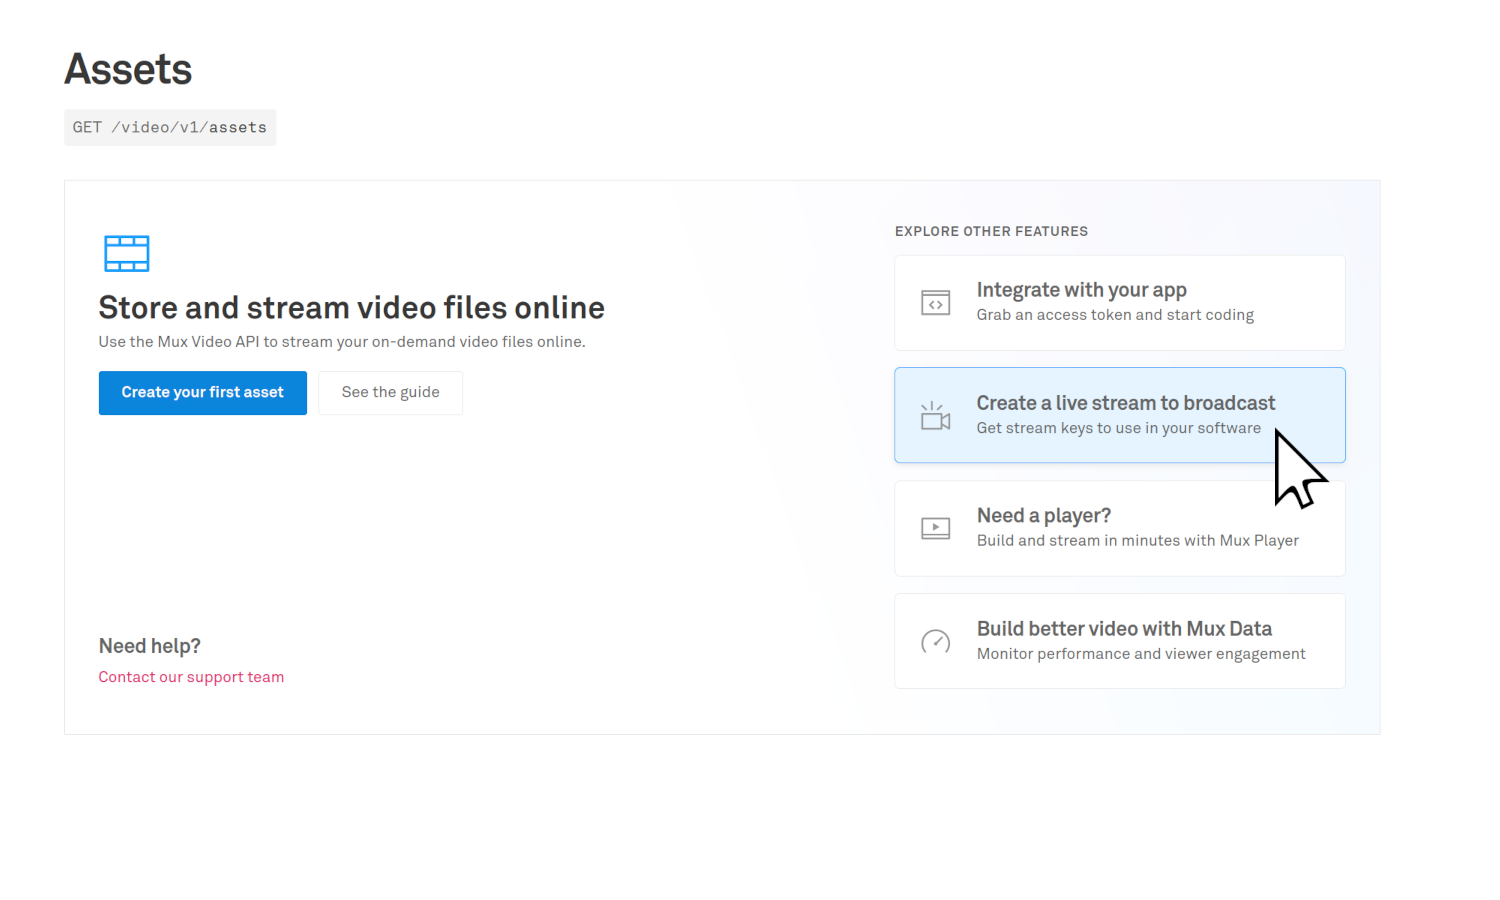
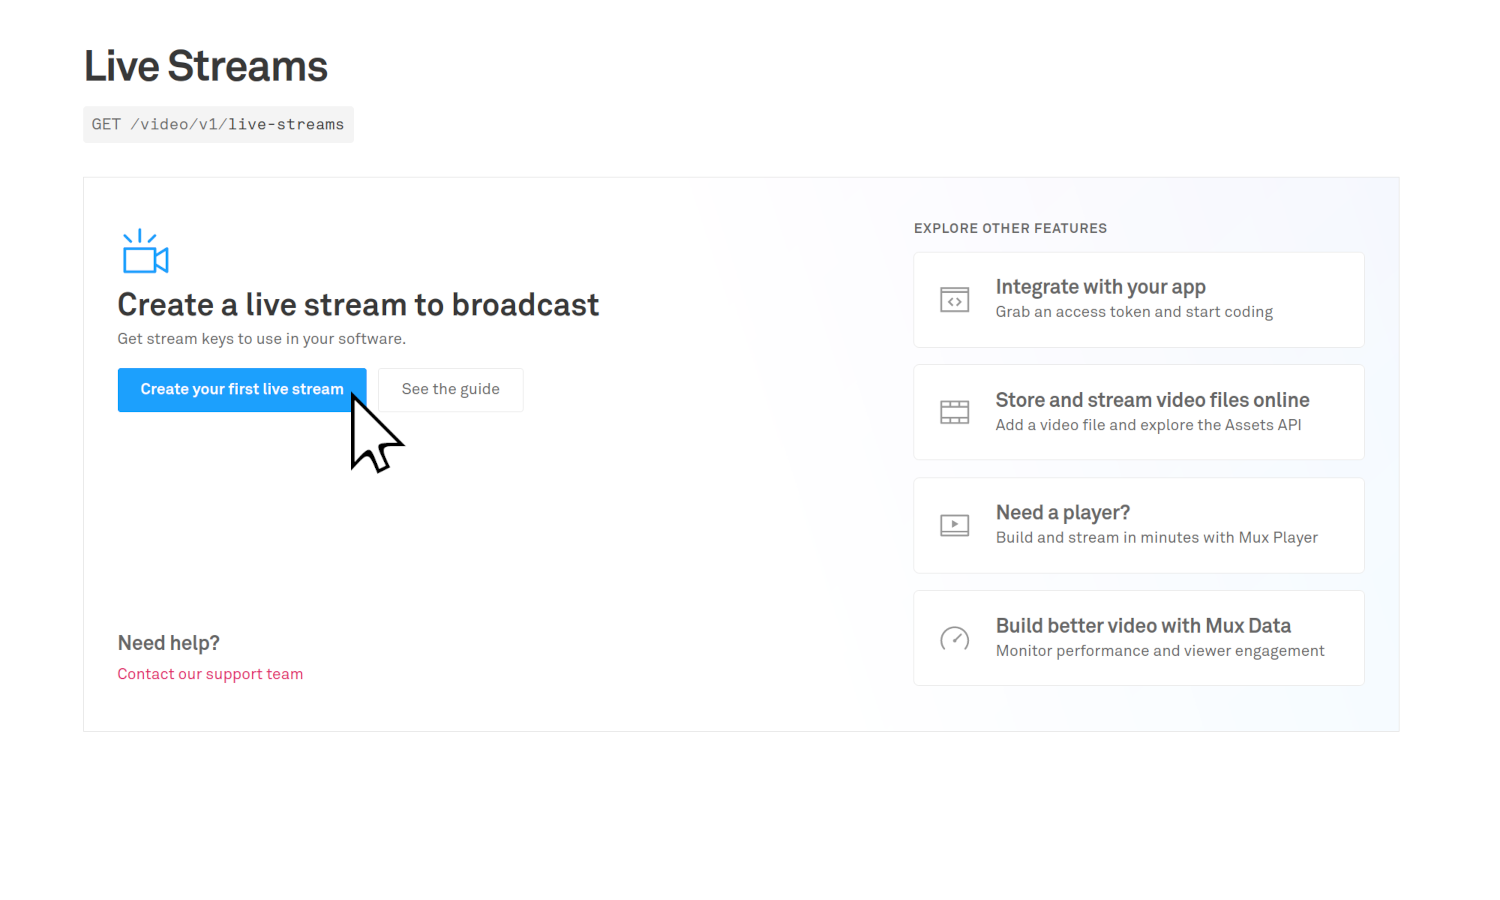
Configuring Mux
Mux supports both pre-recorded videos and livestreams, so let's start by telling it that we want a stream. After logging in, click Host and Stream Video, then Create a live stream to broadcast, and Create your first live stream.
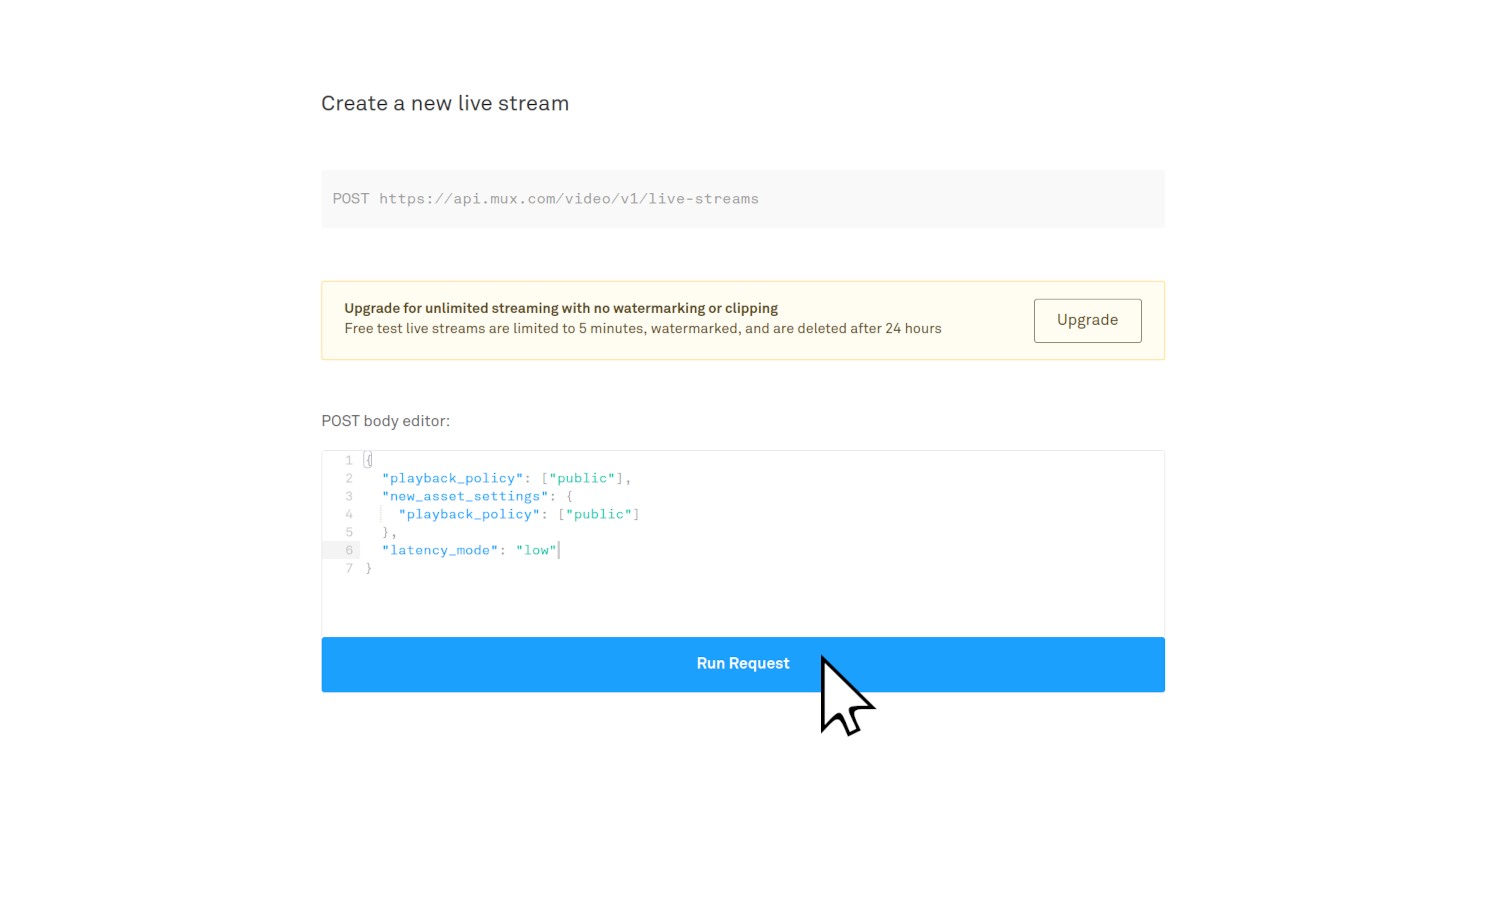
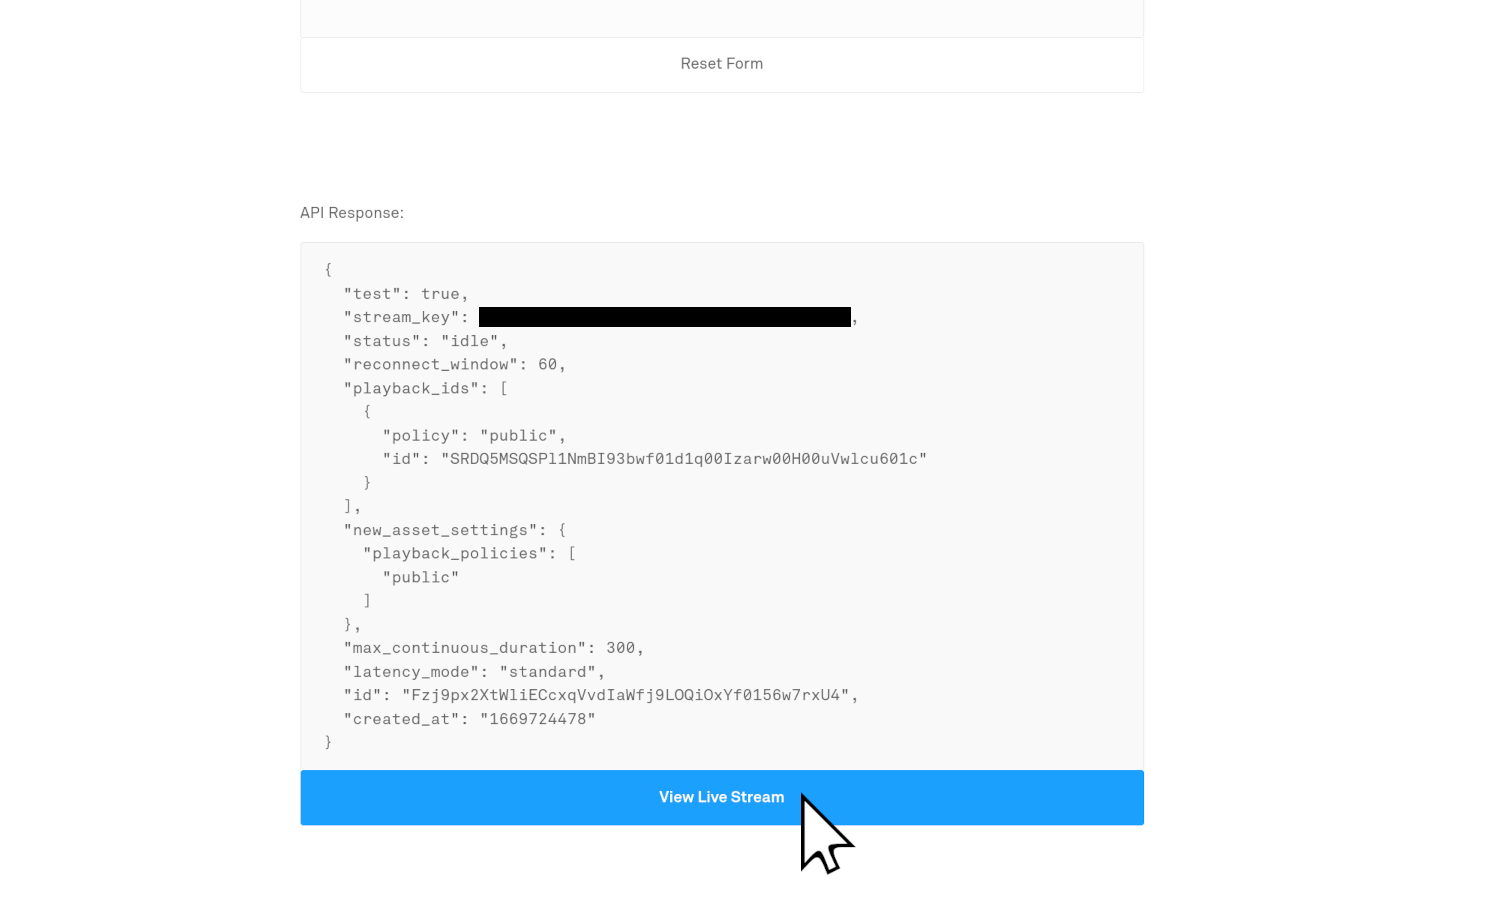
Mux is designed to be automated with code, so it shows you the HTTP request that you would have to send to create a new livestream. For interactive experiences like livestreams, we recommend you take advantage of Mux's low latency live streaming feature. To enable this, simply add "latency_mode": "low" to the body of the request. You can see an example in the screenshot below.
You don't need to know how to code to use Mux - just click Run Request instead. When the server responds, you can scroll down to read the data it sent. Ignore all that, and click View Live Stream.
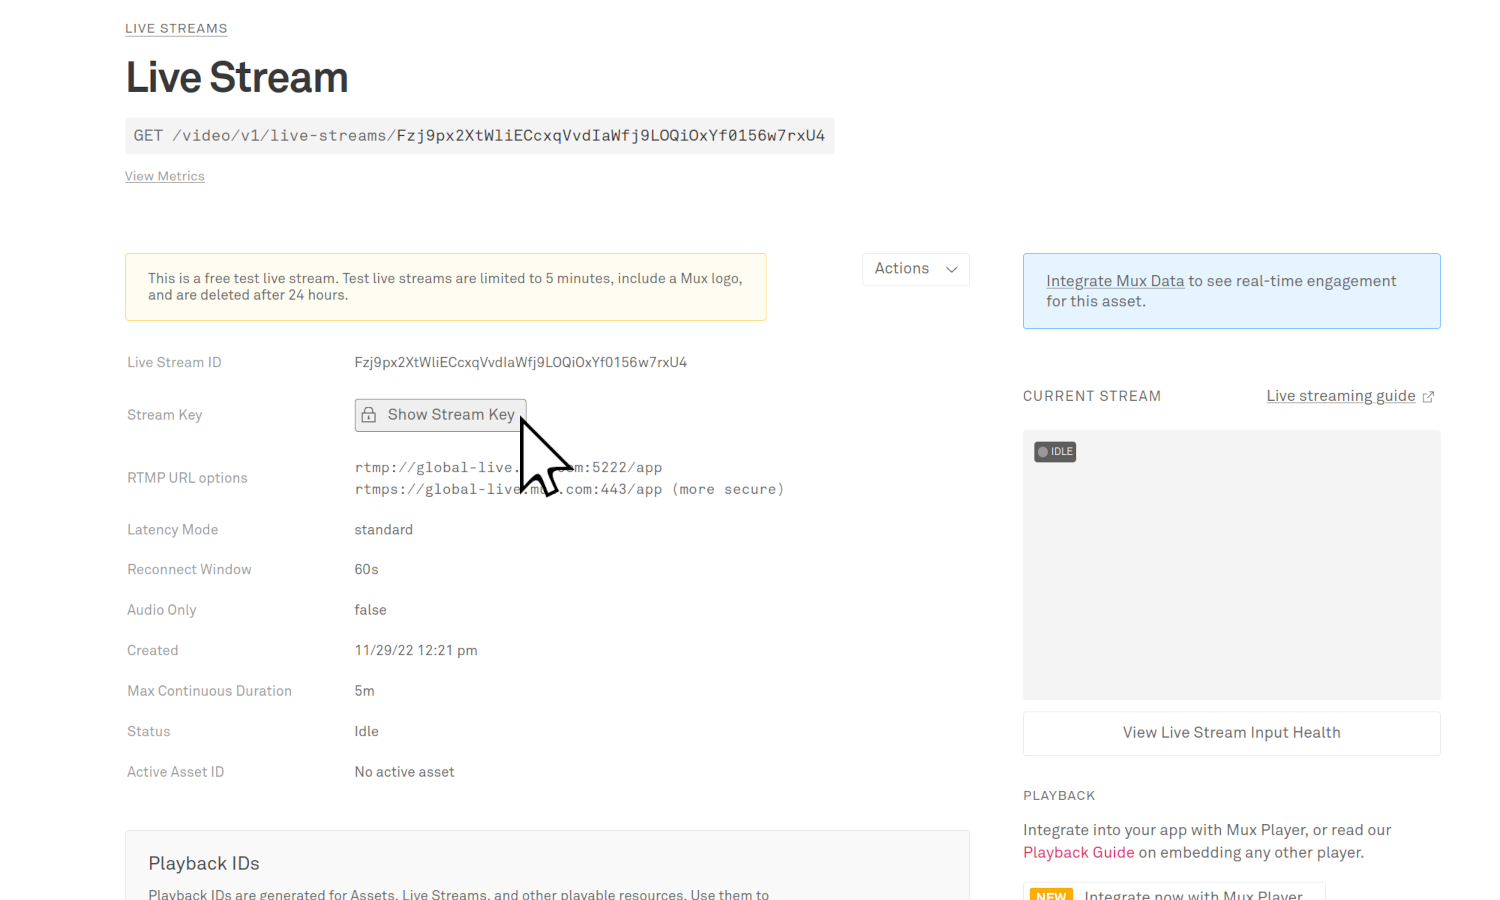
Here you can see all the information about your newly created Live Stream. Click Show Stream Key and make a note of it - we'll need that later. It's important that you don't share the stream key with anyone. Treat it like a password, because anyone with that stream key can stream to your website.
You'll also need the Playback ID. It's written on the same page, about half way down (in the grey box, not the Live Stream ID). Keep it handy, because you'll need that ID in a moment.
How to configure Mux
Creating your website
Next, we'll set up a website containing your TalkJS chat client and the Mux player. We'll start with an empty HTML file, but you can add this code to a pre-existing website if you have one.
We'll be walking through each step and explaining how to build a website from scratch. If you'd rather just copy a full example, there's one at the end of this guide.
Inside the <body> tag, add the Mux player as follows. You'll need to update <YOUR-PLAYBACK-ID> with the one you copied from Mux earlier, and specify a title for your livestream by replacing <YOUR-VIDEO-TITLE>.
<html>
<body>
<script src="https://cdn.jsdelivr.net/npm/@mux/mux-player">
</script>
<mux-player
stream-type="ll-live"
playback-id="<YOUR-PLAYBACK-ID>"
metadata-video-title="<YOUR-VIDEO-TITLE>"
>
</mux-player>
</body>
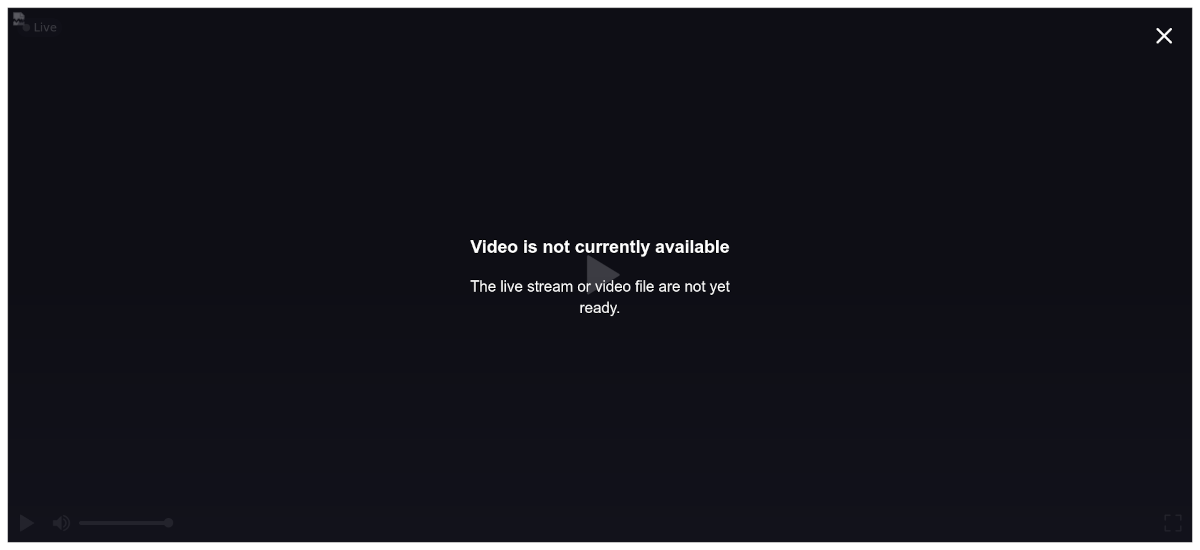
</html>Open that file in a browser, and you should see a livestream player. There won't be anything on it yet since you're not live, but we're making progress!
Now that we have our stream player, we need to add chat. Log in to TalkJS and copy your Test App ID. Add this code under your <mux-player> element:
<!-- container element in which TalkJS will display a chat UI -->
<div id="talkjs-container" />

<!-- minified snippet to load TalkJS without delaying your page -->
<script>
(function(t,a,l,k,j,s){s=a.createElement('script');s.async=1;s.src="https://cdn.talkjs.com/talk.js";a.head.appendChild(s);k=t.Promise;t.Talk={v:3,ready:{then:function(f){if(k)return new k(function(r,e){l.push([f,r,e])});l.push([f])},catch:function(){return k&&new k()},c:l}};})(window,document,[]);
</script>

<script>
    Talk.ready.then(function () {
        var me = new Talk.User({
            id: "1",
            name: "Peter"
        });
        window.talkSession = new Talk.Session({
            appId: "<YOUR-APP-ID>",
            me: me
        });

        var conversation = talkSession.getOrCreateConversation("stream");
        var chatbox = talkSession.createChatbox({
            theme: "group_chat",
            showChatHeader: false
        });
        chatbox.select(conversation, { asGuest: true });
        chatbox.mount(document.getElementById("talkjs-container"));
    });
</script>
Let's spend a moment discussing this code works, and which bits you might want to configure differently. For a more detailed explanation, check out the TalkJS classic JavaScript SDK quickstart guide.
First, we create a <div> element that will contain the TalkJS chat client. Then there's a <script> that asynchronously loads the TalkJS library. For future reference, you can get that snippet from the docs or use our NPM package instead.
Then we have the final <script> tag, which configures your TalkJS session. This code connects to the TalkJS servers, defines who the current user is, and which conversation they want to join. Before moving on, replace <YOUR-APP-ID> with the Test App ID you copied earlier.
By creating a Talk.User object and passing it as me in the Talk.Session, this script defines the current user. In this case, his name is Peter and he has an ID of 1. If your website requires users to log in, consider loading the user's name and ID from your database. Otherwise, you can use a randomly-generated UUID and a user-configurable name.
Every conversation you create in TalkJS has a unique ID. In this case, we only have one chat room, so we can just hard-code the conversation ID. We also specify a TalkJS theme to use: group_chat. This is one of the two premade themes, and is designed for large group chats like this. Feel free to make your own theme instead.
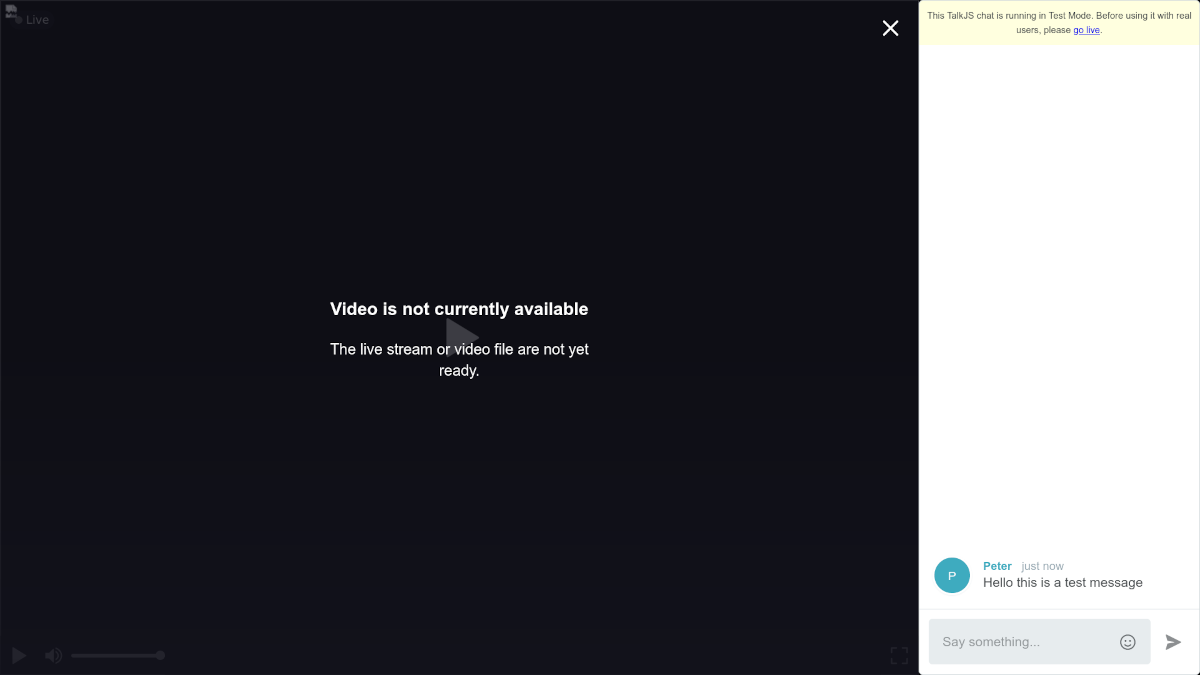
Refresh your browser, and you should see both Mux at the top of the page and TalkJS at the bottom. Currently, you have to scroll down to see TalkJS, so let's add a bit of styling to the page and show them side-by-side. Add this code above your <body> tag:
<head>
    <style>
        body {
            display: grid;
            grid-template-columns: 1fr auto;
            width: 100vw;
            height: 100vh;
            margin: 0;
            background-color: black;
        }
    </style>
</head>
With that, you can refresh your browser to see TalkJS and Mux running side-by-side. Try sending a message! Don't worry about the Video is not currently available overlay, it'll go away after your first stream.
A test stream
It's time to try streaming for the first time, and make sure that everything works as expected. In your stream software, enter the RTMP URL and Stream Key from Mux. If you're using OBS, you want to click File then Settings and select the Stream tab. Set the service to Custom... and enter your details:

Then, create a basic stream layout by adding pictures, cameras, and text. Since this is just a test stream, I only added one picture. Once you're ready, click Start Streaming and refresh your website!
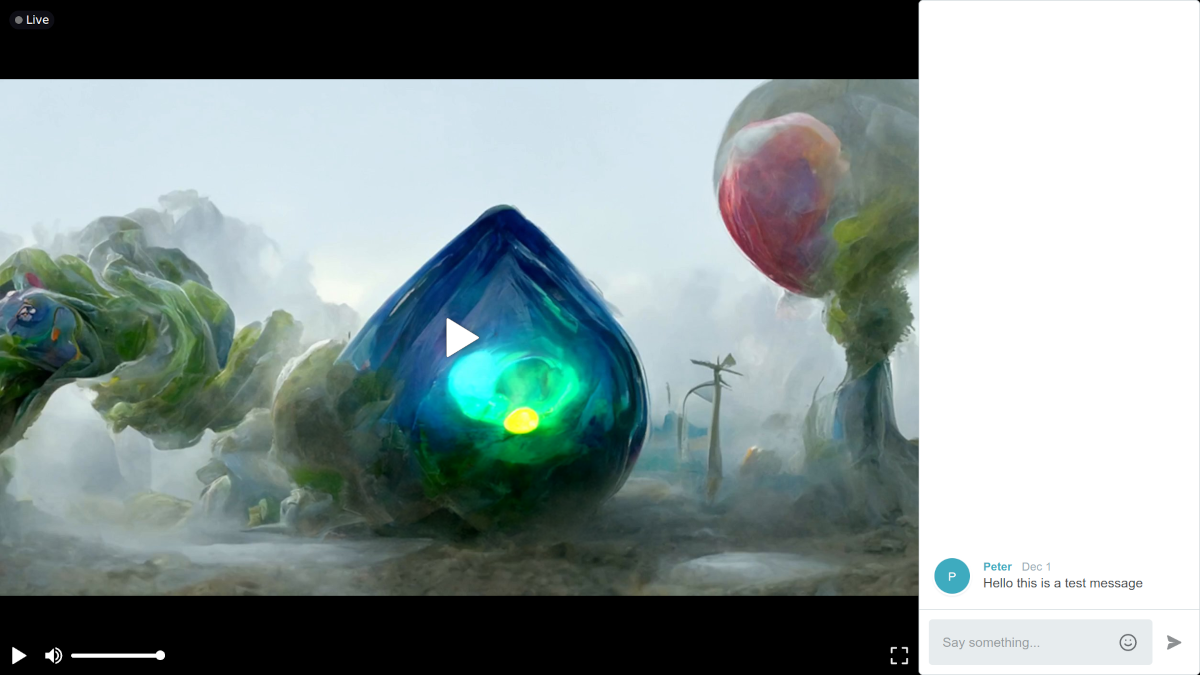
You should now see a working stream:

Upgrading your Plan
You probably noticed the big For video API test purposes only banner in Mux, and similarly, the This TalkJS chat is running in Test Mode notice in your chat window.
Both TalkJS and Mux are free-to-try. That means you can create an account and make this test page without any issues, but you'll need to sign up for a paid account to use it on a live website. TalkJS offers monthly plans based on the MAU for your chat, while Mux offers pay-as-you-go pricing based on the number of viewers and length of each stream.
On a paid account, all the banners will be gone:
Conclusion
That's all there is to it! Leveraging the power of Mux and TalkJS together, you can add livestream and chat to your website in just minutes. I hope you've found it useful, and good luck with your first stream!
If you want to learn more about TalkJS and Mux, here are some resources you might be interested in:
- The TalkJS cocumentation, which includes how-to guides to help you integrate TalkJS with your pre-existing web framework.
- The Mux cocumentation, which explains many of the concepts used by Mux, and covers many of the features we didn't have time to discuss here.
- The TalkJS examples repository, containing larger more full-featured examples in various web frameworks
- Getting in touch, where you can chat with a TalkJS expert about your needs
For those of you looking to copy a complete example, here's the full code we wrote during this guide. You'll need to update a few sections with your own information:
- Replace
<YOUR-PLAYBACK-ID>with the one you copied from Mux - Replace
<YOUR-VIDEO-TITLE>with the title for your livestream - Replace
<YOUR-APP-ID>with the one you copied from TalkJS.
<html>
  <head>
    <style>
      body {
        display: grid;
        grid-template-columns: 1fr auto;
        width: 100vw;
        height: 100vh;
        margin: 0;
        background-color: black;
      }
    </style>
  </head>

  <body>
    <script src="https://cdn.jsdelivr.net/npm/@mux/mux-player">
    </script>
    <mux-player
      stream-type="ll-live"
      playback-id="<YOUR-PLAYBACK-ID>"
      metadata-video-title="<YOUR-VIDEO-TITLE>"
    >
    </mux-player>

    <!-- container element in which TalkJS will display a chat UI -->
    <div id="talkjs-container" />

    <!-- minified snippet to load TalkJS without delaying your page -->
    <script>
      (function(t,a,l,k,j,s){
      s=a.createElement('script');s.async=1;s.src="https://cdn.talkjs.com/talk.js";a.head.appendChild(s)
      ;k=t.Promise;t.Talk={v:3,ready:{then:function(f){if(k)return new k(function(r,e){l.push([f,r,e])});l
      .push([f])},catch:function(){return k&&new k()},c:l}};})(window,document,[]);
    </script>

    <script>
      Talk.ready.then(function () {
        var me = new Talk.User({
          id: "1",
          name: "Peter",
        });

        window.talkSession = new Talk.Session({
          appId: "<YOUR-APP-ID>",
          me: me,
        });

        var conversation = talkSession.getOrCreateConversation("Stream");
        var chatbox = talkSession.createChatbox({
          theme: "group_chat",
          showChatHeader: false,
        });
        chatbox.select(conversation, { asGuest: true });
        chatbox.mount(document.getElementById("talkjs-container"));
      });
    </script>
  </body>
</html>


