Build a Blazor chat app with TalkJS (tutorial)
In this tutorial, we'll show you how to integrate the TalkJS chat API with Blazor to build a chat app.
The tutorial presumes you have a working knowledge of Blazor and JavaScript. The tutorial doesn't cover user management, authentication, and configuration. We expect you'll be covering this on your own. The tutorial uses Blazor WebAssembly in C# on .NET 7 and relies on the JSInterop functionality of .NET, which allows Blazor apps to run JavaScript code.
Initialize TalkJS in JavaScript
In your index.html file, we need to add the following script to initialize TalkJS:
<script>
    (function (t, a, l, k, j, s) {
        s = a.createElement('script'); s.async = 1; s.src = "https://cdn.talkjs.com/talk.js"; a.head.appendChild(s)
            ; k = t.Promise; t.Talk = {
                v: 3, ready: {
                    then: function (f) {
                        if (k) return new k(function (r, e) { l.push([f, r, e]) }); l
                            .push([f])
                    }, catch: function () { return k && new k() }, c: l
                }
            };
    })(window, document, []);
</script>
Now we'll have the Talk object available in our JavaScript code.
We’ll be using another JavaScript file:
<script src="talkjs-wrapper.js"></script>We will use this file to make a JavaScript wrapper around the needed Talk functions so that they can be called from Blazor.
JavaScript wrapper around Talk object for easier Blazor access
For this article, we are following the official Getting started guide for TalkJS. Based on this initial example, we will create a TalkWapper object which will function as a wrapper around the Talk object provided by TalkJS but adapted to work better with Blazor.
In this object, we will define a function createConversation which is used to create a conversation between two user accounts.
The TalkWrapper object would look like this:
window.TalkWrapper = {
    /** Session for the talk that will be used */
    talkSession: undefined,

    /**
     * Function that creates a conversation between users
     * @param {string} appId - appId from your Talk account
     * @param {object} myUser - object with parameters needed to create a Talk.User object
     * @param {object} otherUsers - array of objects with parameters needed to create Talk.User objects
     * @param {string} outputElementId - Id of the element where we want the window to be output to
     * @param {string} conversationId - unique Id of the conversation being created
     */
    createConversation: function (appId, myUser, otherUsers, outputElementId, conversationId) {

        // Create a Talk.User object for me
        var me = new Talk.User(myUser);

        // Create a Talk.Session object
        this.talkSession = new Talk.Session({
            appId: appId,
            me: me,
        });

        // Create a conversation with a unique conversation ID
        var conversation = this.talkSession.getOrCreateConversation(conversationId);

        // Add myself as a participant
        conversation.setParticipant(me);

        // Create and add other participants
        for (var i = 0; i < otherUsers.length; i++) {
            var nextUser = new Talk.User(otherUsers[i]);
            conversation.setParticipant(nextUser);
        }

        // Mount a conversation into a given div
        var inbox = this.talkSession.createInbox({ selected: conversation });
        inbox.mount(document.getElementById(outputElementId));
    }
}
The object has a property to keep the active session and a createConversation function.
This function creates a conversation between multiple users, which we will call from our Blazor app.
Data models in Blazor
To make our lives easier, we will create a data model for a User in Blazor, which will contain all properties that a Talk.User has:
public class User
{
    public long Id { get; set; }
    public string Name { get; set; }
    public string[] Email { get; set; }
    public string[] Phone { get; set; }
    public string PhotoUrl { get; set; }
    public string Locale { get; set; }
    public string WelcomeMessage { get; set; }
    public string Role { get; set; }
    public Dictionary<string, string> Custom { get; set; }
}
The properties are self-explanatory. If you are interested in deeper explanations, visit our docs.
Due to how we developed our functions in the TalkWrapper object, we do not need additional models.
TalkJS Chat Component in Blazor
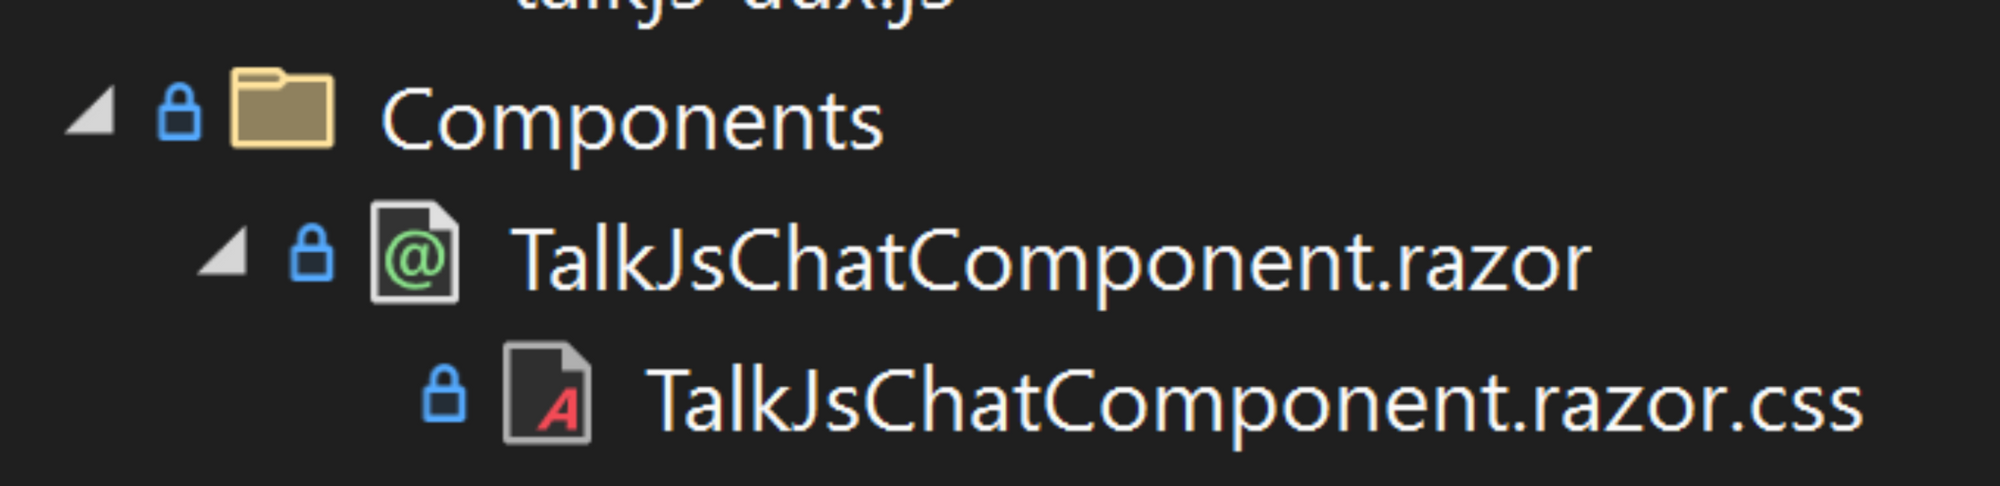
In Blazor, we create a new component - let's call it TalkJsChatComponent.razor.
This component will take in three parameters and output the TalkJS Chat UI with the two users connected into a conversation (using the functions above).
We need to define the input parameters:
/// <summary>
/// The user representing the user of the app.
/// </summary>
[Parameter]
public User MyUser { get; set; }

/// <summary>
/// A list representing the other participants of the conversation.
/// </summary>
[Parameter]
public List<User> OtherUsers { get; set; }

/// <summary>
/// AppId from the TalkJS Dashboard.
/// </summary>
[Parameter]
public string AppId { get; set; }

/// <summary>
/// Id of the DOM element where TalkJS UI will be placed in.
/// </summary>
protected const string OUTPUT_DIV_ID = "talk-js-chat-div";
The component needs to have the JSRuntime injected. JSRuntime allows the use of JavaScript Interop functionality.
We'll use it so our Blazor code can call the functions in the TalkAux JavaScript object.
JSRuntime is injected using .NET's dependency injection by adding a directive:
@inject IJSRuntime jsRuntime;
The view of the component can be as simple / complex as you would like it to be. For the purpose of this article it will be:
<div id="@OUTPUT_DIV_ID" class="talk-js-main-chat-div"></div>Do note that the ID of the div is using the OUTPUT_DIV_ID constant - so that we don't make a mistake in naming and passing the ID as a parameter.
The last thing left is actually to call the createConversation using JSInterop. We will do this in the OnAfterRenderAsync method of the component's lifecycle. The reason for this is that only at that moment is the whole DOM generated and JavaScript adequately loaded.
So, the code for that looks like this:
private const string APP_ID = "YOUR_APP_ID_HERE";   // Your app ID from TalkJS Dashboard
protected User Me { get; set; }
protected List<User> OtherUsers { get; set; }

protected override async Task OnAfterRenderAsync(bool firstRender)
{
   await base.OnAfterRenderAsync(firstRender);

   if (MyUser != null && OtherUsers != null && !string.IsNullOrEmpty(AppId))
   {
       await jsRuntime.InvokeVoidAsync("TalkWrapper.createConversation", AppId, MyUser, OtherUsers, OUTPUT_DIV_ID, "MY_CONVERSATION_ID");
   }
}
Styling of the TalkJS Chat
The TalkJS UI is already styled, and you can customize it further through the Theme Editor. So, if we keep the TalkJsChatComponent.razor as simple as in this example, it technically does not need any styling.
However, as we have yet to determine where in the code we will be placing it, my preferred choice is to make the div with the TalkJS UI with 100% width and height and then have the container from the parent component, well, contain it (And limit its width and height).
So, I'd prefer to add a TalkJsChatComponent.razor.css file in the same folder (which allows neat nesting of files in the Visual Studio IDE):
In the CSS file I literally add width and height to be 100%:
.talk-js-main-chat-div {
   width: 100%;
   height: 100%;
}
Adding the TalkJS Chat Component to an existing page or component
Now we have a reusable component that we can use anywhere in our Blazor WASM app. The only thing left is to show how it is used.
In a page (e.g. Index.razor), you want to add the TalkJsChatComponent. Let’s add a container and the component inside of it:
<div style="width: 500px; height: 500px;">
   <TalkJsChatComponent MyUser="Me" OtherUsers="OtherUsers" AppId="@APP_ID" />
</div>
Note that this code passes the Me and OtherUser objects as parameters to the component and the APP_ID string. We need to define these somewhere. So we can add some example code in the @code block of the page:
protected override async Task OnInitializedAsync()
{
    await base.OnInitializedAsync();

    // Populate users any way you want
    // Most often from a database or something
    Me = new User()
    {
        Id = 123456,
        Name = "Alice",
        Email = new string[] { "alice@example.com" } ,
        PhotoUrl = "https://talkjs.com/images/avatar-1.jpg",
        WelcomeMessage = "Hey there! How are you? :-)",
    };

    OtherUsers = new List<User>();
    OtherUsers.Add(new User()
        {
            Id = 654321,
            Name = "Sebastian",
            Email = new string[] { "sebastian@example.com" },
            PhotoUrl = "https://talkjs.com/images/avatar-5.jpg",
            WelcomeMessage = "Hey, how can I help?",
        });
    OtherUsers.Add(new User()
        {
            Id = 754321,
            Name = "Michael",
            Email = new string[] { "michael@example.com" },
            PhotoUrl = "https://talkjs.com/images/avatar-2.jpg",
            WelcomeMessage = "Hola!",
        });

    StateHasChanged();
}
The code is self-explanatory: in the OnInitializedAsync method, we create users and notify Blazor that the State has changed, so it rerenders necessary components.
Conclusion
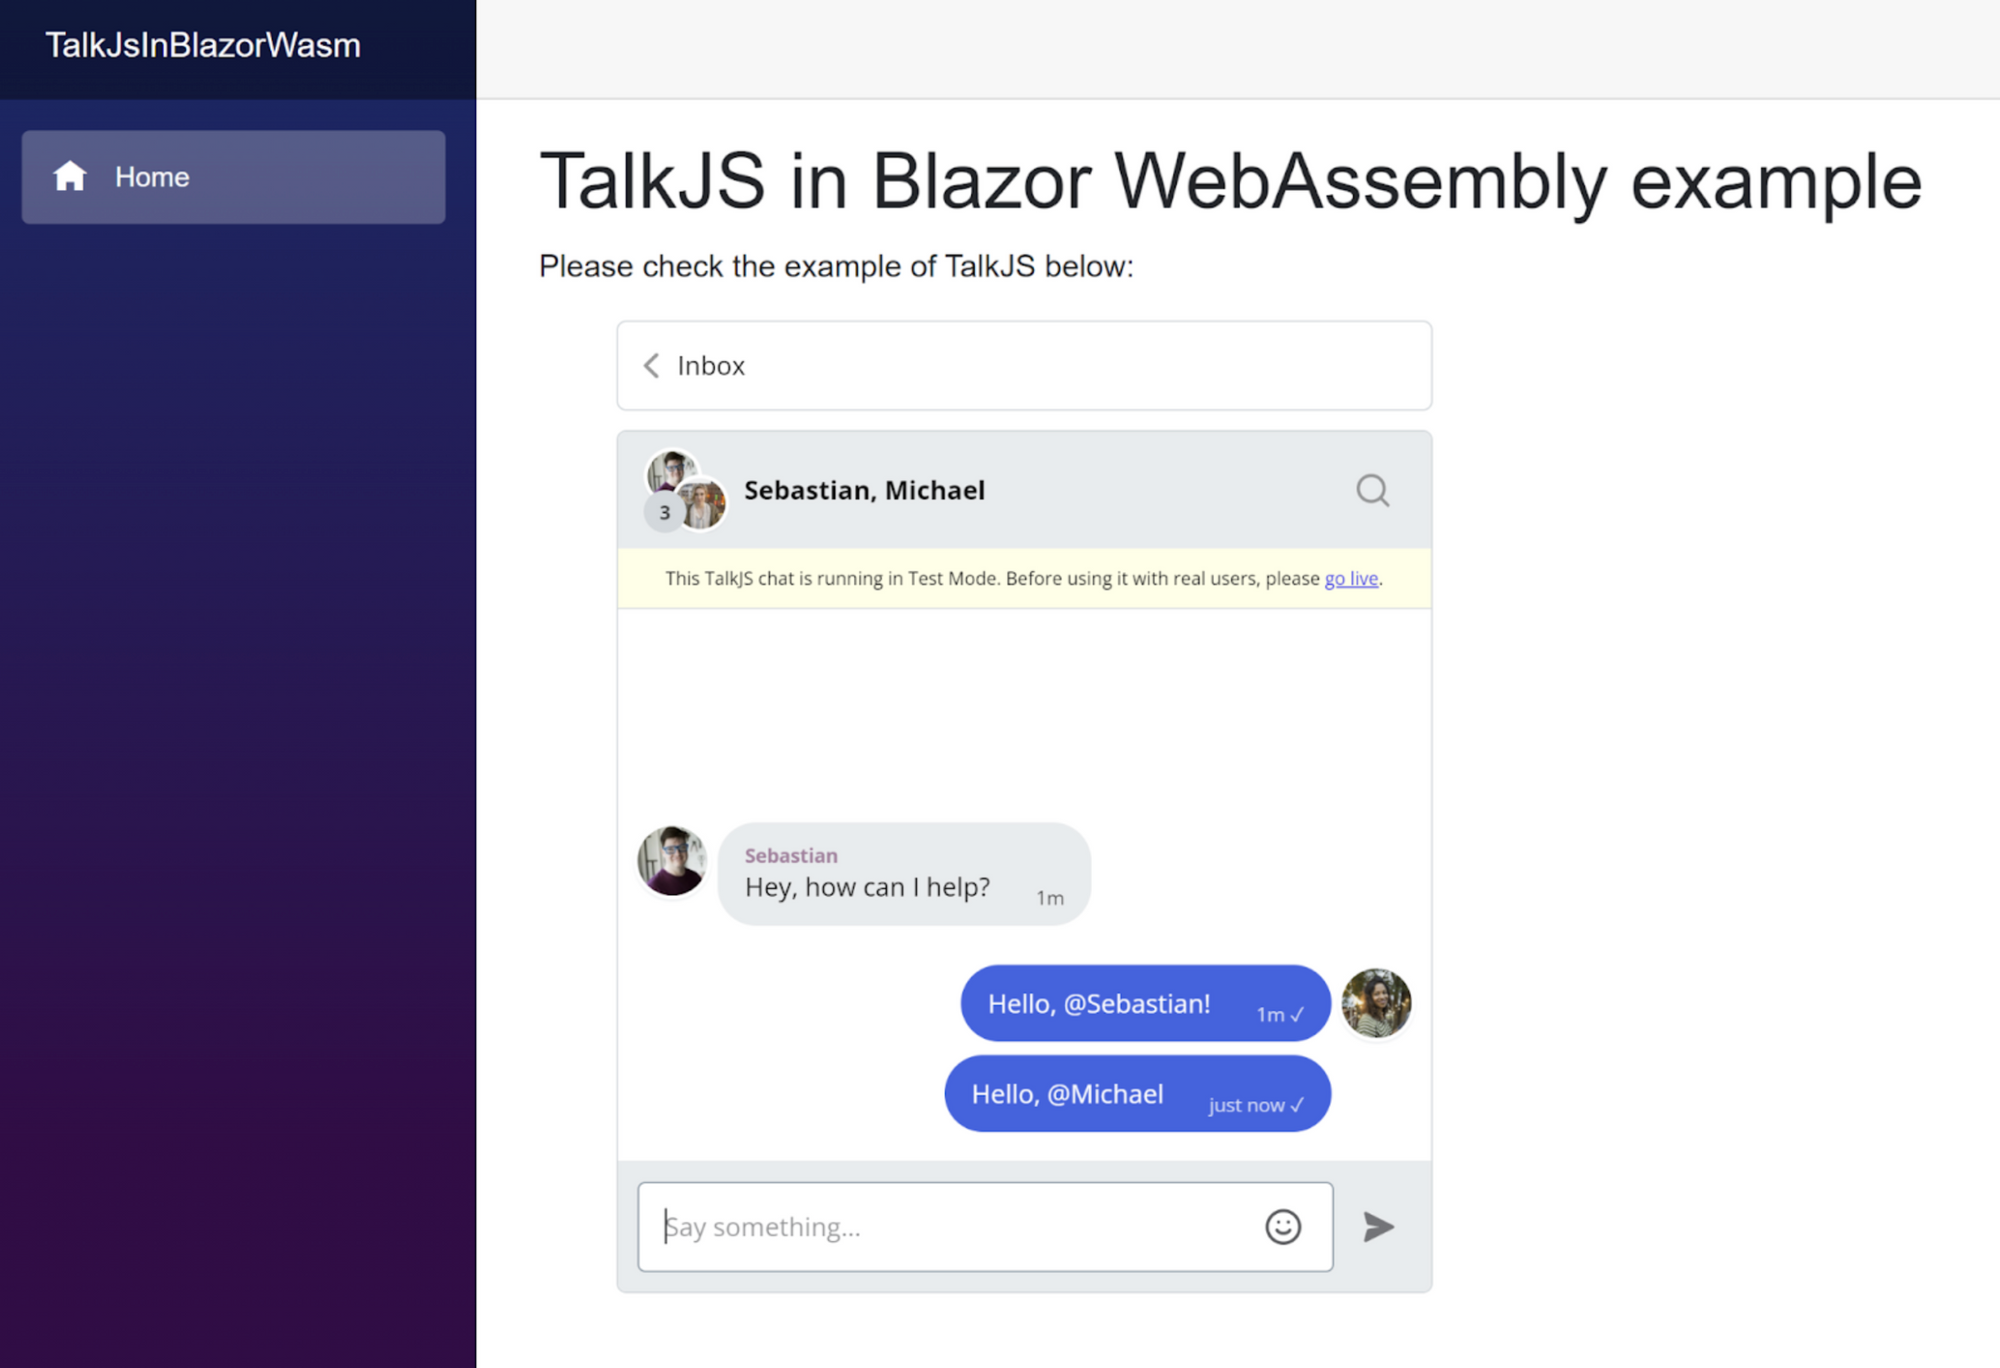
And that's it. If you've followed the steps above, you should end up with something like this: