

This guide uses the classic React SDK. If you're starting a new project, consider using TalkJS Chat UI components for React, which are more customizable.
When your team is spread out across multiple locations, it's great to have a central place to collaborate, with discussion channels and private messaging all in one place. In this tutorial, we'll walk you through how to customize TalkJS to create a team chat app, with a similar layout to Slack or Microsoft Teams:
You can see it in action in our interactive demo.
Our example will use React along with the classic React SDK, which provides UI components for your chat. We'll add a custom header to the TalkJS chatbox, and lists of channels and DMs to the side. Clicking on a channel or DM name will open up a TalkJS conversation.
To follow along, you’ll need:
- A TalkJS account. TalkJS provides a ready-to-use chat client for your application. Your account gives you access to TalkJS's free development environment.
- An existing React app (React 17 or higher)
- An installation of Node.js along with the npm package manager. We’ll use this to create our backend server.
For the complete example code, see the GitHub repo for this tutorial.
Add @talkjs/react to your project
If you aren't already using the @talkjs- /react library, install it with npm or yarn:
npm install talkjs @talkjs/react
or
yarn add talkjs @talkjs/react
To use it in your components, import TalkJS using the following statement:
import Talk from "talkjs";
Add the session component and sync user data
Next, we'll set up our TalkJS session. The session takes an app ID and a user to log in as.
To do this, import the TalkJS Session component and add it to your app. In our example, we'll import the Session component at the top level of our app, and put the rest of the team chat code inside it as a child component, so that the whole team chat app has access to the session:
import { useCallback } from "react";
import { Session } from "@talkjs/react";
import talkJsConfig from "./talkJsConfig";

function App() {
  const syncUser = useCallback(
    () =>
      new Talk.User({
        id: talkJsConfig.userId,
        name: "Eulalia van Helgen",
        photoUrl: "https://talkjs.com/new-web/avatar-7.jpg",
        role: "default",
      }),
    []
  );

  return (
    <Session appId={talkJsConfig.appId} syncUser={syncUser}>
      <TeamChat />
    </Session>
  );
}

export default App;
You can find your appId in the Settings tab of the TalkJS dashboard. In the example above, we're storing it in a separate talkJsConfig file.
To sync data for the user we want to log in as, we'll use the syncUser prop. This prop uses the useCallback React Hook and expects a callback function that creates a Talk.User object. In this example, the syncUser callback creates a user with a user ID that we define in talkJsConfig.
Add UI components for the team chat
We'll need some React components to make up our team chat UI, including lists of channels and DMs and a custom chat header. The exact details of styling and placement will depend on your app and the libraries that you're already using. In this section we'll list the components that we're using in the example repo.
You'll see the following components in the src/components directory:
TeamChat: the main component that displays our team chat.CategoryCollapse: displays a collapsible list of conversations with a giventitle. We'll use this component twice: once to display a list of channels and once to display a list of DMs.ConversationListItem: displays a single conversation within each collapsible list.ChatHeader: displays a custom chat header.ConversationImage: displays a conversation image in the chat header and next to each conversation list item.
In the example repo we're using Tailwind CSS to style our components, so you'll see layout code inside the className of each component. Feel free to use a different approach to styling with CSS if you prefer. Our example layout leaves a space for a TalkJS chatbox (we'll add this in the next section):
Add the chatbox component and sync conversation data
To add the TalkJS chatbox, import the Chatbox component and add it in the place you want it in your layout:
import { Chatbox } from "@talkjs/react";

// ... //

const syncConversation = useCallback((session) => {
  const defaultConv = session.getOrCreateConversation("remoteWorkMeetup");
  defaultConv.setParticipant(session.me);
  return defaultConv;
}, []);

// ... //

<Chatbox
  syncConversation={syncConversation}
  className="h-full w-full overflow-hidden rounded-b-xl lg:rounded-none lg:rounded-br-xl"
  showChatHeader={false}
  theme="team_chat"
/>;
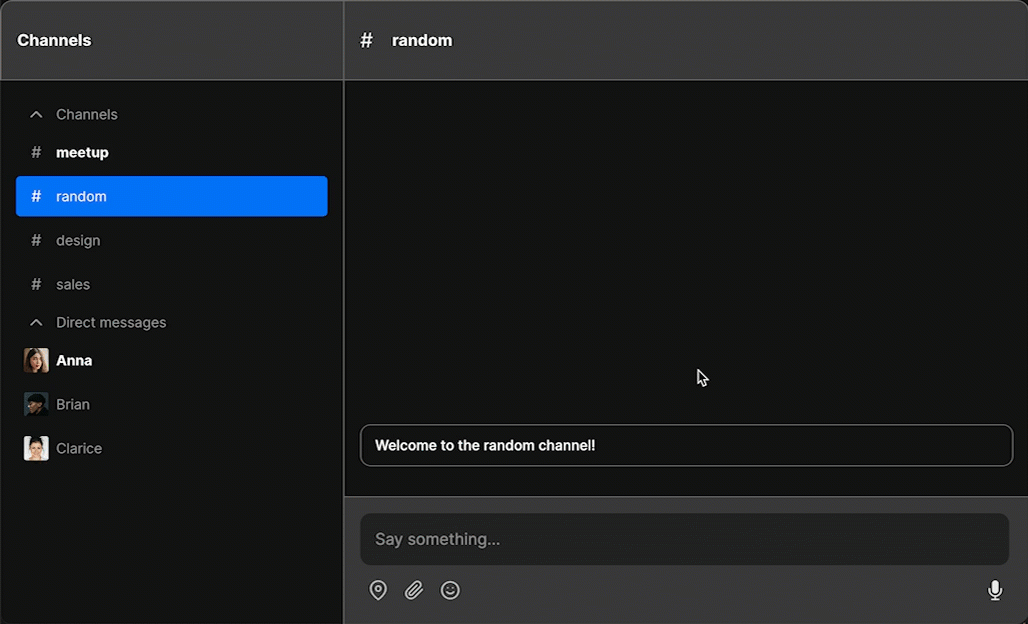
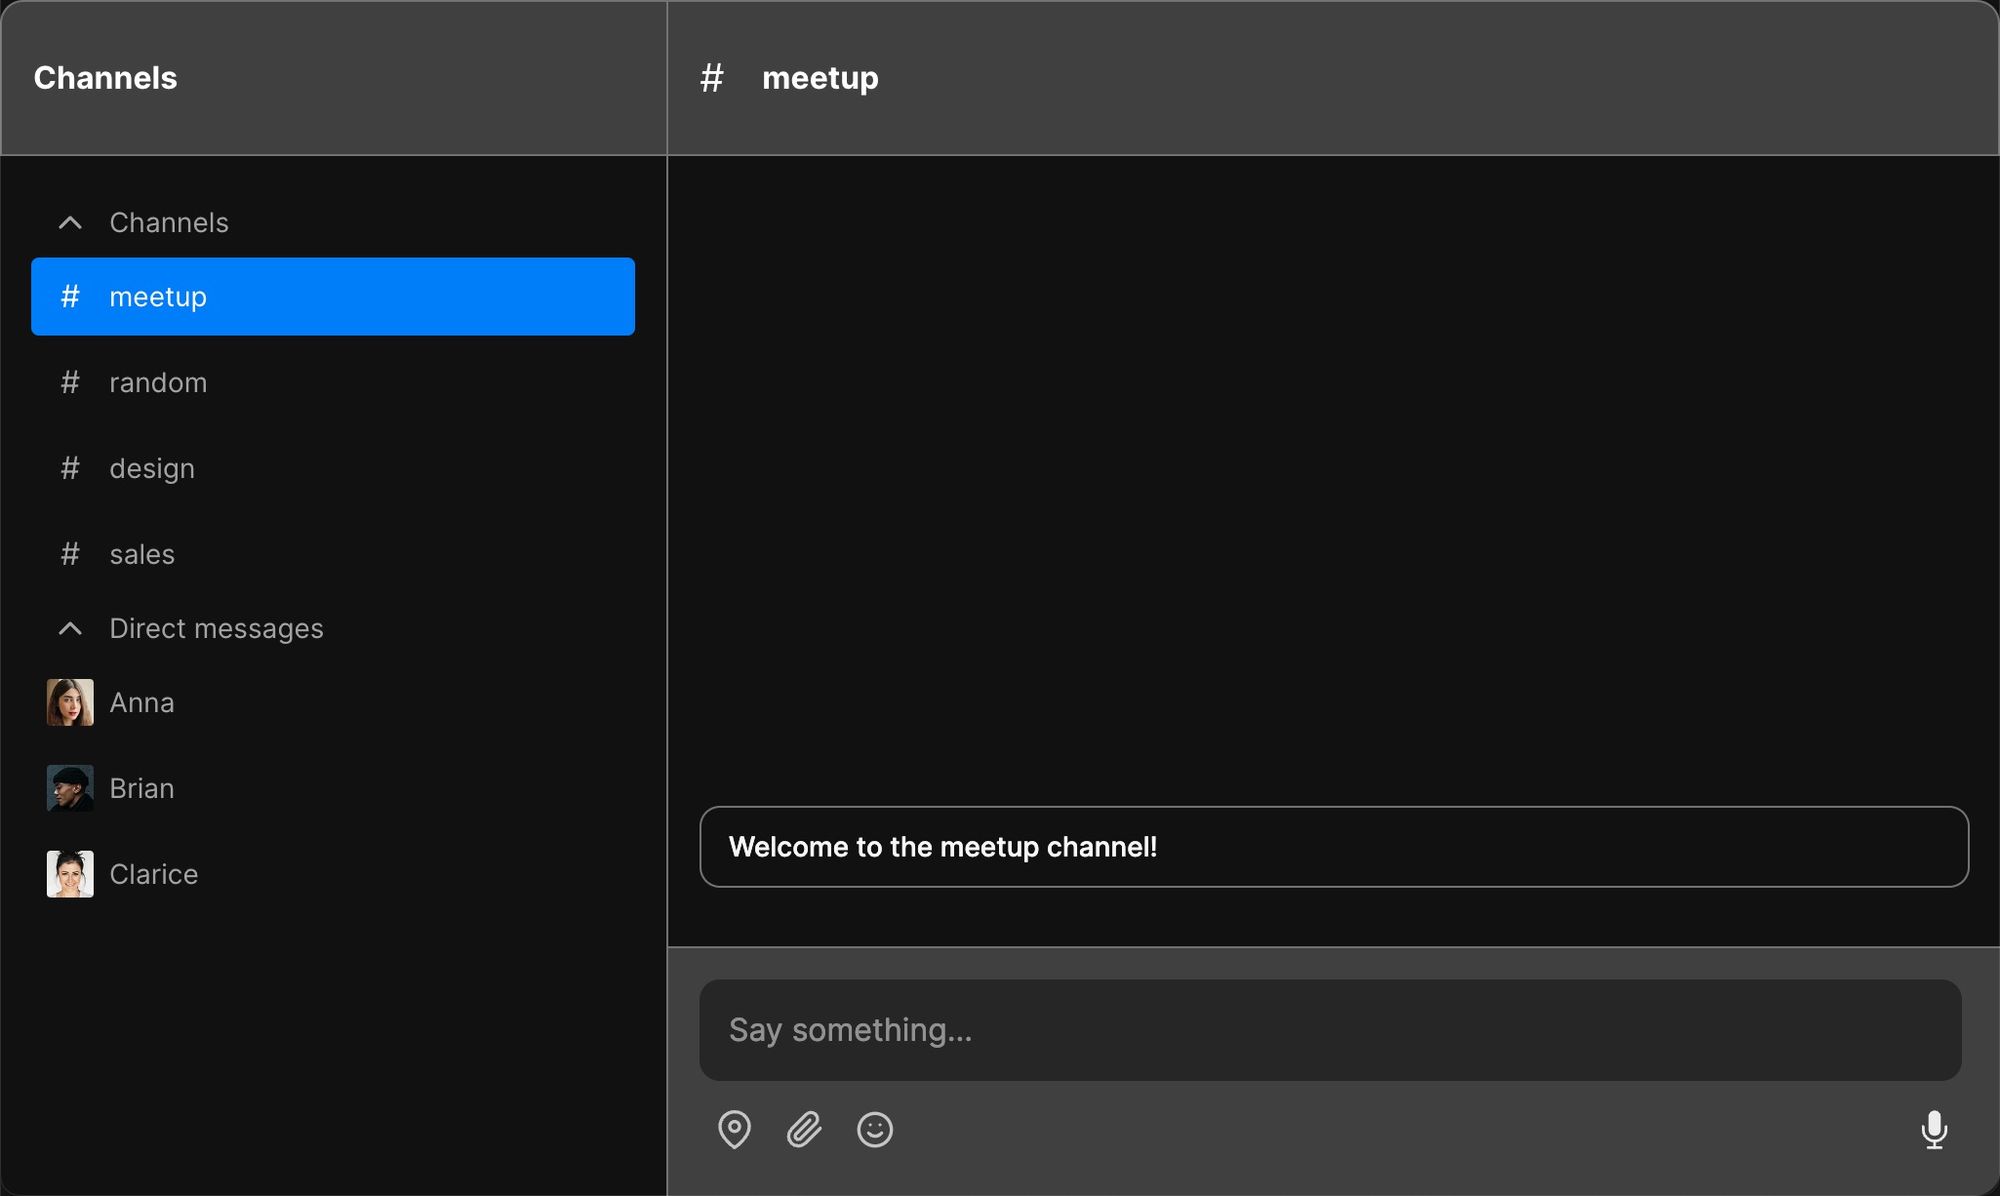
The Chatbox component has a syncConversation prop, which takes a callback that creates a ConversationBuilder object. In this example, the syncConversation callback creates a conversation with a conversation id of remoteWorkMeetup, and adds you to the conversation. This will be the default "meetup" channel that you see when you first load the app:
The other props style the chatbox. We set showChatHeader to false, because we've already replaced it with a custom ChatHeader component, and select the team_chat preset theme. We use className to style the component further with Tailwind.
Change the conversation
Currently, our chatbox displays a single conversation. Next, we want to be able to switch to a different TalkJS conversation when we click on a channel or direct message thread. In our UI implementation, this is handled inside the ConversationListItem component, where we have a button that calls a changeConversation function when you click on the item:
<button
  onClick={() => changeConversation(conversation)}
  // ...
>
  // ...
</button>
To change the conversation, we'll need to be able to access the TalkJS Session object inside the changeConversation function. To do this, we'll use the useSession custom React Hook. We'll also need to access the Chatbox object, which we'll create a reference to with the useRef React Hook:
import { useRef } from "react";
import { useSession } from "@talkjs/react";

const chatboxRef = useRef(null);

// ... //

<Chatbox
  syncConversation={syncConversation}
  chatboxRef={chatboxRef} // add chatbox ref
  className="h-full w-full overflow-hidden rounded-b-xl lg:rounded-none lg:rounded-br-xl"
  showChatHeader={false}
  theme="team_chat"
/>;
We then use these references inside the changeConversation function, where we set up the relevant TalkJS conversation and add the user as a participant, in the same way that we did for the default conversation:
import { useState } from "react";

const initialConversation = talkJsConfig.conversations.channels[0];
const [currentConversation, setCurrentConversation] =
  useState(initialConversation);

// ... //

const changeConversation = (conversation) => {
  if (session?.isAlive) {
    const talkJsConversation = session.getOrCreateConversation(conversation.id);
    const me = new Talk.User(talkJsConfig.userId);

    talkJsConversation.setParticipant(me);
    talkJsConversation.setAttributes(conversation);
    setCurrentConversation(conversation);

    if (chatboxRef.current?.isAlive) {
      chatboxRef.current.select(talkJsConversation);
    }
  }
};
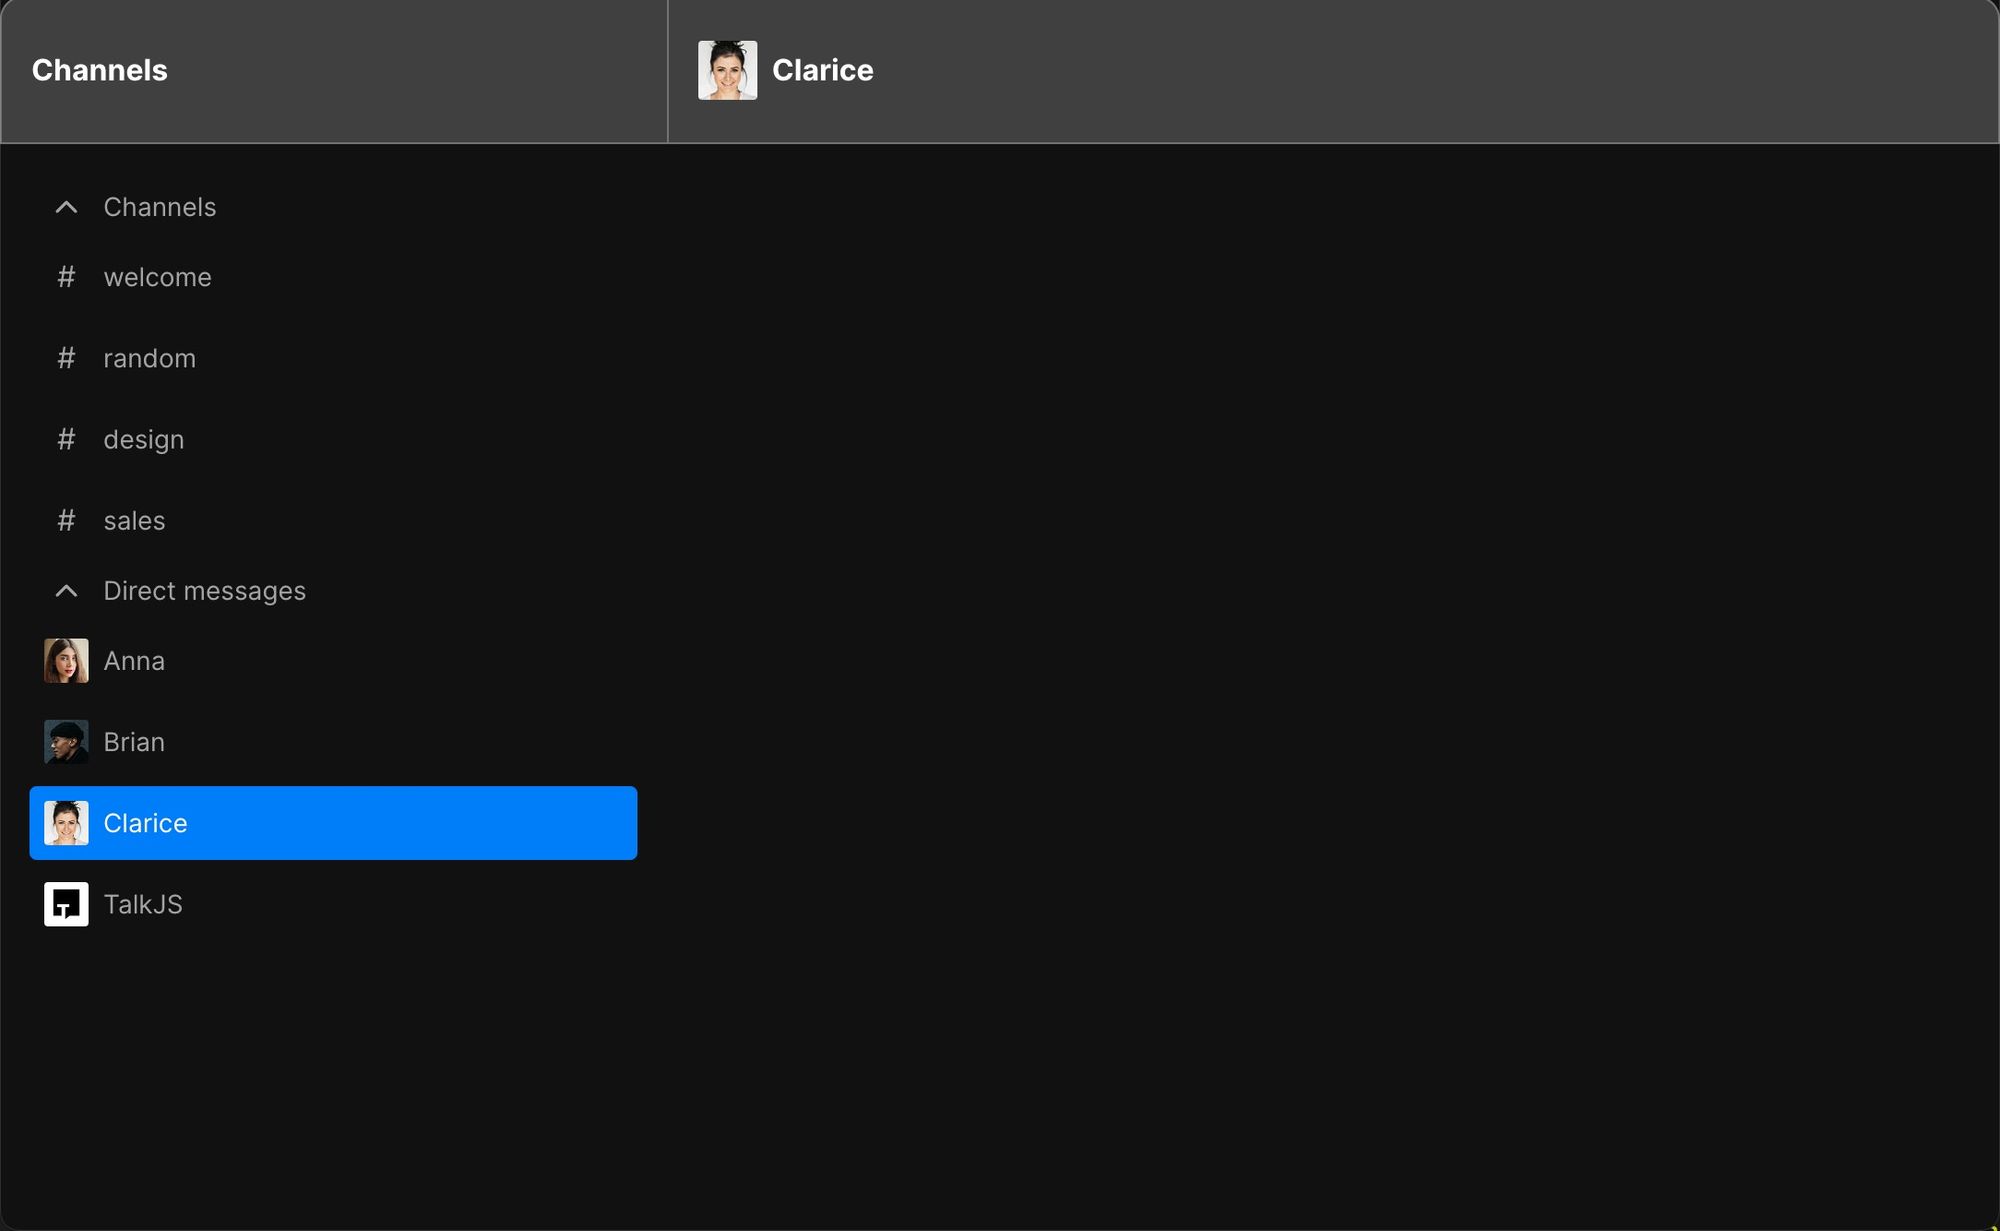
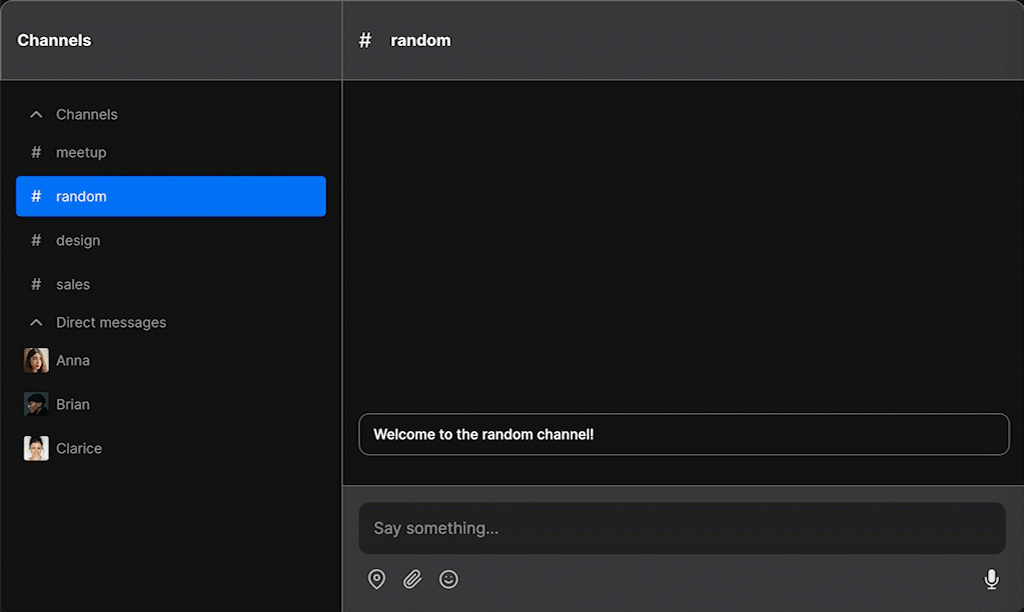
Clicking on a different channel or DM thread now takes you to the relevant conversation.
Highlight unread channels
We also need a way to see that there are unread messages. In this section we'll update our code so that channel or DM thread names are displayed in bold when there's an unread message.
To do this, we'll use the onUnreadsChange prop in the Session component to listen for changes in the number of unread messages:
const [unreadMessages, setUnreadMessages] = useState([]);

// ...

<Session
  appId={talkJsConfig.appId}
  syncUser={syncUser}
  sessionRef={sessionRef}
  onUnreadsChange={(unreads) => setUnreadMessages(unreads)}
>
  // Chatbox code here...
</Session>;
We'll then pass the unreadMessages variable into the ConversationListItem component and use it to set the conversation name to bold:
const unread = unreadMessages.find(
  (item) => item.conversation.id === conversation.id
);

return (
  <button
    onClick={() => changeConversation(conversation)}
    // ...
  >
    // ...
    <div className="header">
      <div
        className={`conversation-name unread text-sm ${
          unread ? "font-bold text-white" : ""
        }`}
      >
        {conversation.subject}
      </div>
    </div>
  </button>
);
Now, when a conversation receives a new message, the name will display in bold:
Conclusion
You now have a working demonstration of a team chat with channels! To recap, in this tutorial you have:
- Added a TalkJS chatbox to your React app with the
@talkjs/reactlibrary - Added a function to change the conversation when you click on a channel name
- Listened for unread messages and highlighted channels with unread messages
For the full example code for this tutorial, see our GitHub repo.
If you want to learn more about TalkJS and the React SDK, here are some good places to start:
- The TalkJS Docs help you get started with TalkJS. Try our classic React SDK getting started guide or refer to our React SDK reference docs for further information.
- TalkJS tutorials provide how-to guides for many common TalkJS use cases.
- The talkjs-examples Github repo has larger complete examples that demonstrate how to integrate with other libraries and frameworks.


