
This guide uses the classic JavaScript SDK. If you're starting a new project, consider using TalkJS Chat UI components, which are more customizable.
To keep your customers informed about important updates, it's useful to include a message center in your application. For example, you may want customers to receive an in-app message if your terms and conditions change, or to let them know that they've received new documents.
Although TalkJS is best known as a chat API, it's a great fit for customer updates and notifications as well. After all, a customer update is a lot like a chat conversation, except that messages are only sent in one direction, from the company to the customer.
TalkJS has built-in support for email and SMS notifications, so users can still receive messages when they are not logged in to your application.
In this tutorial, we'll walk you through how to send messages with the TalkJS REST API and customize your inbox for read-only messages.
To follow along, you’ll need:
- A TalkJS account. TalkJS provides a ready-to-use chat client for your application. Your account gives you access to TalkJS's free development environment.
- An existing TalkJS project using the classic JavaScript Chat SDK. See the accompying Getting Started guide for an example of how to set this up.
- An installation of Node.js along with the npm package manager. We’ll use this to create our backend server.
We’ll build up the feature step by step in the following sections. If you would rather see the complete example code, see the Github repo for this tutorial.
Create a conversation with the REST API
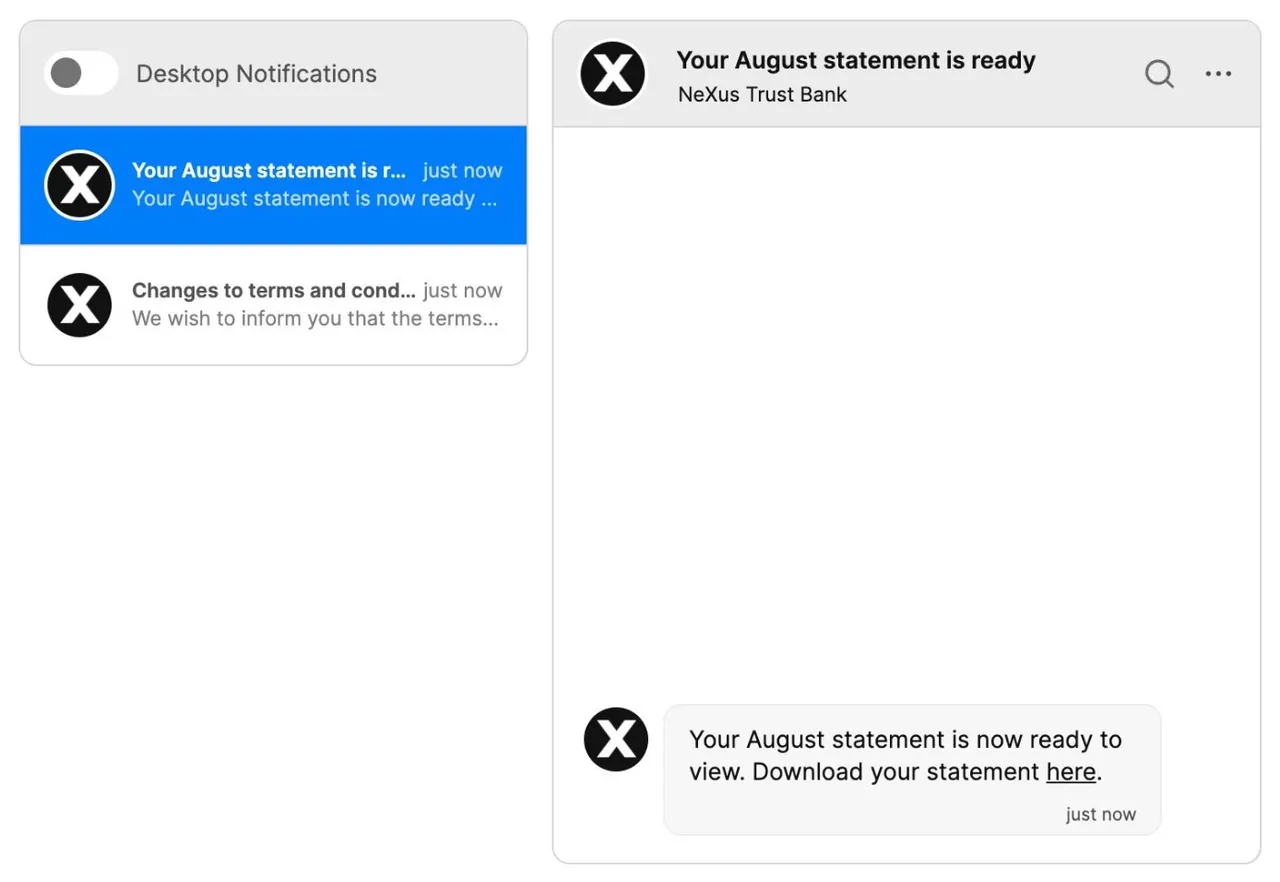
The first step is to create a conversation between the message sender and the customer who will receive it. In this tutorial, we'll create a new conversation for each message. To display the conversations we'll use TalkJS's Inbox UI mode, with chat history on the left and the current selected conversation on the right, as in the demo image above.
Another option would be to build a message center based on the Chatbox UI mode, which displays a single conversation:
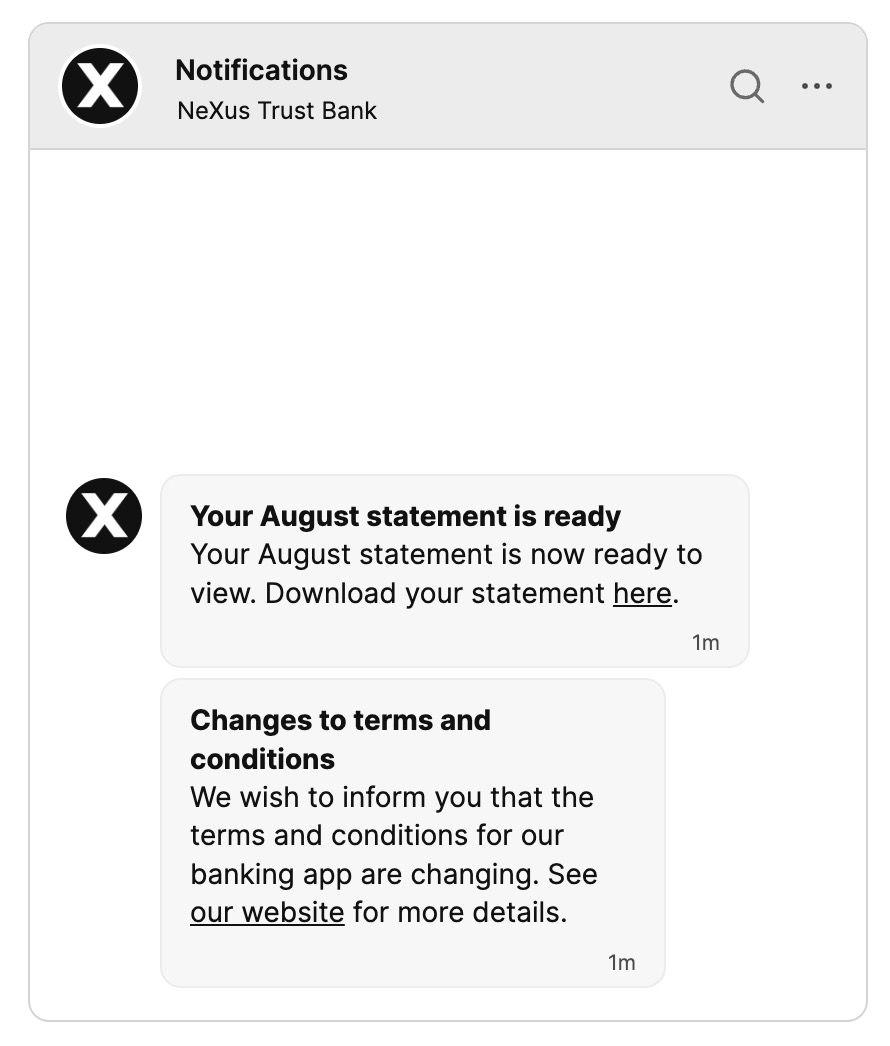
In this case you would follow the same steps as for an inbox, but add all messages to a single conversation.
To create the conversation, we'll use TalkJS's REST API. The REST API needs a secret API key, which has full admin access to your TalkJS account, so we'll need a backend to call it from.
In this tutorial we will use the node-fetch module to send the HTTP requests to the API, but you can use another library if you prefer. Import node-fetch at the start of your backend code:
import fetch from "node-fetch";
Next, we'll call the create a conversation endpoint. We'll also set a subject for the conversation, which will be the title for the message.
const appId = "<APP_ID>";
const secretKey = "<SECRET_KEY>";
const basePath = "https://api.talkjs.com";

const conversationId = `messageCenterExample`;
const senderId = `messageCenterExampleSender`;
const receiverId = `messageCenterExampleReceiver`;
const conversationSubject = "Welcome to TalkJS 👋";

// Create a new conversation
await fetch(`${basePath}/v1/${appId}/conversations/${conversationId}`, {
  method: "put",
  headers: {
    "Content-Type": "application/json",
    Authorization: `Bearer ${secretKey}`,
  },
  body: JSON.stringify({
    participants: [receiverId, senderId],
    subject: conversationSubject,
  }),
});
You can find your App ID and secret key under Settings in the TalkJS dashboard.
Send a message
We can now test sending a message. For this, we'll add a message to the conversation with the REST API:
const conversationId = `messageCenterExample`;
const messageText =
  "Check out our <https://talkjs.com/docs/Getting_Started/|Getting Started guide>!";

// Send a message from the user to make sure it will show up in the conversation list
await fetch(
  `${basePath}/v1/${appId}/conversations/${conversationId}/messages`,
  {
    method: "post",
    headers: {
      "Content-Type": "application/json",
      Authorization: `Bearer ${secretKey}`,
    },
    body: JSON.stringify([
      {
        text: messageText,
        sender: senderId,
        type: "UserMessage",
      },
    ]),
  }
);
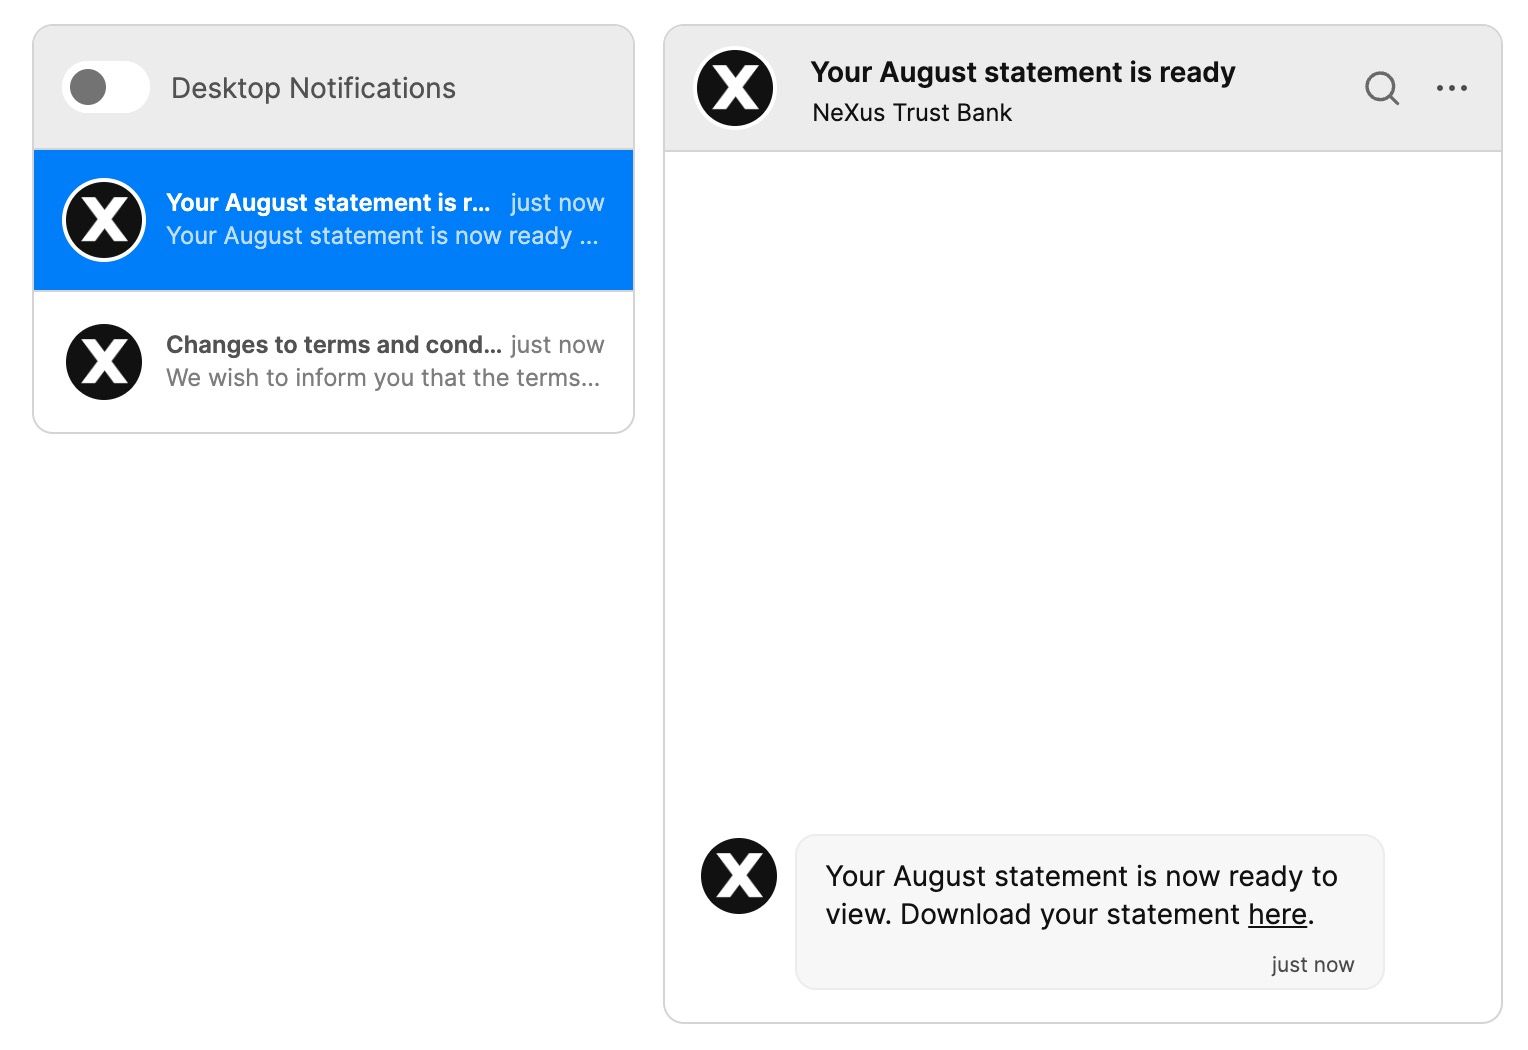
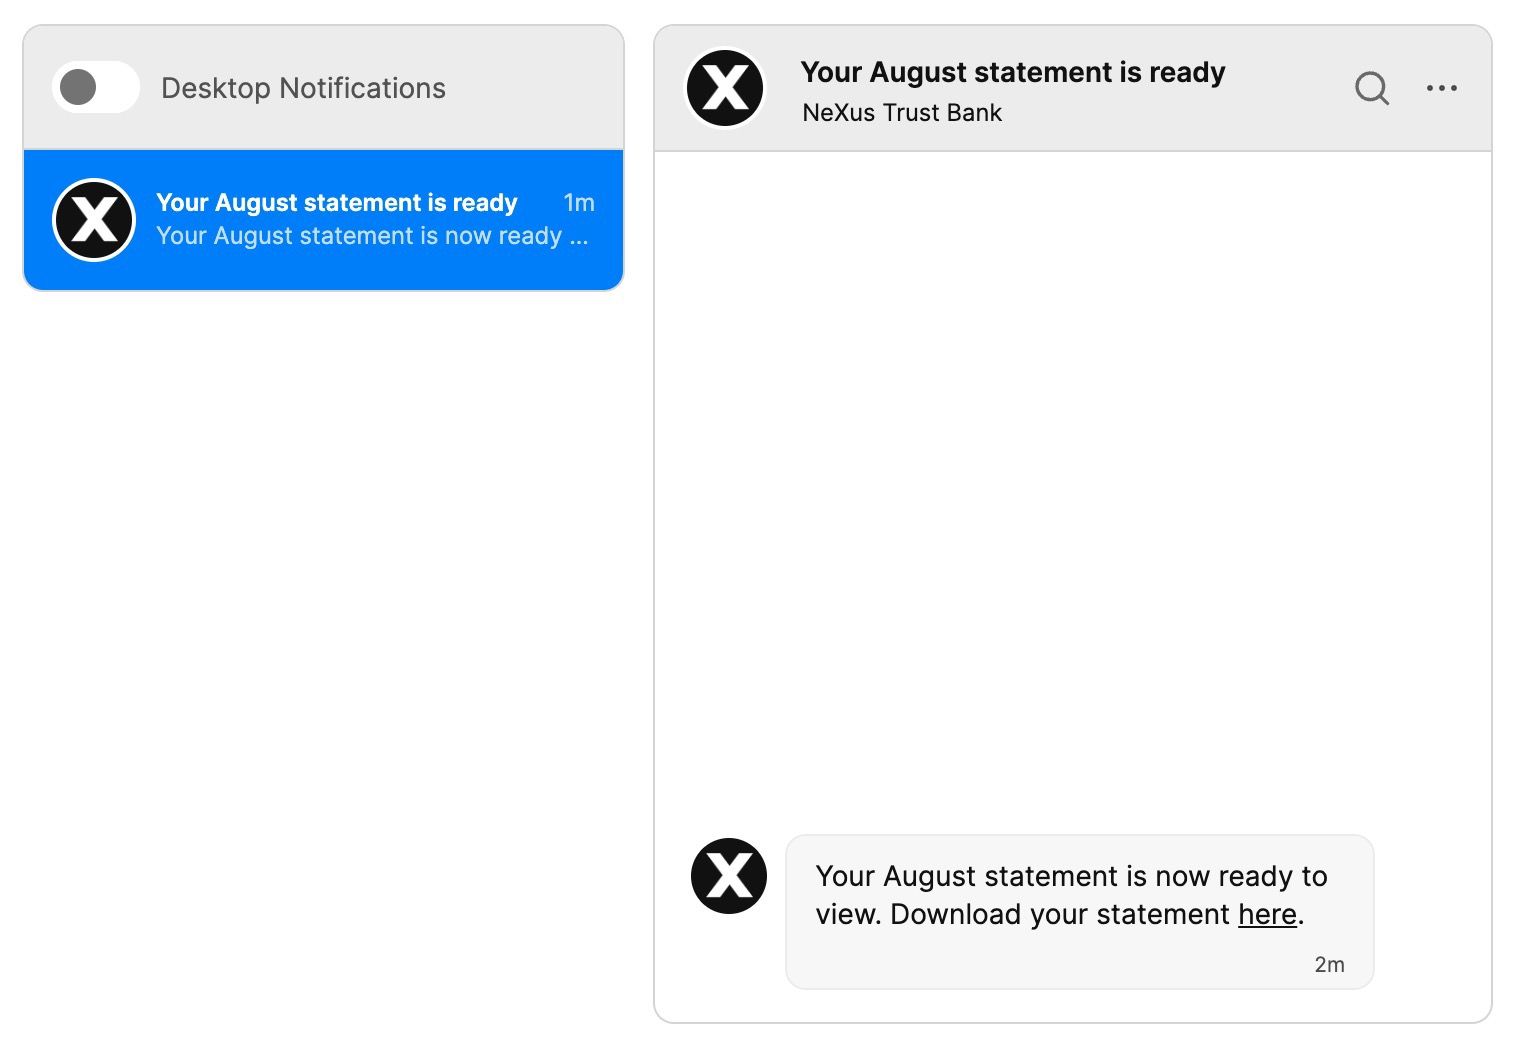
You should see the message in your inbox:
You can include links in messages that you send from the REST API with TalkJS's link markup. This is useful when you want to send a message to view information elsewhere.
Often, you'll want to send the same message to multiple users at once. In this case, your backend code will need to create a conversation for each user and then send the same message text to each conversation.
Send email and SMS notifications
TalkJS also lets you send email and SMS notifications along with your messages. To test this, you need to provide an email address and phone number for the user receiving the notifications. You must also give the user a role. In our example, we give the user the "default" role:
const me = new Talk.User({
  id: "messageCenterExampleReceiver",
  name: "Alice",
  email: "alice@example.com",
  phone: "+447700900000",
  photoUrl: "https://talkjs.com/images/avatar-1.jpg",
  role: "default",
});
For more information on notifications, see our docs.
Make the conversation read-only
In-app messages are often read-only. TalkJS lets you enforce this by setting the access type to "Read" for the message receiver. To do this with the REST API, you can use the Modify participation endpoint for the conversation:
// Set conversation to read-only for receiver
await fetch(
  `${basePath}/v1/${appId}/conversations/${conversationId}/participants/${receiverId}`,
  {
    method: "put",
    headers: {
      "Content-Type": "application/json",
      Authorization: `Bearer ${secretKey}`,
    },
    body: JSON.stringify({
      access: "Read",
    }),
  }
);
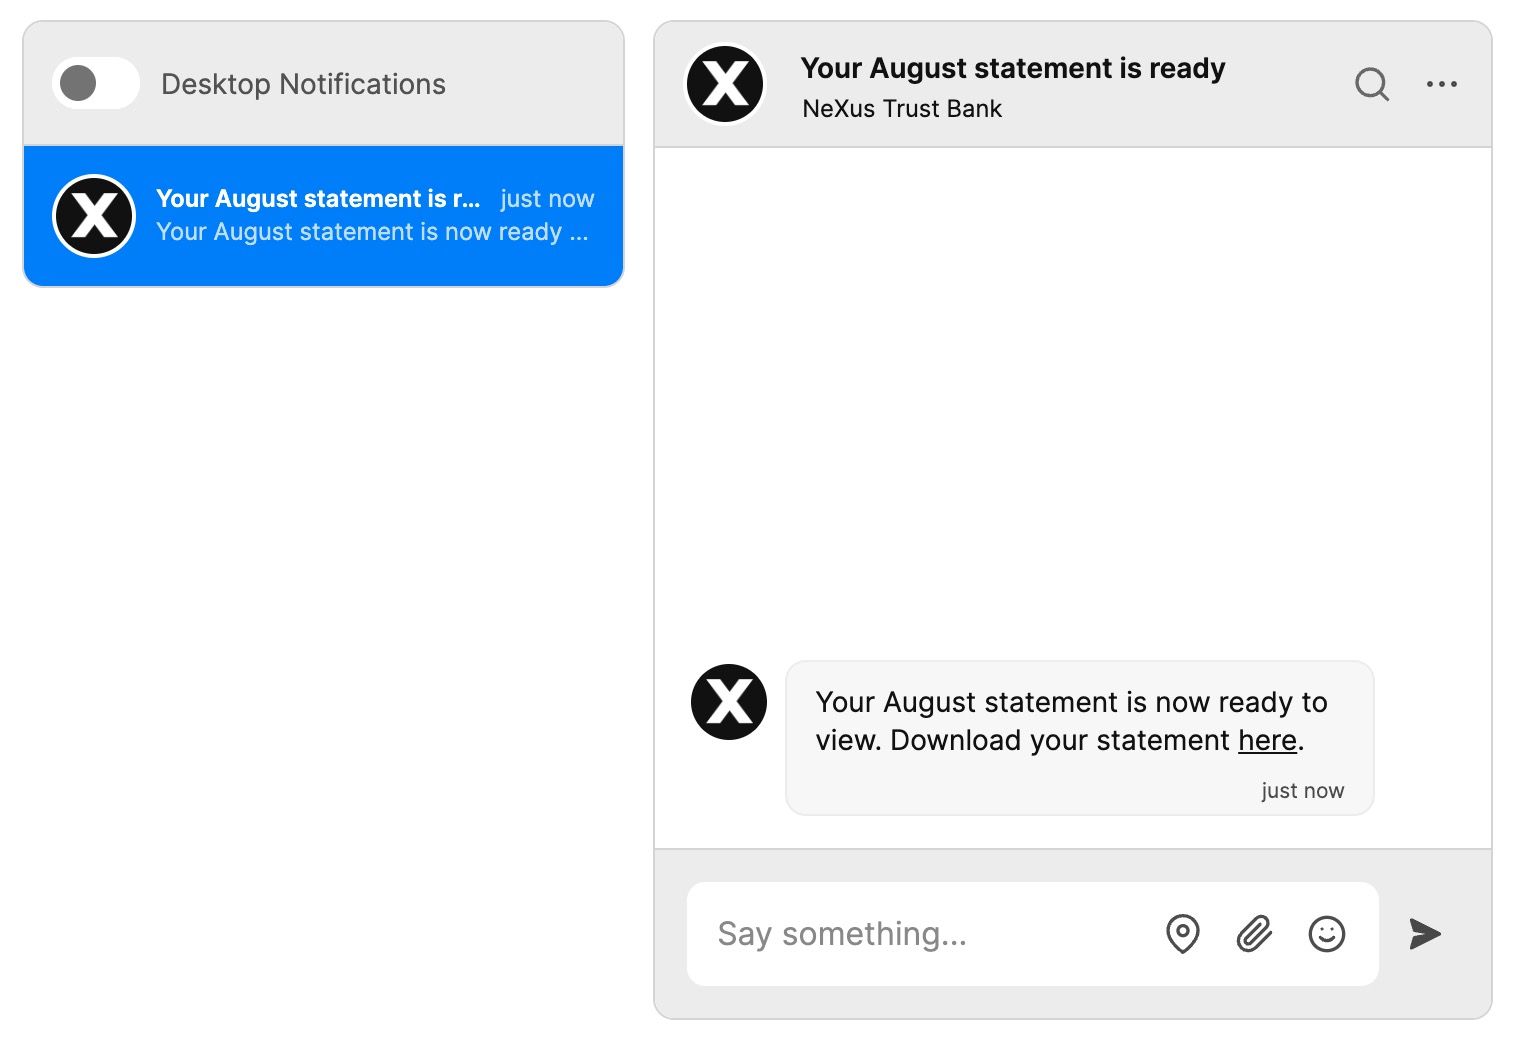
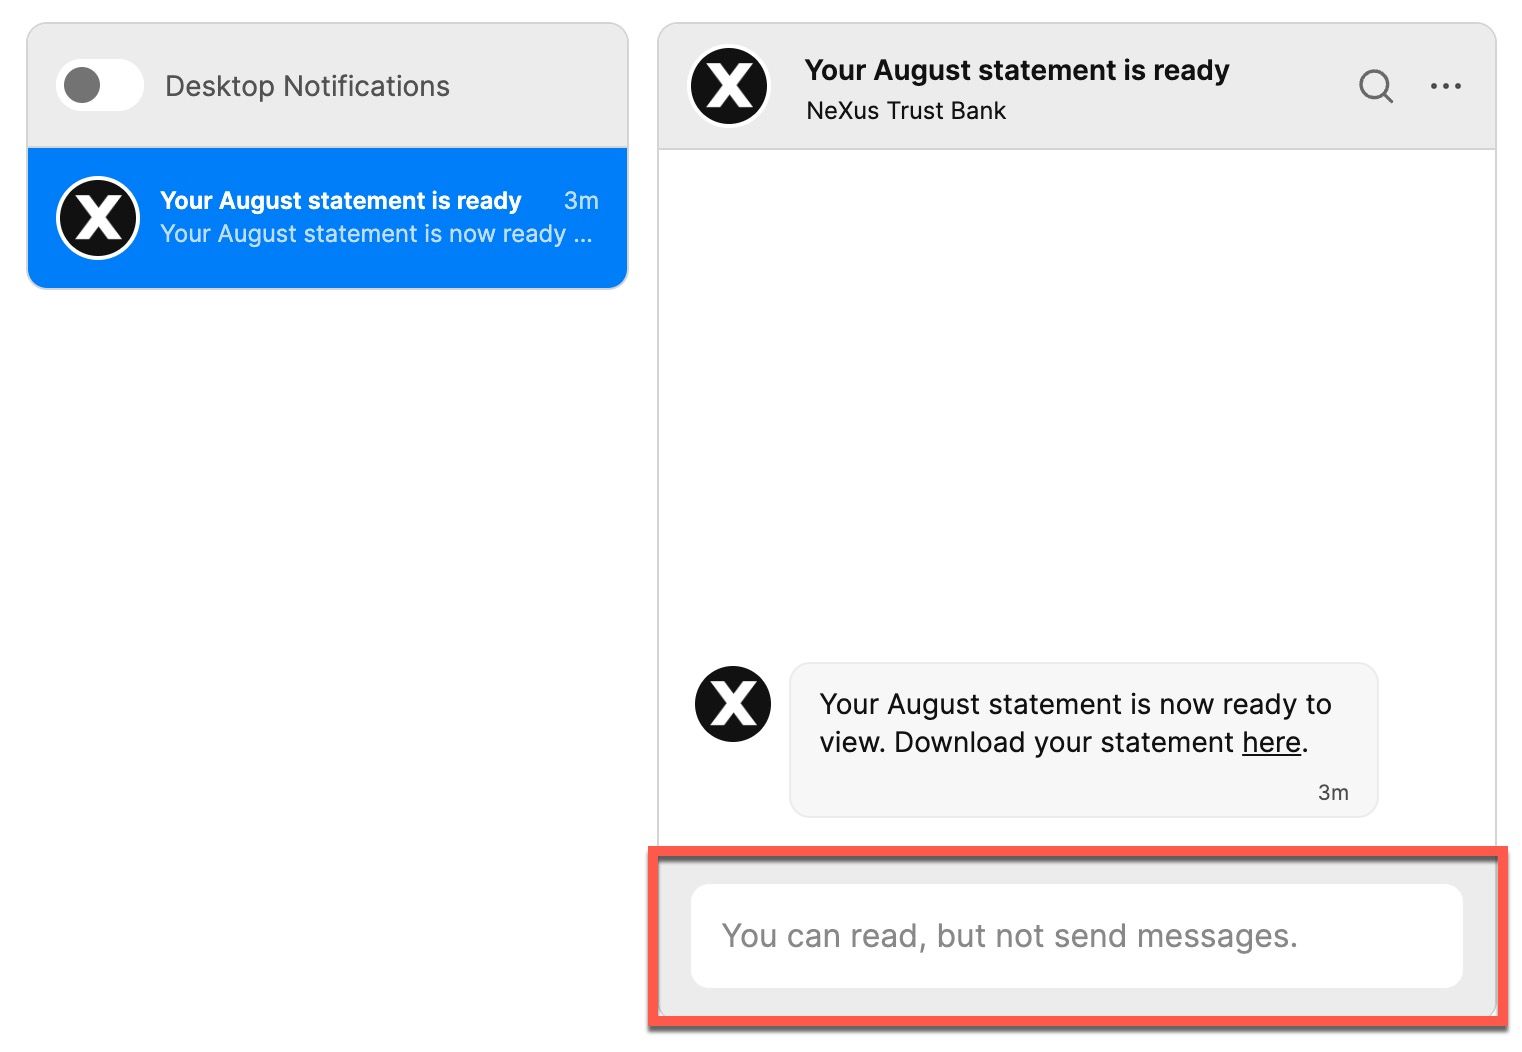
You should now see the warning "You can read, but not send messages":
Remove the message field from the inbox
As our messages are read-only, we can reflect this in the UI by removing the message field where the customer would type a response. We can do this by setting the message field visibility to false:
inbox.messageField.setVisible(false);
Summary
You now have a working demonstration of how to build a message center with TalkJS. To recap, in this tutorial we have:
- Used the TalkJS REST API to create conversations and messages
- Set up email and SMS notifications
- Removed the message field from the inbox
For the full example code for this tutorial, see our Github repo.
If you want to learn more about TalkJS, here are some good places to start:
- The TalkJS Docs help you get started with TalkJS.
- TalkJS tutorials provide how-to guides for many common TalkJS use cases.
- The talkjs-examples Github repo has larger complete examples that demonstrate how to integrate with other libraries and frameworks.


