
This guide uses the classic JavaScript SDK. If you're starting a new project, consider using TalkJS Chat UI components, which are more customizable.
TalkJS is a chat API that offers a flexible UI to get a chat up and running in minutes. However, you may need some features specific to your use case. Fortunately, TalkJS is highly customizable in addition to its plug-and-play nature. This tutorial will leverage that customizability to let users save their favorite messages.
Before starting, you must already integrate TalkJS into your app. If you haven’t done so, check out the guides and tutorials available to keep you up to speed. Moreover, you will need to be able to handle both server-side and client-side code for your app.

Starting out
The app used here is a simple Express.js server serving the following frontend code. Code not directly relevant to the tutorial—such as CSS—has been left out.
// HTML
<main>
  <section id=”chatbox”></section>
</main>

// JS
const chatboxEl = // ...

function buildChatbox() {
  Talk.ready.then(() => {
    const currentUser = // ...

    const session = // ...

    const otherUser = // ...

    const conversation = // ...

    const chatbox = // ...
  });
}

window.addEventListener(‘load’, buildChatbox);
This is similar to the official guide on integrating TalkJS using the classic JavaScript SDK.
Editing roles
Before we can begin working on our code, we need to allow users to perform custom actions within the TalkJS UI. Roles allow users to access varying functionality, including the actions they can perform.
Go to the roles tab of your TalkJS dashboard, and choose—or create—the role you’d like to edit. Scroll down to custom actions and add a new action. The name will be used to identify this action in our app, and the label is what the user will see in the UI. You can also select which messages users can perform the action on, only their own or those sent by anyone
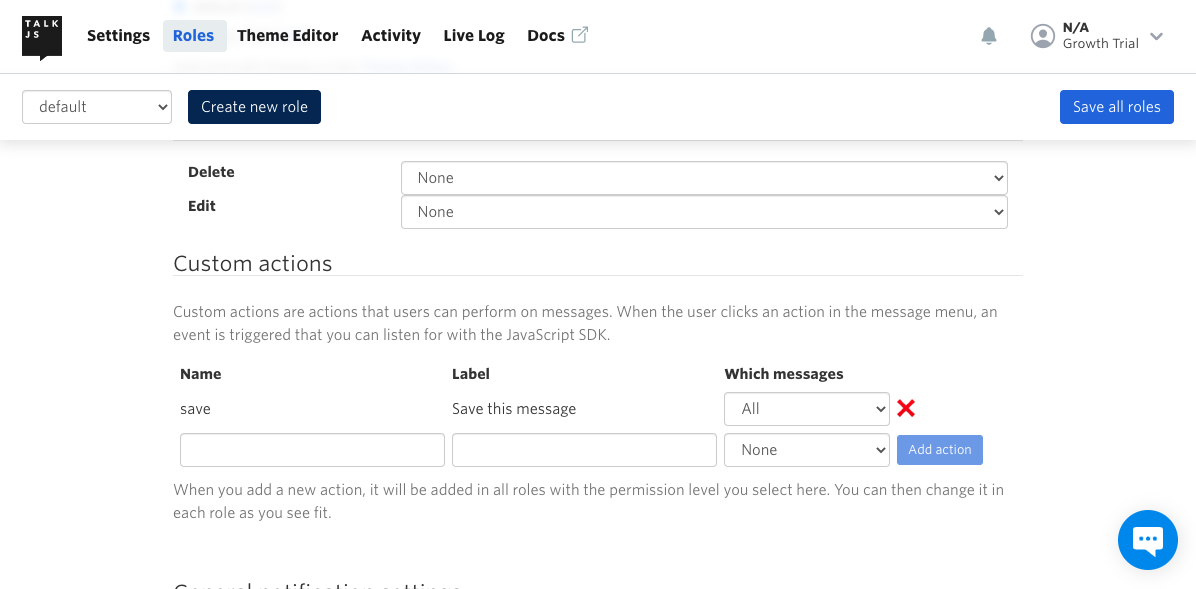
After you save all roles, check back on your app and you will notice a new element in the UI.
Custom actions
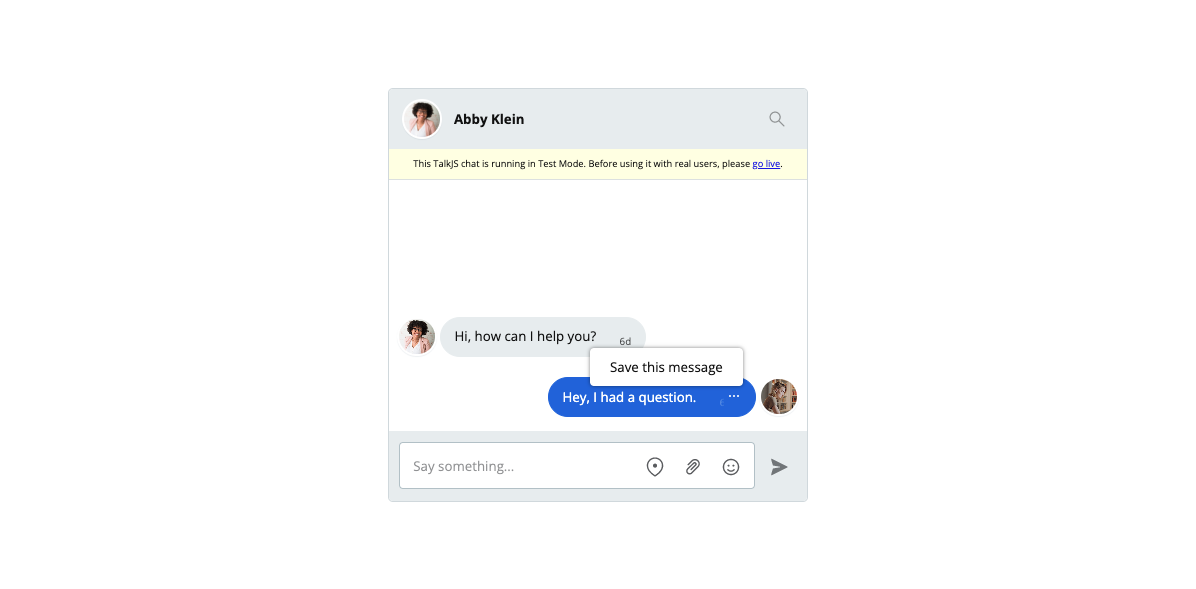
To make use of our newly-created action, we will employ the onCustomMessageAction method in our chatbox.
function buildChatbox() {
  // ...
  chatbox.onCustomMessageAction(‘save’, ({ message }) => {
    // ...
  });
  // ...
}
This method takes the name of the action we want to use and a handler function that fires upon clicking the UI label. In turn, it provides us with an object containing data about the message that was clicked.
Calling the REST API
To save a message we will make use of the custom property in its metadata. Editing a message’s data requires us to use the TalkJS REST API, and due to security concerns, it should only be called from the server-side.
Let’s create a new route for our server to listen to.
app.post(‘/api/save/’, async (req, res) => {
  // ...
});
When called, this route will PUT “saved”: “true” in a message’s custom metadata property.
app.post(‘/api/save/’, async (req, res) => {
  const { conversationId, messageId } = req.body;

   const request = await axios({
    method: 'PUT',
    url: `https://api.talkjs.com/v1/YOUR_APP_ID/conversations/${conversationId}/messages/${messageId}`,
    headers: {
      'Content-Type': 'application/json',
      'Authorization': 'Bearer YOUR_SECRET_KEY',
    },
    data: {
      "custom": {
        "saved": "true",
      },
    },
  })
    .then(() => 'success')
    .catch((err) => `error: ${err}`);

});
The request above will be made to TalkJS’ endpoint for single messages. The conversationId and messageId required to construct this address will be passed on from the frontend. YOUR_APP_KEY, on the other hand, can be obtained from your dashboard. It is necessary to add the Content-type and Authorization headers to your request. YOUR_SECRET_KEY can also be found in the dashboard.
While we have used axios here, the process will be the same in any other HTTP client.
Saving a message
We can now circle back to the front and set onCustomMessageAction to send a request to our server whenever ‘save this message’ is clicked.
chatbox.onCustomMessageAction(‘save’, ({ message }) => {
  fetch('/api/save', {
    method: 'POST',
    headers: {
      'Content-Type': 'application/json',
    },
    body: JSON.stringify({
      conversationId: message.conversation.id,
      messageId: message.id,
    }),
  })
    .then((result) => console.log(result.json()))
    .catch((err) => console.log(err));

}
This function will send the message.id and message.conversation.id to our backend which, acting as a middleware, will update the data stored at TalkJS.
Custom headers
To show the user the message has been saved, we will create a custom header for our chatbox.
First, let’s disable the default header that ships with TalkJS. You can pass many other options here to customize your UI.
function buildChatbox() {
  //
  const chatbox = session.createChatbox({
     showChatHeader: false,
  });
}
Our app now appears ‘headless’.
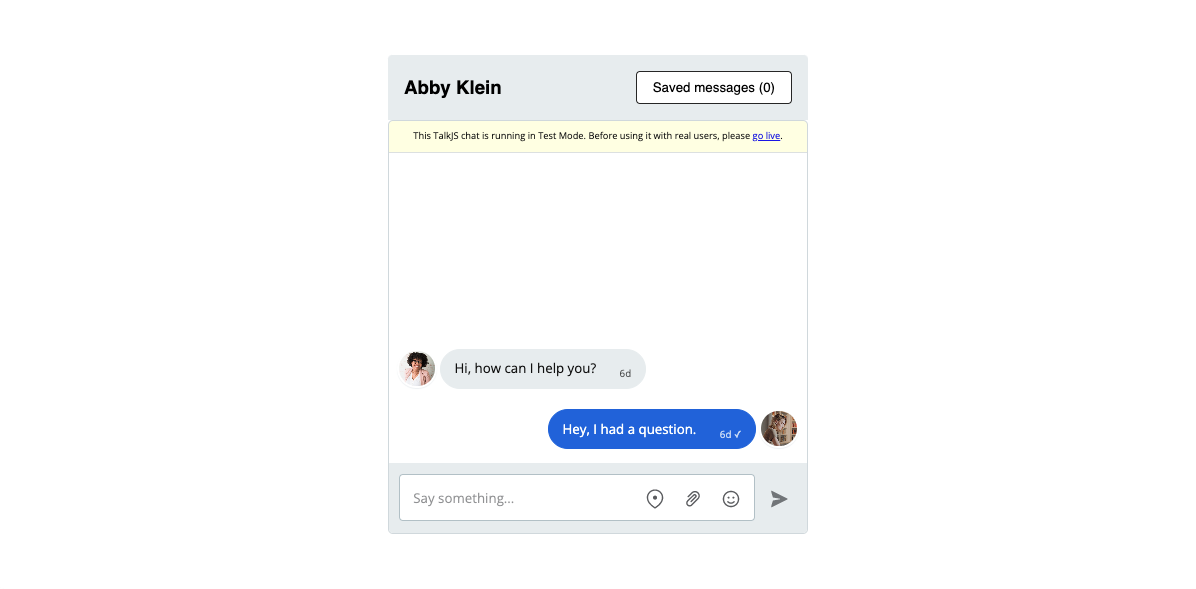
We will add our own chatbox-header above the <section> the chatbox mounts to.
<main>
<header class=”chatbox-header”>
// ...
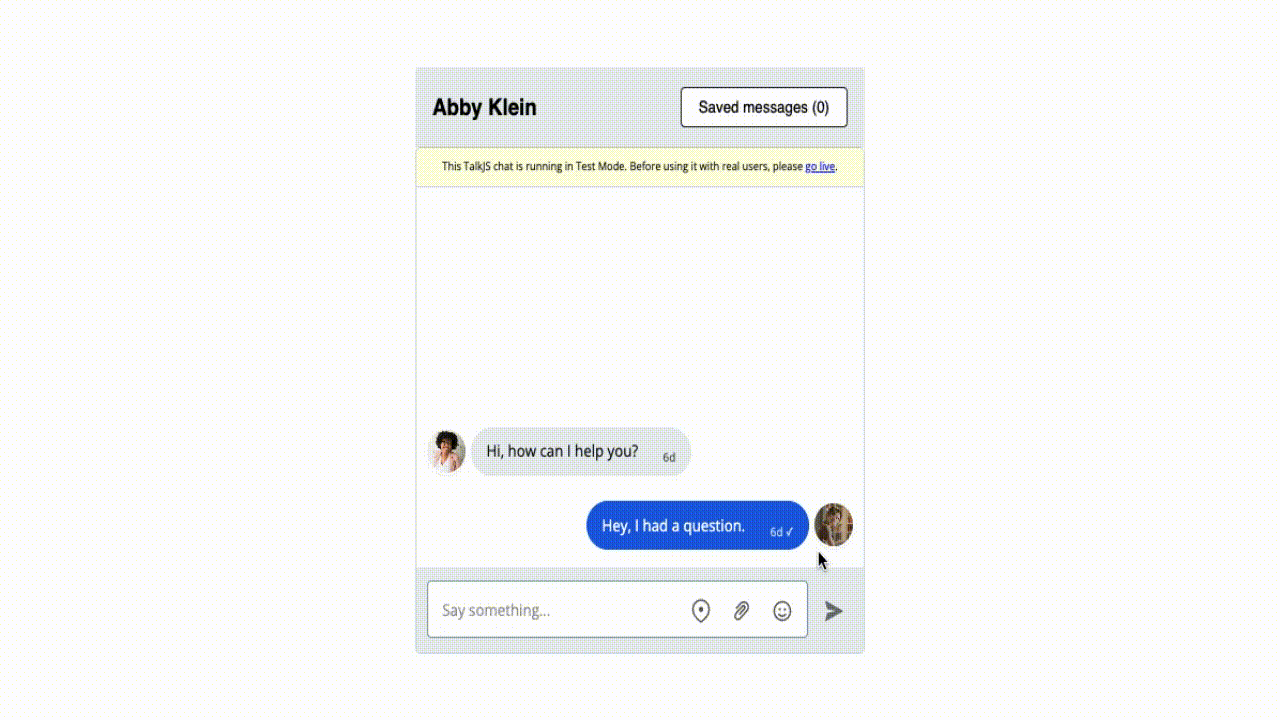
<button id=”saved”>Saved messages (<span id=”number”>0</span>)</button>
</header>
<section id=”chatbox”></section>
</main>The header will display the number of saved messages and filter the conversation on click.
Before updating the header, we should ensure that the initial number of saved messages is correct. Let’s create another route on our server which retrieves all messages for the current conversation.
app.post('/api/messages', async (req, res) => {
  const { conversationId } = req.body;

  const request = await axios({
    method: 'GET',
    url: `https://api.talkjs.com/v1/YOUR_APP_ID/conversations/${conversationId}/messages`,
    headers: {
      'Content-Type': 'application/json',
      'Authorization': 'Bearer YOUR_SECRET_KEY',
    },
  })
    .then((response) => response.data)
    .catch((error) => error);

  res.json(request);
});
Like /api/save, /api/conversation calls the TalkJS REST API, GETting the messages based on the conversationId passed to it from the frontend.
In our client-side code, we can now create a function to getMessages, which we will call when the chatbox is first initialized.
const numberEl = document.getElementById(‘number’);

async function getMessages(id) {
  const response = await fetch('/api/messages', {
    method: 'POST',
    headers: {
      'Content-Type': 'application/json',
    },
    body: JSON.stringify({ conversationId: id }),
  })
    .then((result) => result.json())
    .catch((err) => console.log(err));

  const savedMessages = response.data.filter((msg) => msg.custom.saved === 'true');
  numberEl.innerText = pinnedMessages.length;
}

function buildChatbox() {
  const conversation = //
  //
  getMessages(conversation.id);
  //
}
We first getMessages by POSTing the conversation.id to our new route. This is passed to the function when it’s executed within buildChatbox. All the conversation’s messages are then filtered to choose only those with custom.saved === ‘true’. The length of the resulting array is set as the innerText of numberEl in the chatbox-header.
Now, to update the header upon ‘save’, we can simply getMessages again.
chatbox.onCustomMessageAction(‘save’, async ({ message }) => {
  await fetch('/api/save', {
    // ...
  })
    .then((result) => {
      // ...
      getMessages(message.conversation.id);
    })
  // ...
});
Filtering messages
All that’s left is to filter the chatbox by saved messages on ‘click’. We can do this quite easily using the setMessageFilter method.
const savedEl = document.getElementById(‘saved’);
let chatbox;

function buildChatbox() {
  chatbox = // ...
}

savedEl.addEventListener(‘click’, () => {
  chatbox.setMessageFilter({ custom: { saved: ["==", "true"]  } });
});
We have initialized chatbox outside buildChatbox to make it available to other functions. When a user clicks on savedEl, it will setMessageFilter on chatbox to only show saved messages. You can pass several different options to this method.

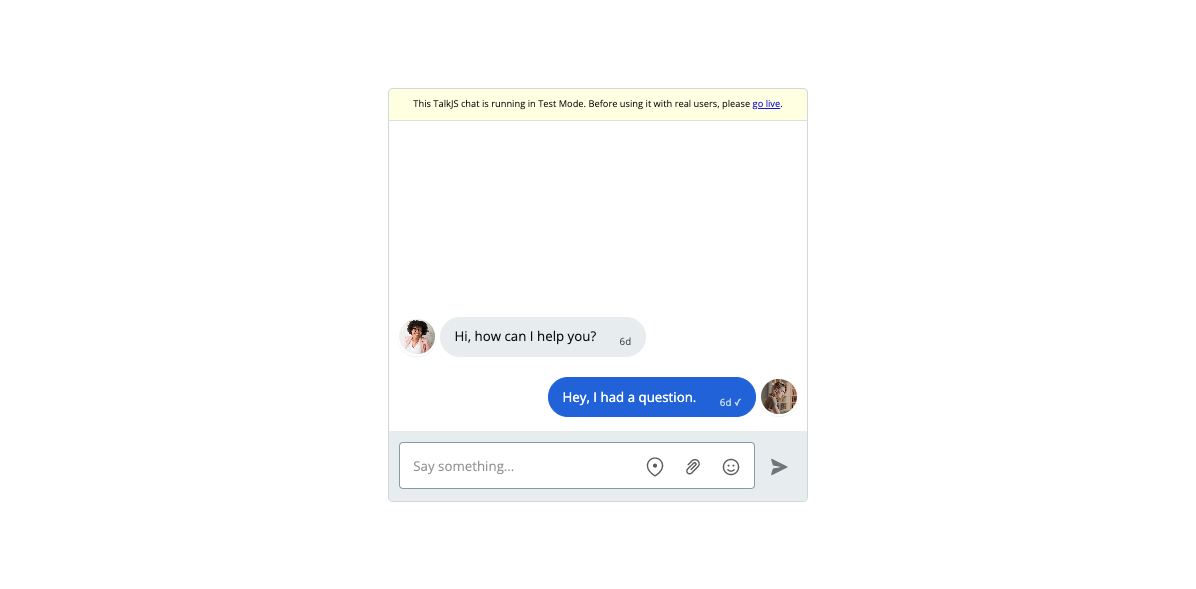
Our app can now save messages and filter the UI to show only such messages.
Concluding remarks
We have learned how to use the customizability offered by TalkJS to add a system for saving messages in our conversations. While doing so, we’ve gone over the fine-grained control roles, learned how to use the REST API for greater data control, and customized the UI to fit our needs. This foundation can now assist you in building greater, more complex features for your TalkJS-infused apps.


