Getting started
This guide will help you quickly add TalkJS to your Angular app and create a chat between two users, using TalkJS Web Components. These are highly customizable chat UI components, with excellent support for Angular apps. We'll use it alongside the JavaScript Data API, which we'll use for data manipulation tasks like synchronizing users and conversations.
In the guide we'll walk you through installing TalkJS, viewing an existing conversation, creating new users and conversations, customizing the UI, and properly securing it all.
Note: This guide assumes that server-side rendering (SSR) isn't enabled for your project.
To make the most of this guide, you will need:
- A TalkJS account
- An Angular app to which you'd like to add TalkJS chat
To get started, install @talkjs/web-components and @talkjs/core:
To view an existing sample conversation, import the components and theme into an Angular component, and add the chatbox and styling.
First, import the components and theme into an Angular component, for example in the src/app/app.ts file:
For TalkJS to be able to function, add your TalkJS app ID.
To make sure that Angular recognizes the web components, also add CUSTOM_ELEMENTS_SCHEMA to the @Component.schemas array of the Angular component to which you're adding the chat. For example as follows:
Replace <APP_ID> with your TalkJS app ID. You can find your app ID in the Settings tab of the TalkJS dashboard.
Next, add the t-chatbox web component to the HTML template file of your Angular component:
The t-chatbox web component has the following attributes:
app-id: Your TalkJS app ID. You can find your app ID on the Settings page of your TalkJS dashboard. For this tutorial, use the app ID for your test mode, which has built-in sample users and conversations.
user-id: An identifier for the a current user to send messages as. This example uses the ID of an existing sample user,sample_user_alice.conversation-id: An identifier of the conversation that you want to view. This example uses the ID for a built-in sample conversation,sample_conversation.
To view the chat, run your app:
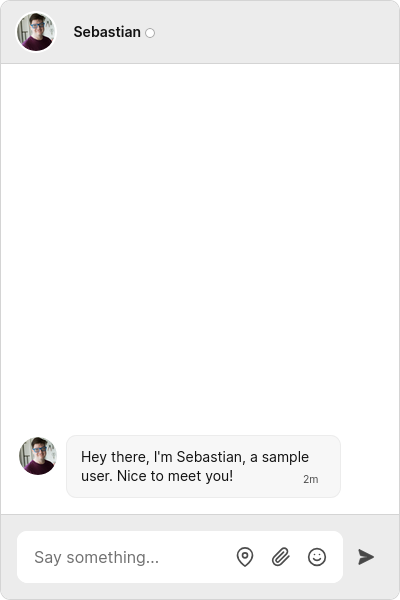
You should get something like the following:

You now have a fully-featured chat window running in your Angular app. Try sending a message!
To view the conversation as a different user, change the user-id. For example, try switching the user-id to sample_user_sebastian to view the other side of the sample conversation.
If the chat window doesn't show up, make sure that you've entered your app ID correctly.
So far in this guide we've used a sample user and conversation. Next, we'll create new users and a conversation between them, and sync them with the TalkJS servers. To do this, we'll use the JavaScript Data API which you've already installed earlier through the @talkjs/core NPM package.
Import getTalkSession from the @talkjs/core package into your component:
Add the following code to your component:
This code creates a new TalkJS session, which provides access to a continuous, up-to-date flow of your TalkJS data. It then creates two new users and a conversation between them.
Update the t-chatbox component in your HTML template file to use the new variables:
Here's the code so far, so that you can see how it all fits together:
The easiest way to customize TalkJS's components, is using the props and events that the components expose. See each component’s reference documentation for a list of available props.
As an example if you want to hide the built-in chat header, because it doesn't work well with the rest of your UI, you'd render the chatbox like this:
If you need even more flexibility, TalkJS has an extensive theme system, which lets you adapt the styles, markup and behavior of the entire chat UI. See the Customization guide for more details.
Once you're using TalkJS in production you'll need to enable authentication, so that only legitimate users can connect to your chat. You'll need a backend server that can generate tokens for your users to authenticate with. See our Authentication docs for more detail on how to set this up.
Use getTalkSession and setToken to register the token:
The token is different each time you connect to TalkJS, so you'll need to call your backend to generate it.
You only need to do this once, before mounting any UI components. Now, any chatboxes you create will use that token to connect.
Once you are happy that your chat is loading without errors when you provide a token, go to the Settings page of your dashboard and enable the Authentication (identity verification) option in the Security settings section. When authentication is enabled, only users with a valid token can connect to your chat.
For more ways to customize your chat, see our Chatbox reference docs.