Configure Firebase Cloud Messaging
 View as Markdown
This page will guide you through how to configure mobile push notifications with Firebase Cloud Messaging (FCM).
To configure mobile sending push notifications via Firebase, generate a service account JSON file that contains a private key and upload this file to your TalkJS dashboard, as follows:
- Login to the Firebase console.
- Select the Firebase project that contains the app for which you want to configure push notifications.
- Follow the Firebase instructions to generate a new private key for a service account.
- Go to your TalkJS dashboard and select the Settings tab.
- In the section 'Mobile push notifications', under 'Firebase Cloud Messaging (FCM)', click Browse to upload the JSON file that contains your key.
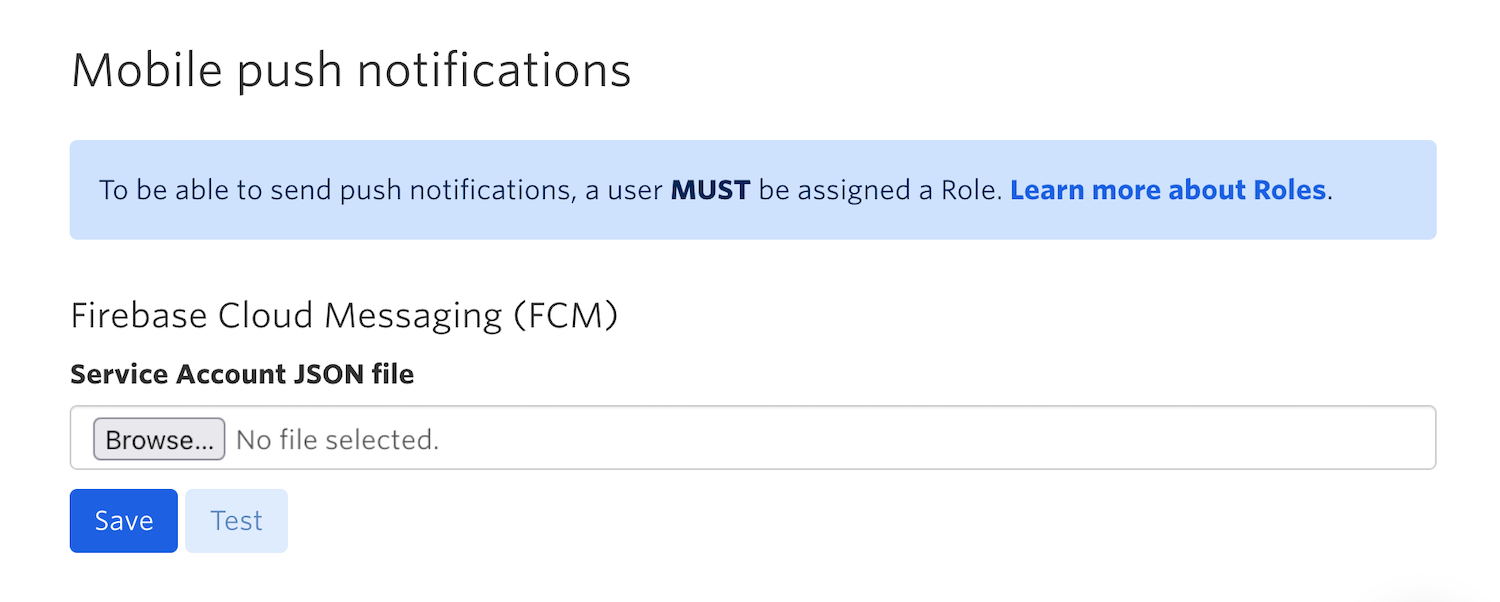
- Click Save to save the file to your TalkJS dashboard.
You now have configured sending push notifications via Firebase.
Caution: When generating a new private key, Firebase will by default create a service account for you with broad permissions, which can be a security risk if not managed correctly. The following steps will guide you through how to finetune permissions to keep your Firebase service account secure. For more information on secure key management in Firebase, see: Best practices for managing service account keys.
In Google Cloud, you can fine-tune permissions by assigning your service account a role with the minimal permissions needed for mobile push notifications.
Note: You can also create a new service account with minimal permissions, rather than edit the service account automatically generated by Google Cloud. This guide covers how to edit the auto-generated service account.
- Login to your Google Cloud console. Make sure that you have the project for which you have enabled push notifications selected.
- Follow the Google Cloud instructions to create a custom role.
- Select
cloudmessaging.messages.createas the only permission for your custom role.
- Follow the Google Cloud instructions to grant a role to a service account (also called principal).
- Select the service account auto-generated by Firebase with the role
Firebase Admin SDK Administrator Service Agentassigned to it. - For this auto-generated service account, delete the
Firebase Admin SDK Administrator Service Agentrole, and add the role you created in Step 2.
You have now fine-tuned permissions for your service account in Google Cloud, by assigning your service account a role with the minimal permissions needed for mobile push notifications.
If you have any issues receiving push notifications you can reach out to us via the TalkJS support chat.